
In this tutorial we’ll learn how to create a Cardboard Vector Texture by using the Wrinkle Tool and graphics texture. Today you’ll also find out how to edit and apply native Adobe Illustrator’s patterns. Cardboard vector textures are pretty hot these days and they are being used in abstract backgrounds and product designs and that’s why creating your own texture will be super useful for you in future. Have fun going through our new vector tutorial!
Tutorial Details
- Program: Adobe Illustrator CS2 – CC
- Difficulty: Beginner
- Topics Covered: Wrinkle Tool and native Adobe Illustrator’s patterns
- Estimated Completion Time: 15 minutes
Final Image
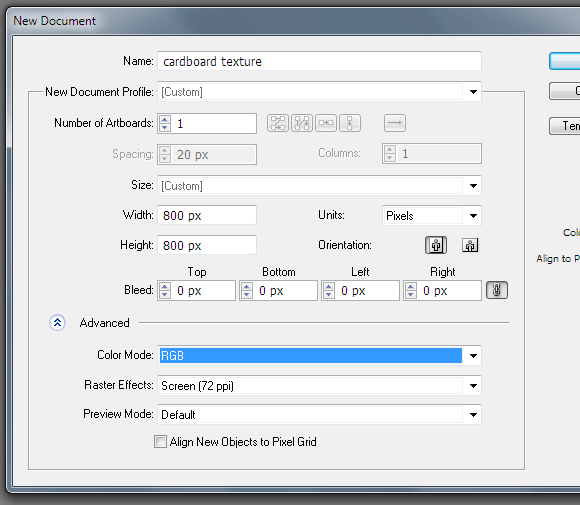
Step 1
Open Adobe Illustrator and create a new document (Cmd/Ctrl + N). Your artboard can be any size. The cardboard vector texture we’ll create will work equally well in the RGB and in the CMYK color modes, even though I worked in the RGB mode.
Step 2
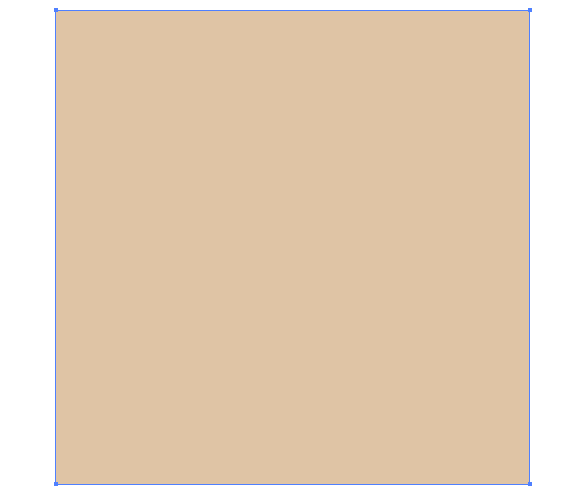
Take the Rectangle Tool (M) and create a rectangle with no stroke and light-blown fill (R= 223, G= 196, B= 165).
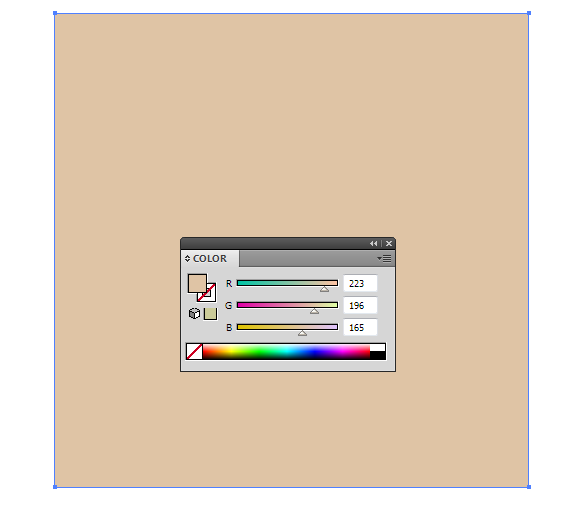
The size of our rectangle corresponds to the size of our cardboard vector texture which you’re going to get.
Step 3
Create one more rectangle stretched in horizontal direction as it is indicated on the figure below. Fill the new object with vertical linear gradient from light-brown (R= 230, G= 218, B= 202) to white.
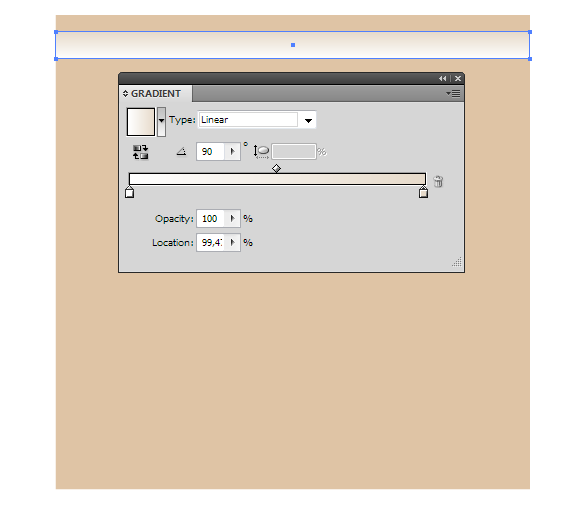
Apply to this rectangle the Multiply blending mode in the Transparency panel (Window > Transparency).

As the result of this blending mode application white turns transparent.
Step 4
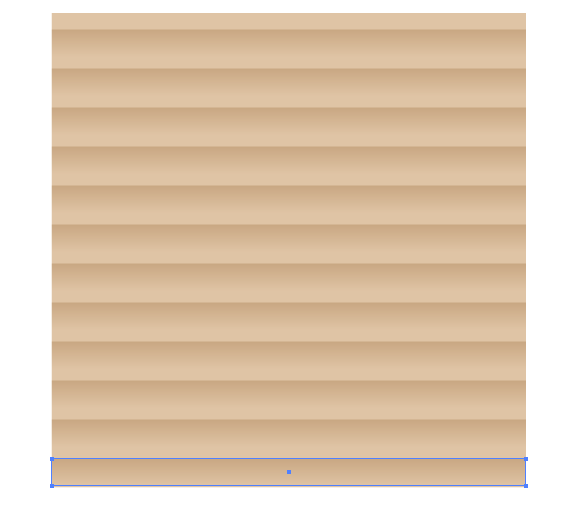
Shift the rectangle with gradient fill down by holding the Shift and Option/Alt which causes object duplication.

Use the Cmd/Ctrl + D shortcuts a couple of times for consecutive repetition of the last action, i.e. shifting and duplication of the rectangle.
Step 5
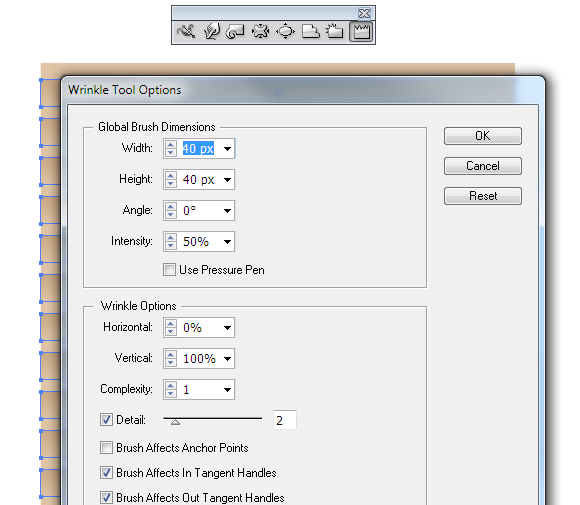
The next step in creating this cardboard vector texture is to select all the horizontal rectangles with gradient fill. Click twice on the Wrinkle Tool icon in the Tools panel. This tool is located in the same group with the Width Tool. In the opened dialog box set the parameters which are indicated on the figure below.
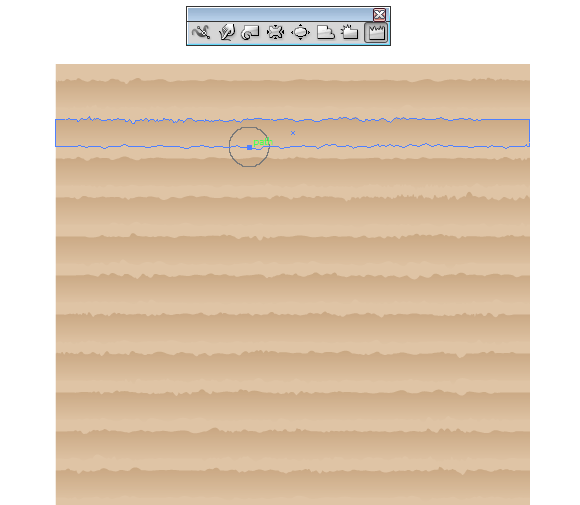
Perform horizontal movements with the help of the Wrinkle Tool on the edges of the rectangles. As a result, we’ll get deformed paths as it is shown on the figure below.
Step 6
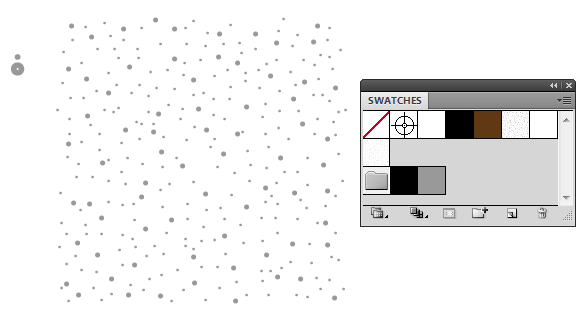
Open the Swatches panel (Window > Swatches) and choose USGS 22 Gravel Beach pattern; to do so, go to the Open Swatch Library > Patterns > Basic Graphics > Basic Graphics_Textures > USGS 22 Gravel Beach in the fly-out menu of the Swatches panel.
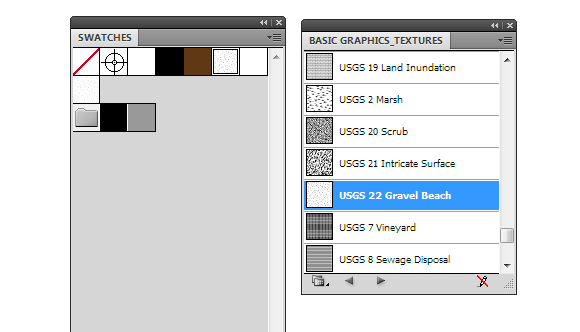
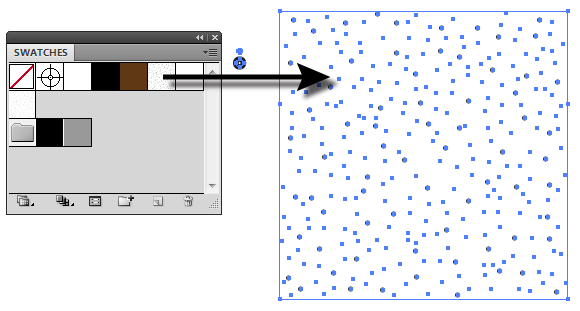
This pattern consists of circles which have black stroke. This color doesn’t match our project, and so we need to edit the pattern. Move pattern from the Swatches panel to artboard.
Step 7
Keep the pattern group selected and lock the rectangle with no fill and no stroke in the Layers panel. This object is located below all pattern objects.
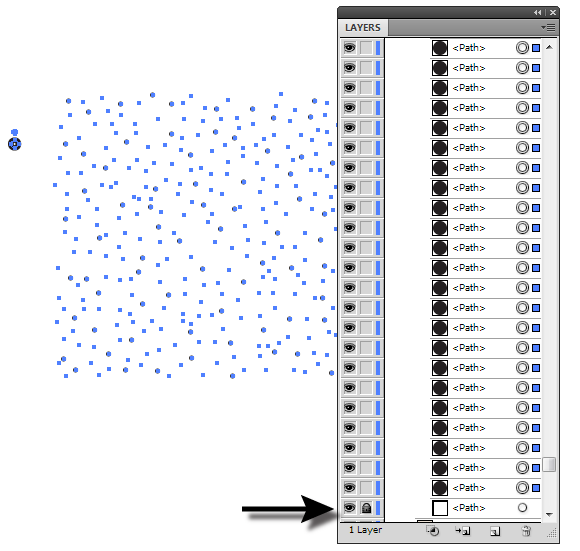
And now switch the stroke’s color from black to white.

Step 8
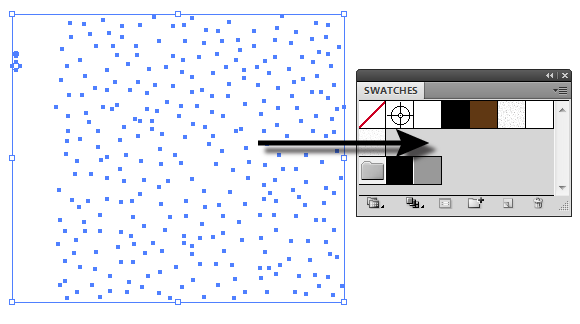
Unlock the rectangle with no fill and no stroke in the Layers panel. Select the entire group with white pattern then drag it back in the Swatches panel.
Using the described technique create one more pattern. This time, its elements should have neutral grey stroke (K=40).
Step 9
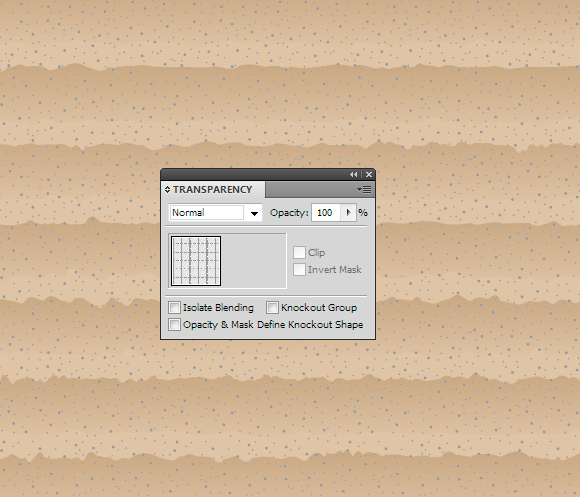
Let’s get back to our cardboard texture. Copy the lower rectangle with solid fill and paste it to the front (Cmd/Ctrl + C; Cmd/Ctrl + F). Place this rectangle above all created objects.
And now apply a pattern with white objects to it.

Step 10
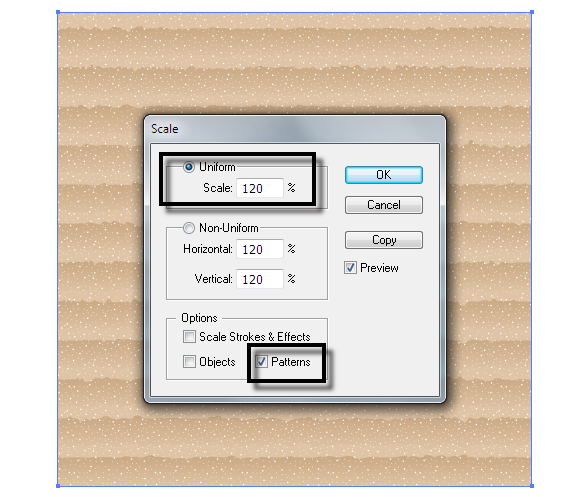
I think that the elements of the point texture should be enlarged. Keep the upper rectangle selected and go to the Object > Transform > Scale…. Set 120% then tick Patterns and untick Objects options in the dialog box.
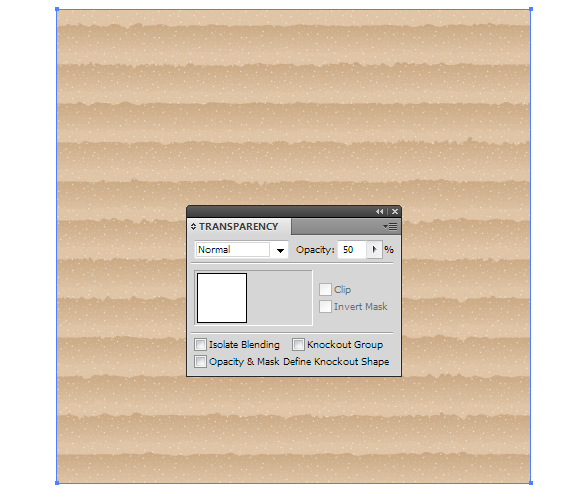
Reduce opacity to 50% in the Transparency panel.
Step 11
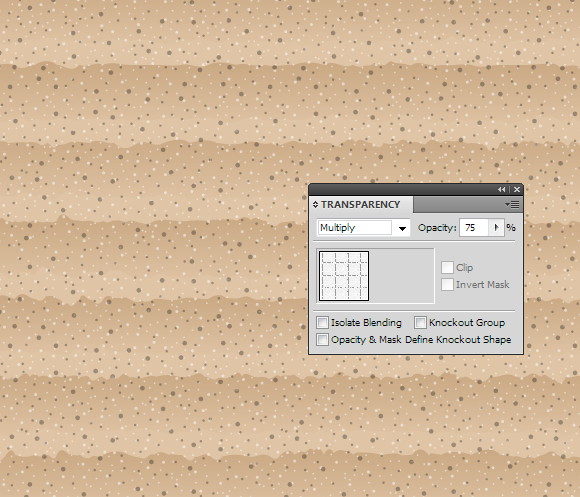
The next step in creating our cardboard vector texture is to double the rectangle with the white texture. Apply a pattern with grey elements to the new object. Set 100% opacity for this texture.
And now go to the Object > Transform > Scale…. Set 150%, then tick Patterns and untick Objects options in the dialog box so the elements of white and grey texture didn’t overlap each other.

Apply the Multiply blending mode to the grey point texture and reduce the opacity if necessary.
Congratulations! You’re done! Your very own customizable cardboard vector texture is ready.
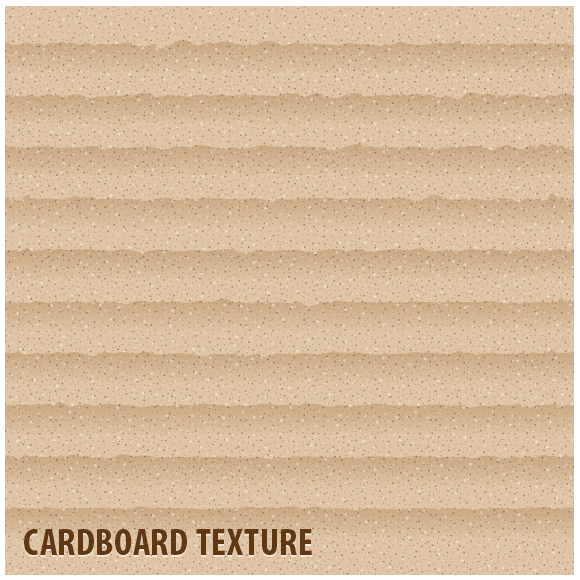
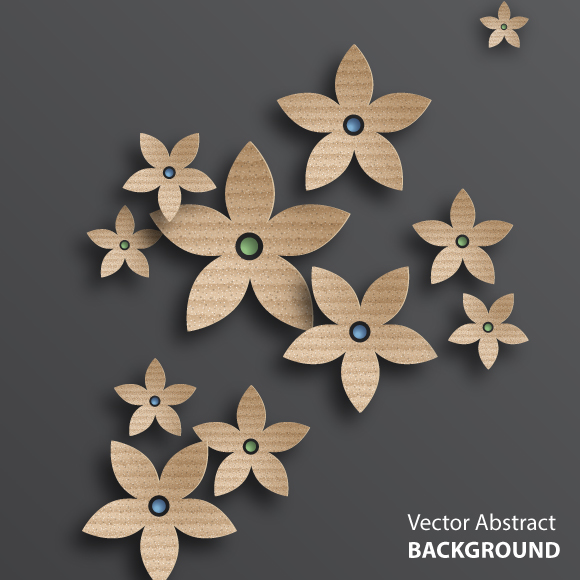
Now you can use this brand new cardboard vector texture in your own projects. As an example you can check out my abstract background with cardboard flowers, but there are literally endless ways you can incorporate this cardboard vector texture into your work.

Author: Iaroslav Lazunov
My name is Iaroslav Lazunov, I am a graphic designer from Ukraine. I am glad that I finally found a job in my life that I can share my knowledge and experiments with you in my tutorials. Follow me on Twitter or visit my blog Vectorboom.com


Very helpful tutorial! After reviewing a lot of unsatisfactory techniques for creating falling snow, I decided to try adapting your instructions for that purpose and it works beautifully. Thanks very much!
Not really useful atall. Doesn’t explain how to add the cardboard texture effect to other objects such as shapes – similar to how it has been added to the flowers here.
Can you make this into a swatch? I have tried to drag it into the palette but it doesn’t do anything. How did you make the flowers?
very good!
One question?
how do you create the lightning edges on the flowers,
looks very realistic!
Greetings
Stephan
Pretty much informative and easy going. Thanks for share. We have featured it here at http://bit.ly/1vG8kC0.