I like to work efficiently, so I get a little annoyed when something slows me down in Illustrator. Have you ever been cruising right along and accidentally added a color to the Stroke of an object when you meant to add it to the Fill? Now you have to go back and do it all over again, wasting time. Luckily, there are a few useful keyboard shortcuts to help change Fills and Strokes in Adobe Illustrator.
Below are some Fill and Stroke functions, with the keyboard shortcuts following in parentheses. These functions can also be accessed on the bottom of the Tools Panel, but not as quickly as using the shortcuts. Get ready to learn how to change Fills and Strokes in Adobe Illustrator!
How to change fills and strokes
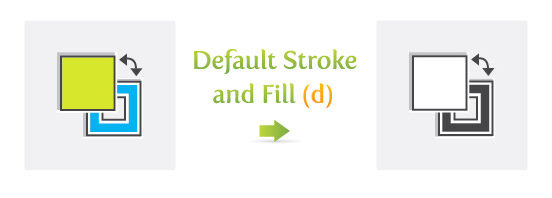
Default Stroke and Fill (d)
Change any object to the default black Stroke and white Fill.

Swap Attributes (shift x)
Swap the attributes of the Fill and Stroke. This function will not work when the current Fill is a gradient, because gradients cannot be applied to Strokes.

Toggle Between Active (x)
Toggle between the active Fill and Stroke.

Color (<)
Make the current unfilled Fill or Stroke filled.

Gradient (>)
Make the current Fill a gradient.
Get millions of stock images and videos at the best price
Unlimited access. No attribution required. Starts at just $9/month.

Apply None (/)
Apply a none attribute to the active Fill or Stroke.

Again, these shortcuts can be very helpful. You won’t realize how time you are saving until you start using them!
Lead image by onfocus onfocus.


