

Take your text art for a spin with this split 3D split text vector effect. Add dimension to your work in as quick as 20 minutes with this tutorial!
Tutorial Details: 3D Split Text Vector Effect
- Program: Adobe Illustrator CC
- Difficulty: Intermediate
- Topics Covered: Text Effect, Extrude & Bevel, Gradients
- Estimated Completion Time: 20 Minutes
Final Image: 3D Split Text Vector Effect

Step 1: 3D Split Text Vector Effect
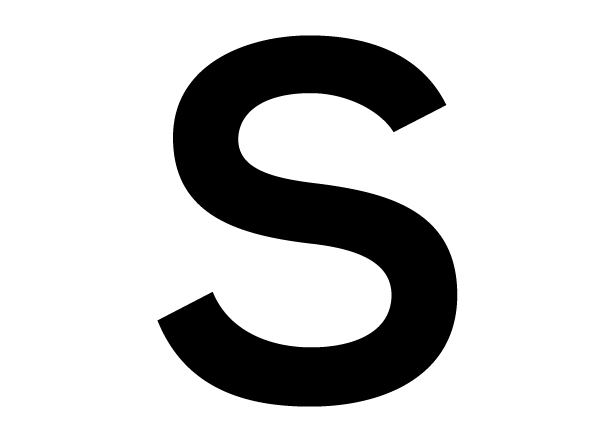
Start your 3D split text vector effect with a New Document created in Adobe Illustrator CC. Use the Type Tool (T) to write out a word or a couple letters. I’ve used the font Nexa Bold for my design.

Step 2
Expand the text into an object and Ungroup the letters. I’m going to start with the letter “S”.
Step 3
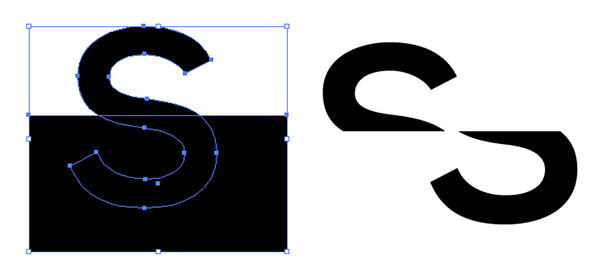
Overlap half of the S with a rectangle using the Rectangle Tool (M). Hit Divide in the Pathfinder panel. Ungroup and delete the non-S shapes. Your S will be in two pieces now.
Step 4
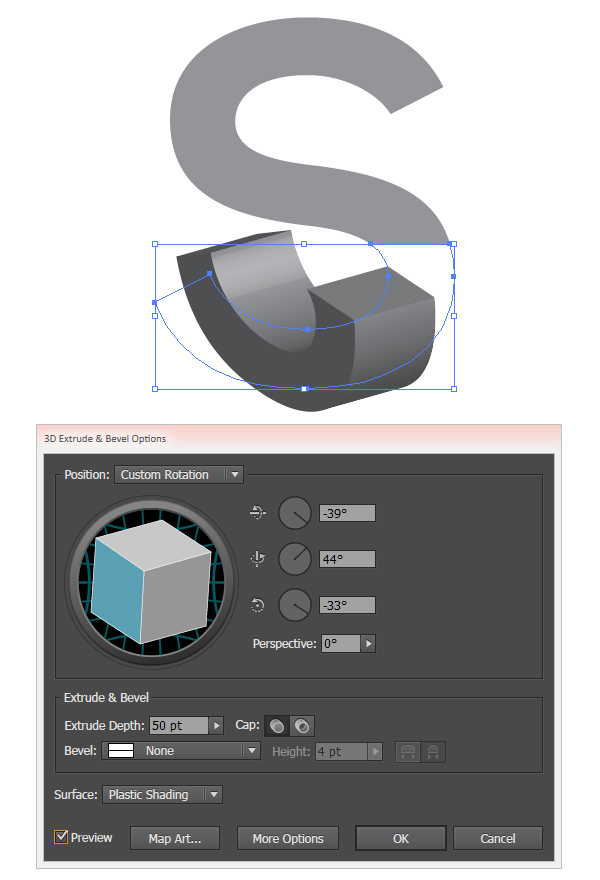
Select the bottom of the S and go to Effect > 3D > Extrude & Bevel. Apply the following attributes:
- X-Axis: -39°
- Y-Axis: 44°
- Z-Axis: -33°
- Extrude Depth: 50 pt
Step 5
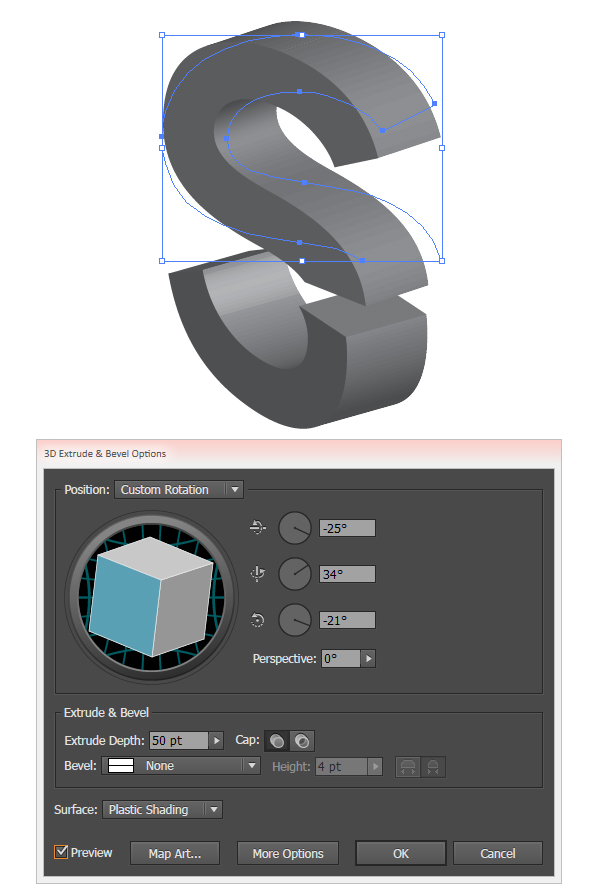
Select the top portion of the S and enter the following attributes to Extrude & Bevel:
- X-Axis: -25°
- Y-Axis: 34°
- Z-Axis: -21°
- Extrude Depth: 50 pt
Step 6
Expand both of your 3D split text vector effect objects.
Step 7
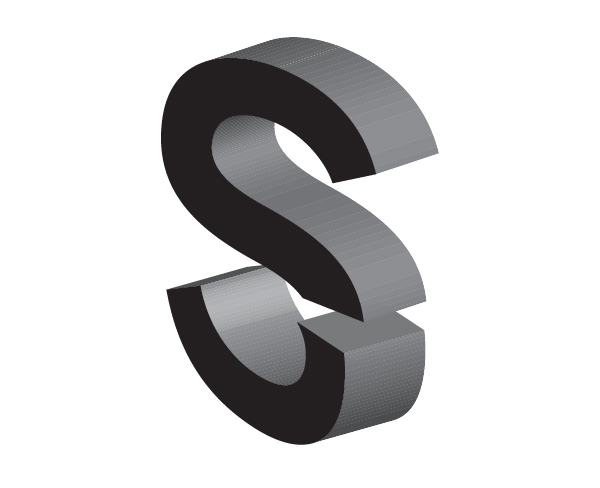
Ungroup both 3D split text vector effect letter halves. Select the front face of both sections and set it to a darker fill color. These shapes will remain flat. Lock both of these shapes in the Layers panel.
Step 8
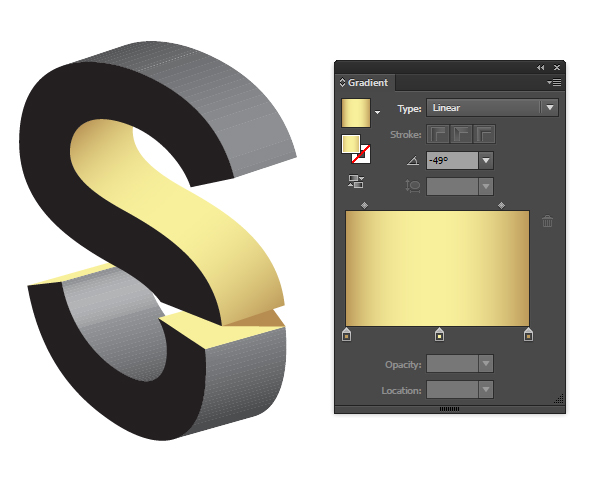
Select and Unite each plane’s shape. Not counting the front face of either section, the top of the S has two planes while the bottom has four. Apply a Linear Gradient to each plane with the Gradient Tool (G) and adjust the angle of the gradient in the Gradient panel. Underneath the top of the S, draw a solid triangle that serves as a cast shadow onto the bottom of the S.
I drew my shadow shape with the Pen Tool (P).
Step 9
I’ve decided to add more contrast to my 3D split text vector effect design by setting the front face of my S to teal.

Step 10
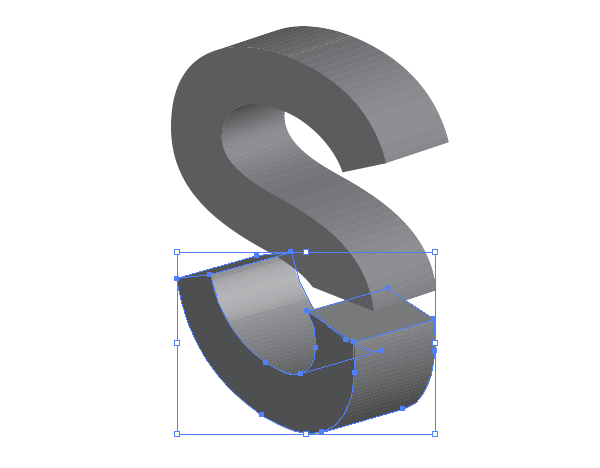
Continue Uniting each plane and applying a Linear Gradient to each. Note how the top edges of the bottom of the S are flat fill colors. Group (Control-G) all of your split S components.

Step 11
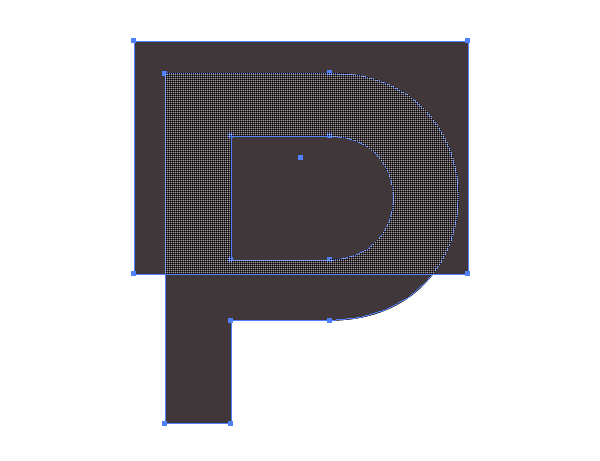
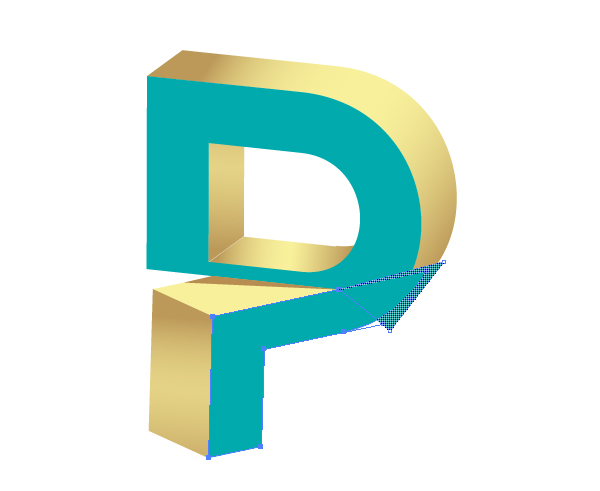
Let’s move on to a different letter. I chose a P since its shape works well with this particular text effect. Divide the Exanded letter object and delete any non-letter components.
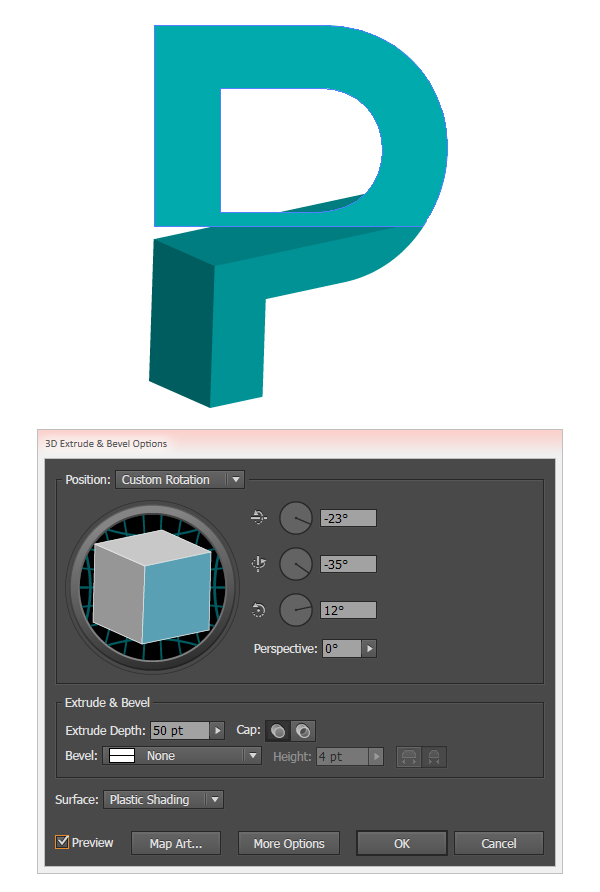
Step 12
Choose a bright color for your 3D split text vector effect design. Once again, I chose teal. Extrude the bottom of the P with the following attributes:
- X-Axis: -23°
- Y-Axis: -35°
- Z-Axis: 12°
- Extrude Depth: 50 pt
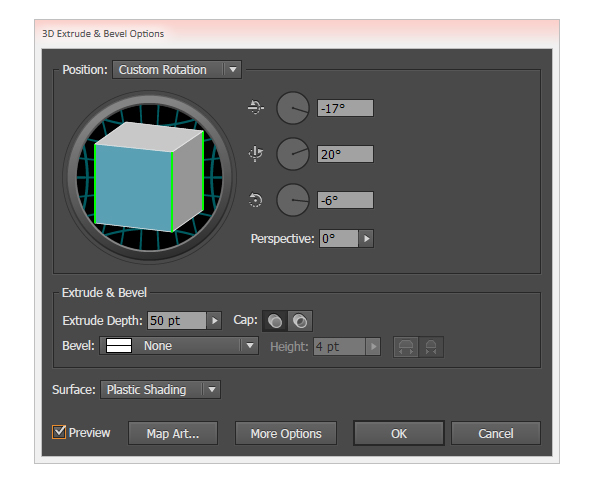
Step 13
Apply an Extrude effect to the top of the P with the following attributes:
- X-Axis: -17°
- Y-Axis: 20°
- Z-Axis: -6°
- Extrude Depth: 50 pt
Expand and Ungroup your letter components
Step 14
Once again, you’ll be Uniting your letter’s individual plane components in the Pathfinder panel. The top of the P has three planes to unite. The bottom of the P has only two.
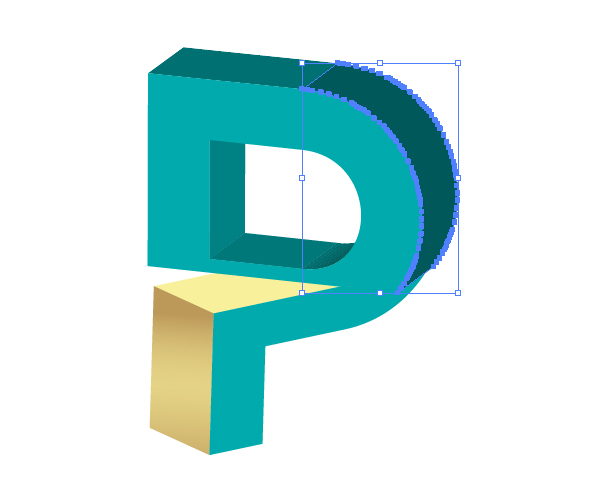
Step 15
Apply Linear Gradients onto the outer planes of the letter P. Adjust the angles of the gradients with the Gradient Tool.
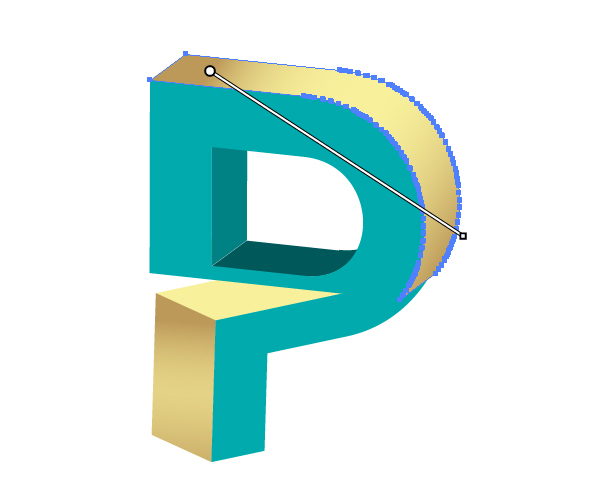
Step 16
Finally, after applying gradients to the planes on the bottom section of the P, draw overlapping triangle shapes with the Pen Tool. Use the Shape Builder Tool to delete any non-intersecting components of the triangular shapes from the body of the design.
Conclusion: 3D Split Text Vector Effect
Great job! Now that you’ve modified a couple different 3D split text vector effect letters, try out your name, business’s logo, or the entire alphabet! Share your results in the comment section below with your own spin on this text effect.
Author: Mary Winkler
Mary works under the brand Acrylicana® designing apparel, jewelry, and illustrating for companies like Disney, Jakks Pacific, Envato, and more. Check out Acrylicana.com for more artwork, tutorials, and more.


Thanks again for the article. Really thank you! Keep writing!.
Need this Eps or ai file
I have a question… when I use the 3D effect, my prior text always stays in the back and I have no idea why? I can see it behind my shape…
Can you create more tutorials about isometric elements ready for use in infographic? I mean some non-standard shape not like buildings. I would be really appreciate. 🙂
I will work on some pitches for sure. 🙂