
Get ready for Halloween in a spooky, goopy style with this slime vector text effect! Through offset paths, gradients, and various effects, we’ll whip up some mucky lettering.
Tutorial Details: Spooky Slime Vector Text Effect
- Program: Adobe Illustrator CC 2014
- Difficulty: Intermediate
- Topics Covered: Gradients, Appearance Panel, and Text Effects
- Estimated Completion Time: 40 Minutes
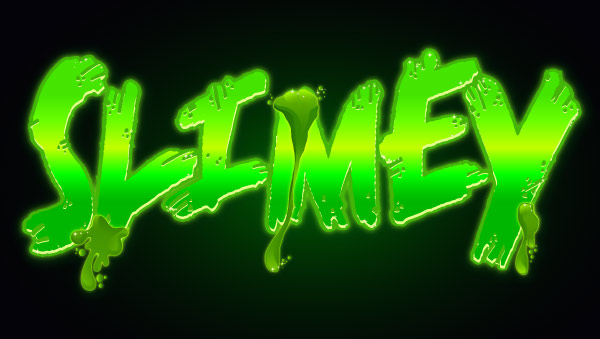
Final Image: Spooky Slime Text Vector Effect
Step 1: Slime Vector Text
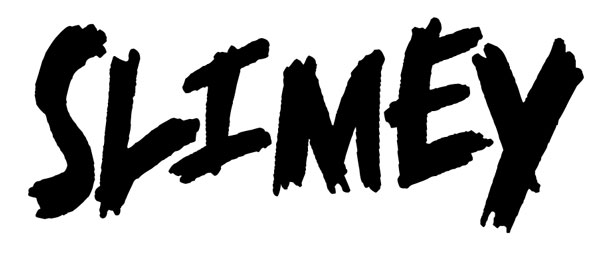
Create a New Layer and with the Text Tool (T) write a word (I chose an homage to my favorite Muppet from Sesame Street, Slimey the Worm) in the perfectly spooky font, “Alert Notice“. Expand the text under Object and Ungroup to rearrange the letters as you see fit.
Step 2
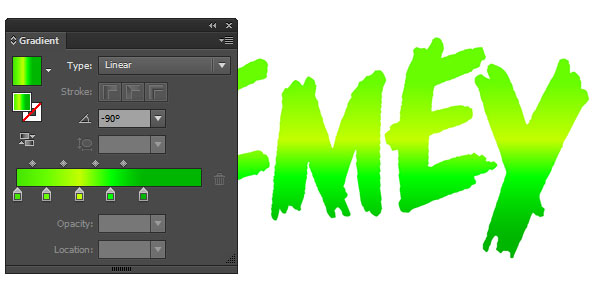
Once satisfied with the placement of your letters for this slime vector text, Unite them in the Pathfinder panel. Use the Gradient Tool (G) to apply a Linear Gradient of varying greens. I chose the following (from left to right):
#52dd00#6afa05#c5ff0d#09fc00#00b60b
In the Gradient panel, set the gradient’s angle to -90°.
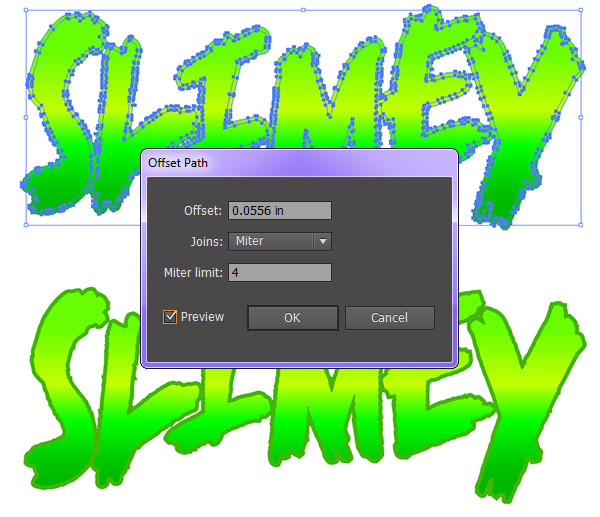
Step 3
Select the text group and go to Object > Path > Offset Path where you’ll enter 2px–4px to offset the path. Ungroup the offset letters from the original letters, place them behind the original letter group in the Layers panel, and set the fill color to the darkest green from the gradient in Step 2.
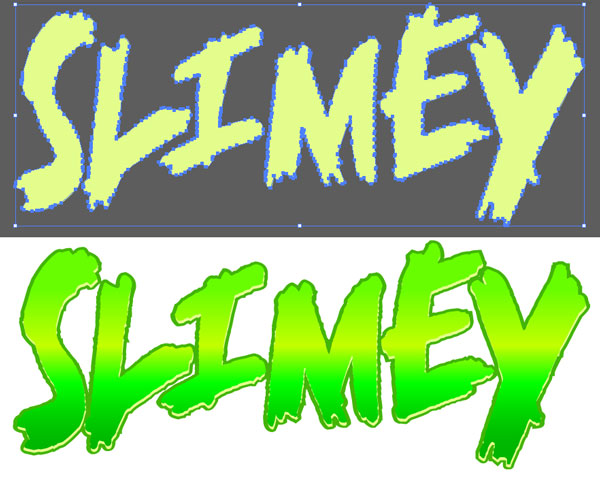
Step 4
Copy (Control-C) and Paste (Control-V) your text and change the fill color to #e4fc8c. Place this new group beneath the main text but above the offset text group in the Layers panel. Use the Selection Tool (V) to move the new text down and to the right a bit so it peeks out from under the main word of the slime vector text.
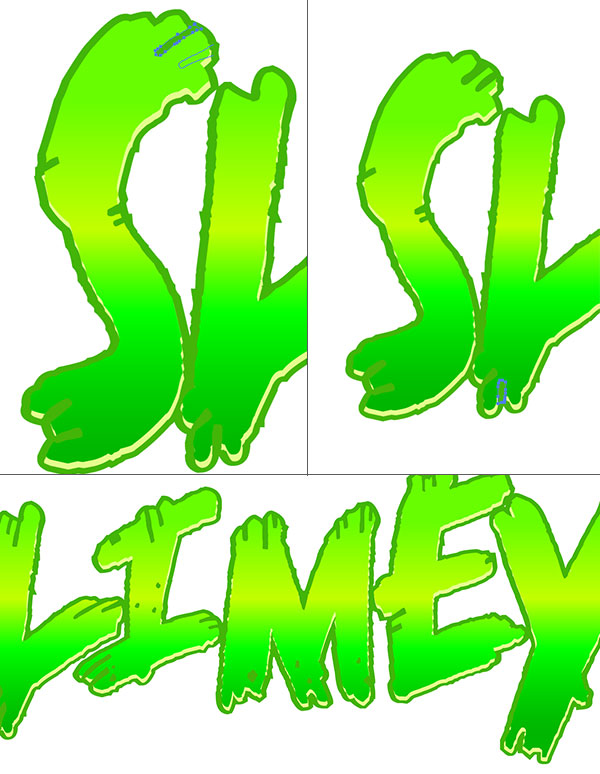
Step 5
Using the Pencil Tool (N), draw dark green shapes all over the letters to quickly create “slices” in the lettering. The goal is to make the lettering look like it’s wearing away, possibly decomposing. I found it easiest to Select the little particle shapes drawn during this step and Group (Control-G) them together, keeping my Layers panel well organized.
Step 6
Using the Pencil Tool again, we’re going to draw additional drizzles of slime. I chose to have the slime drip off the ends of the second and last letter and the top of the M near the middle.
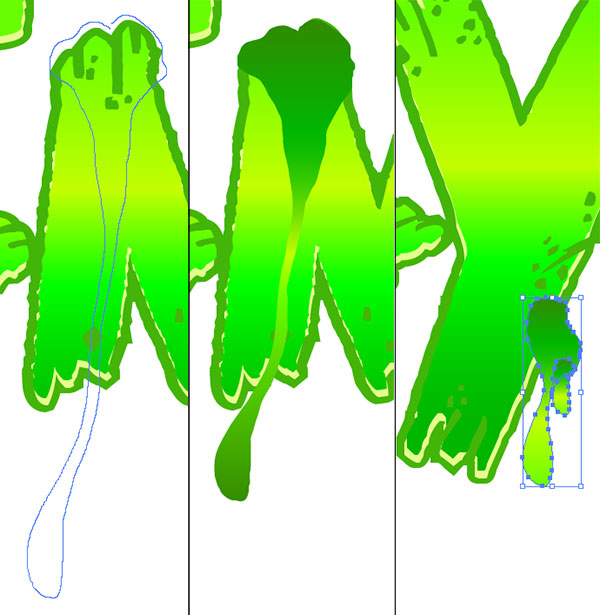
Step 7
Set the fill color of your slime drips to dark green (#358900).
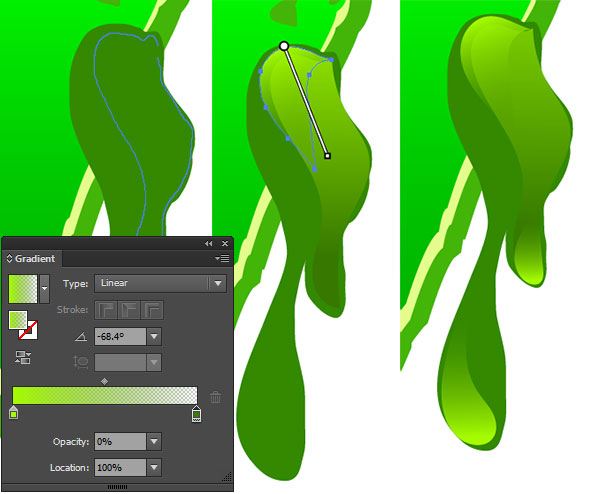
Step 8
Using the drawing tool of your choice (again, mine is the Pencil Tool for its versatility in drawing drip-like shapes) and draw shapes over the slime vector text drips that follow their contour and serve as highlights. I applied a Linear Gradient of bright green (#a5f906) at 100% Opacity to dark green (#358900) at 0% Opacity. I angled the lighter color of the gradient toward the roundest part of the highlight shape.
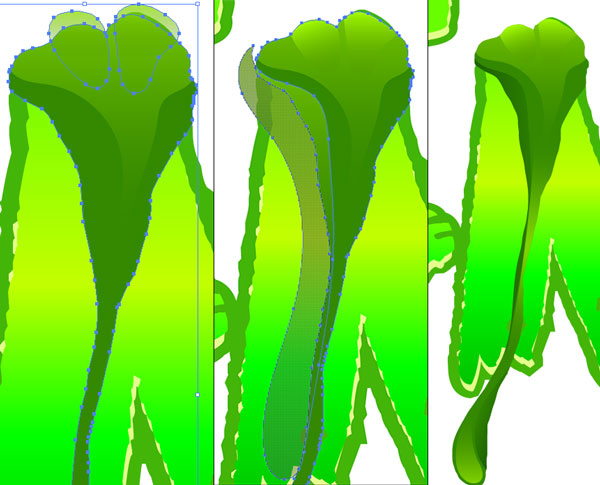
Step 9
Continue drawing overlapping gradient shapes on the slime vector text drips. I found it easiest to use the Shape Builder Tool to select the non-intersecting portion of the highlight shape and then delete it in order to get a perfectly contoured highlight. Adjust the Opacity of any highlights or shadow shapes in the Transparency panel to your liking.
Step 10
Group together your text components and then group together your slime drip components. You’ll need two groups to work with in the next five steps.
Step 11
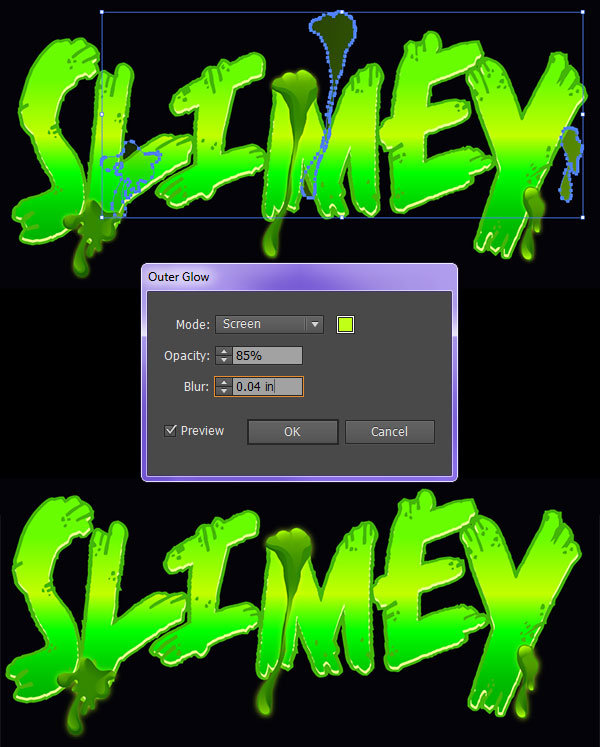
Copy and Paste the slime drips base shapes and Align them with the original slime drip group. Select the copied group and go to Effect > Stylize > Outer Glow and apply the following attributes:
Mode:
- Screen
Color:#c1ff16Opacity:
- 85%
Blur:
- 0.04 in
Step 12
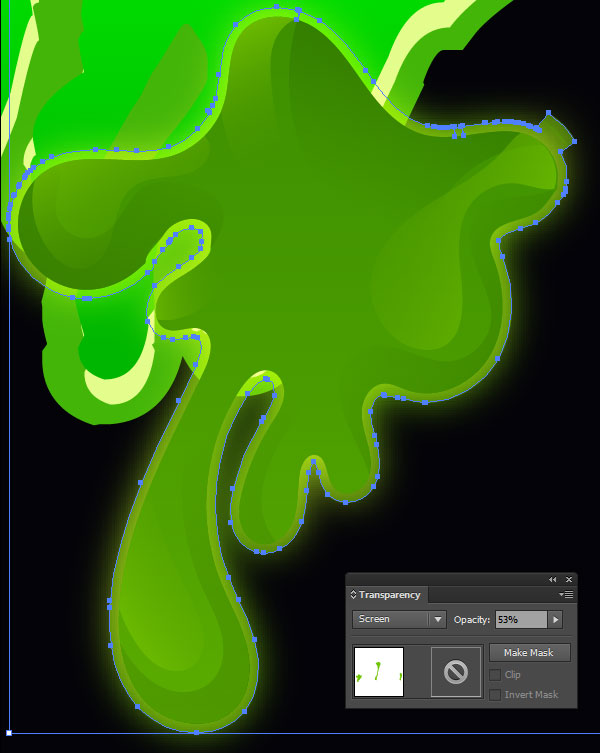
Select the glowing slime drip group and Offset the shapes by 2 pixels. Set this offset shape’s fill color to green (##6afa05), Blend Mode to Screen, and Opacity to 53%.
Step 13
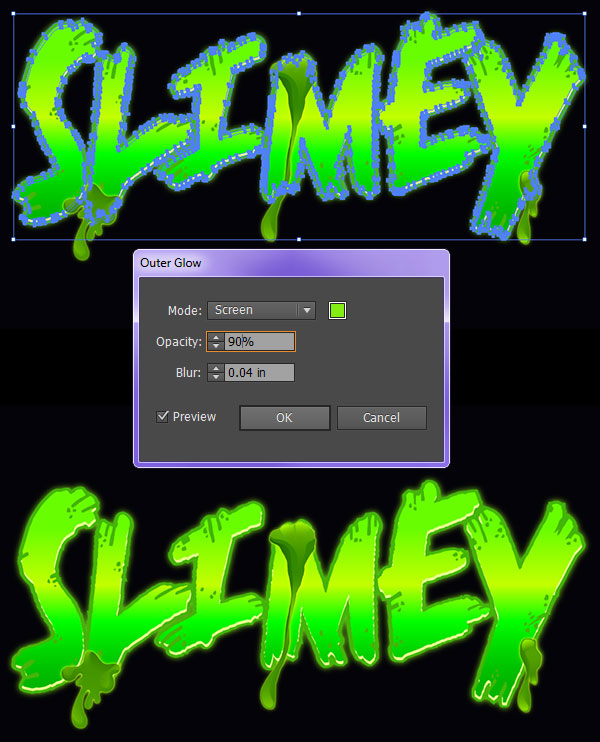
Select the text group and apply an Outer Glow with the following attributes:
Mode:
- Screen
Color:#84ed14Opacity:
- 90%
Blur:
- 0.04 in
Step 14
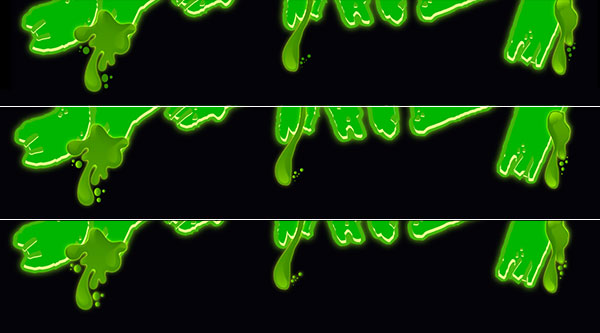
Use the Ellipse Tool (L) to draw small circles and such around the slime drips. Apply the same fill color, gradient, and Outer Glow effect from Steps 7-11. Group all text and slime components together.
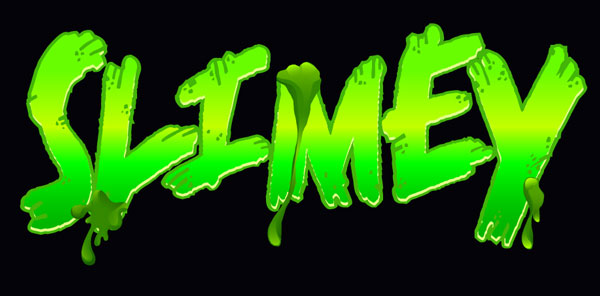
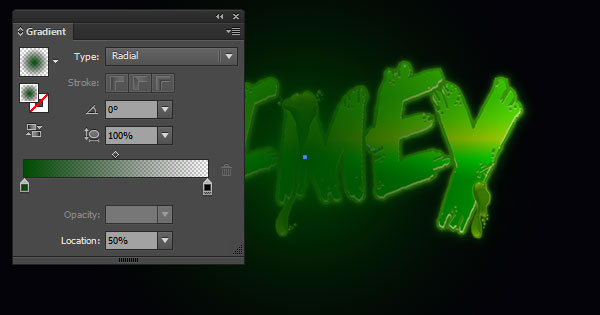
Step 15
Use the Rectangle Tool (M) to draw a large, black rectangle behind the slime text effect group. Copy and Paste the background rectangle and apply a Radial Gradient that goes from dark green (#358900) at 100% Opacity to black at 0% Opacity. Make sure the gradient shape is behind the main text in the layers panel.
Conclusion: Slime Vector Text!
With an effective use of glowing edges, offset paths, gradients, and manipulating text, we’ve got slimy text and a silly word to ring in the Halloween season. Have a delightfully creepy Halloween and show us your slime vector text effect in the comments below!
Author: Mary Winkler
Mary works under the brand Acrylicana® designing apparel, jewelry, and illustrating for companies like Disney, Jakks Pacific, Envato, and more. Check out Acrylicana.com for more artwork, tutorials, and more.


I needed to write you one very little observation so as to thank you yet again with your incredible solutions you’ve shown on this page. This is so wonderfully generous of you to convey freely just what a number of us could have made available as an electronic book to make some cash on their own, certainly given that you might have done it if you desired. Those techniques in addition acted to provide a easy way to understand that some people have similar dream much like my very own to understand whole lot more pertaining to this condition. Certainly there are numerous more enjoyable occasions ahead for individuals who read your blog post.
Thanks