Tutorial Details:
- Program: Adobe Illustrator CS6-CC
- Difficulty: Intermediate
- Topics Covered: Shape Building, Offset Path, Pattern Tool, Swatches panel, Scale Tool
- Estimated Completion Time: 20 Minutes
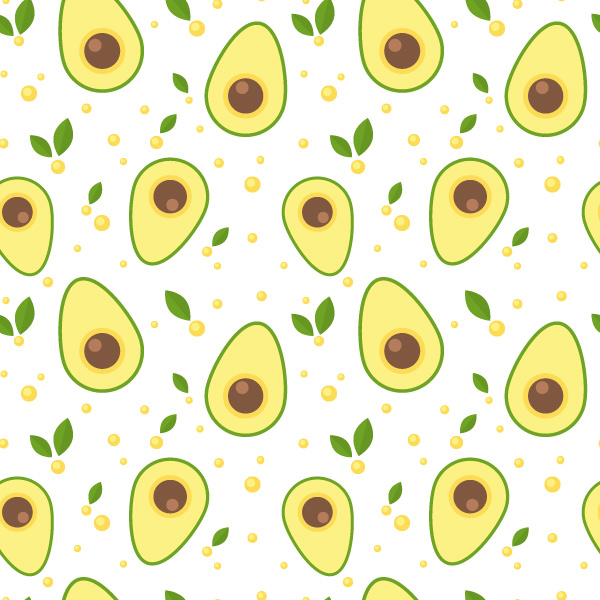
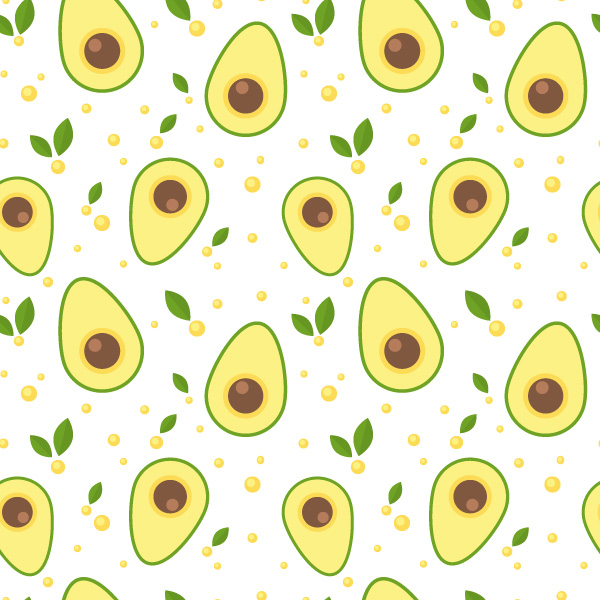
Final Image: A Seamless Avocado Pattern!
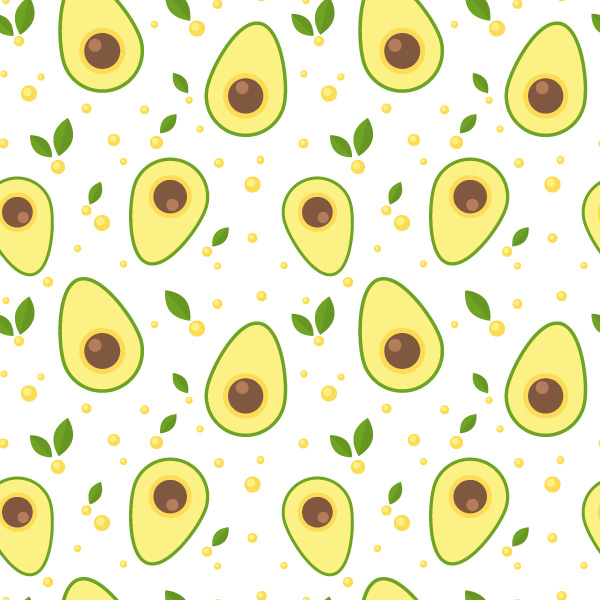
Trying to design a pattern by yourself can be the pits. But in this tutorial, we’ll go over easy, effective ways to create a flat-style avocado pattern using simple geometric shapes and Adobe Illustrator’s Pattern Tool. We’ll build a vivid and diverse seamless pattern, adding leaves and other yummy elements. Let’s get started!
Step 1
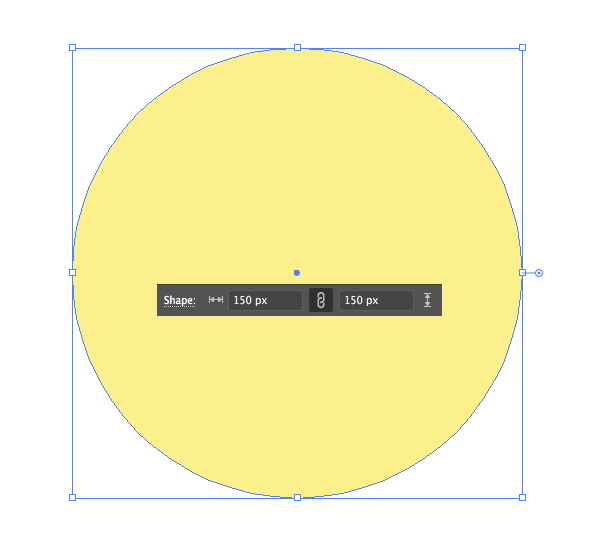
Take the Ellipse Tool (L) and let’s start with a 150 x 150 px light-yellow circle.
Step 2
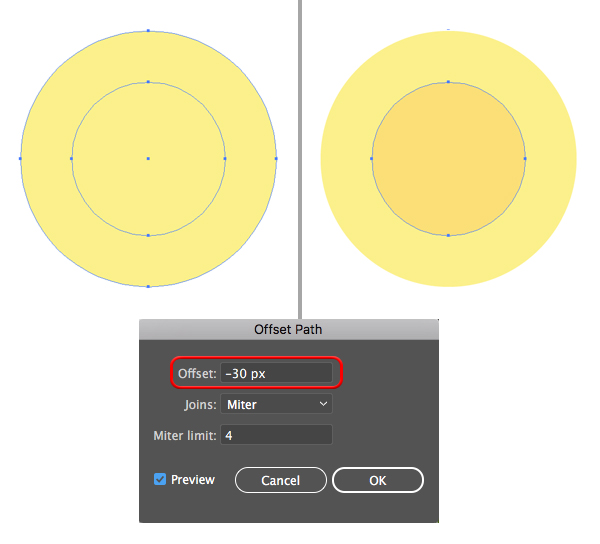
Keeping the circle selected, go to Object > Path > Offset Path and set the Offset value to -30 px, leaving all other options as default. Click OK to create a smaller circle on top of the shape.
Make the color of the new shape slightly darker.
Step 3
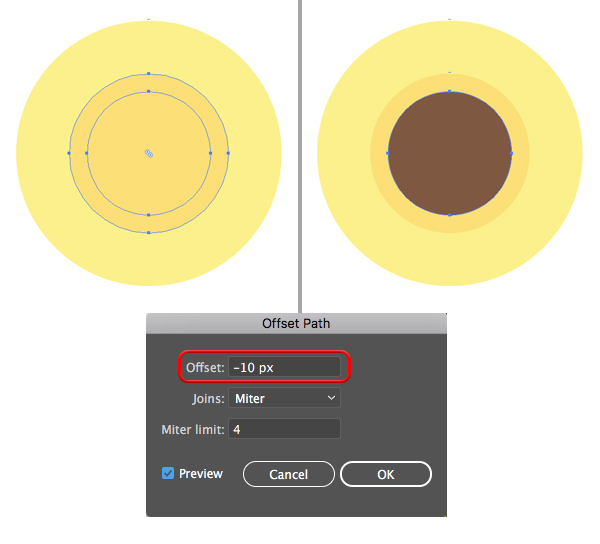
Select the created circle and apply Offset Path once again, but this time set the Offset value to -10 px. Fill the new shape with dark-brown color, depicting an avocado seed.
Step 4
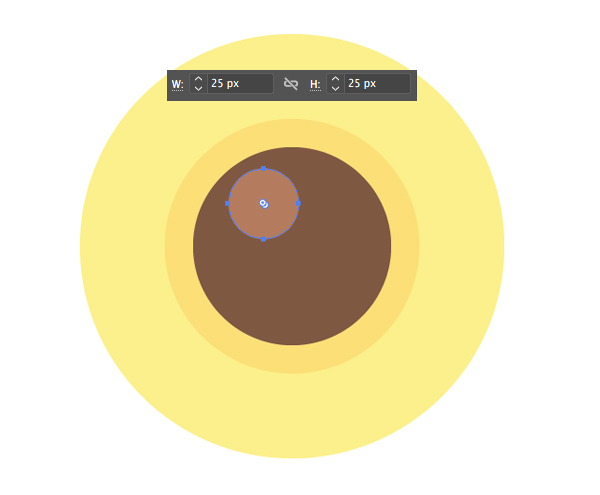
Add a small 25 x 25 px light-brown circle on top of the seed for the highlight.
Step 5
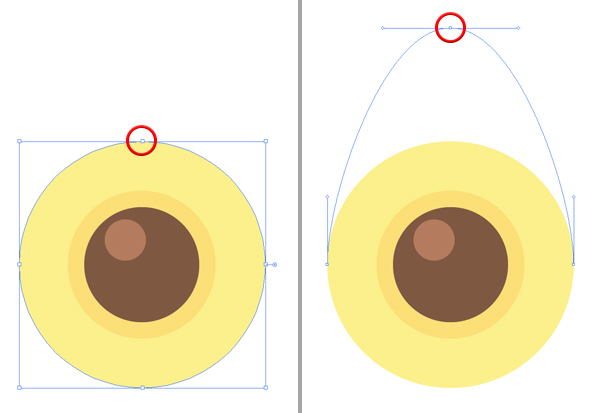
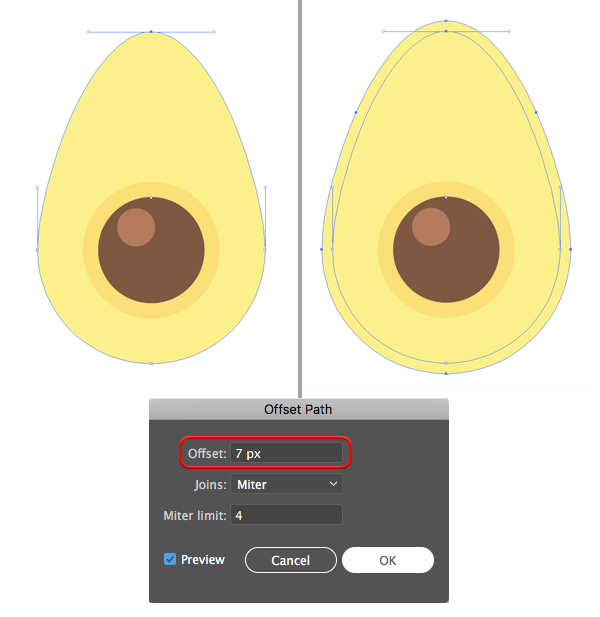
Now take the Direct Selection Tool (A), click the top anchor point of the largest circle and drag it up, giving a proper shape to our avocado.
Get millions of stock images and videos at the best price
Unlimited access. No attribution required. Starts at just $9/month.
Step 6
Keeping the modified shape selected, apply Offset Path with 7 px Offset value to create the skin.
Step 7
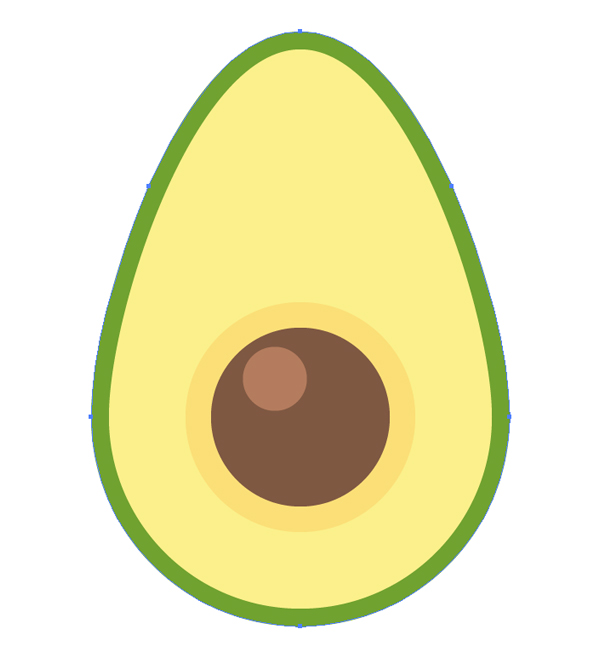
Fill the new shape with dark-green color for the skin.
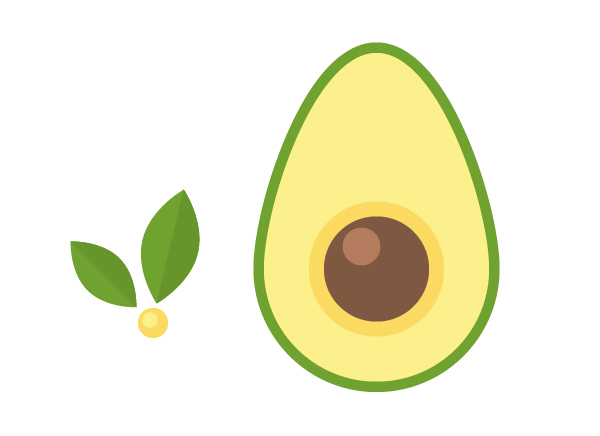
Looking good! Our avocado is finished, but that’s not all. Let’s see whal else can we make for our pattern.
Step 8
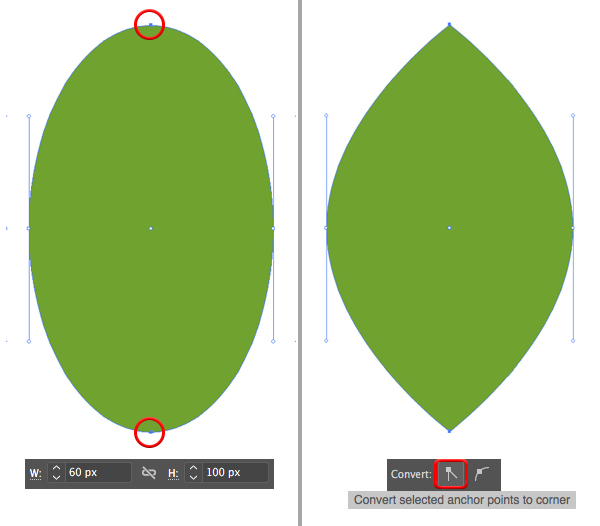
Let’s depict a simple leaf that we’ll use for the pattern as well. Make a 60 x 100 px green oval with the help of the Ellipse Tool (L).
Select its top and bottom anchor points with the Direct Selection Tool (A) and use the Convert option in the control panel on top to Convert selected anchor points to corner.
Step 9
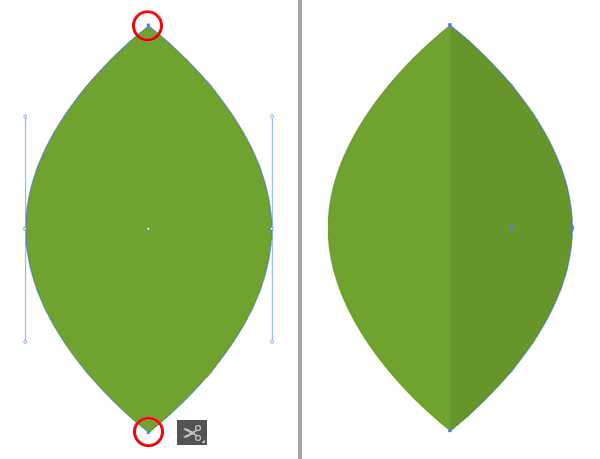
Take the Scissors Tool (C) and click top and bottom anchor points to split the shape apart. Fill the right half with darker green color and Group (Control-G) both parts.
Step 10
Let’s duplicate (Control-C > Control-V) our leaf and combine both leaves with a group of circles to make a yellow berry.
Now all the main elements are made, so let’s start creating our pattern!
Select the objects and go to Object > Pattern > Make.
Step 11
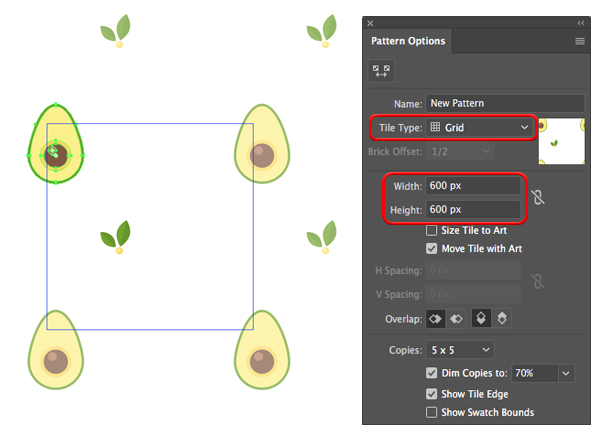
Now that we’re in the Pattern Mode, let’s head to the Pattern Options panel and set the Width and Height of the Tile to 600 x 600 px. Keep the Tile Type set to Grid.
If you set the number of Copies to 3 x 3 or 5 x 5 you’ll be able to see semi-transparent clones of all the objects around the Tile area. This way we can imagine how our future pattern will look like, making the composition balanced.
Step 12
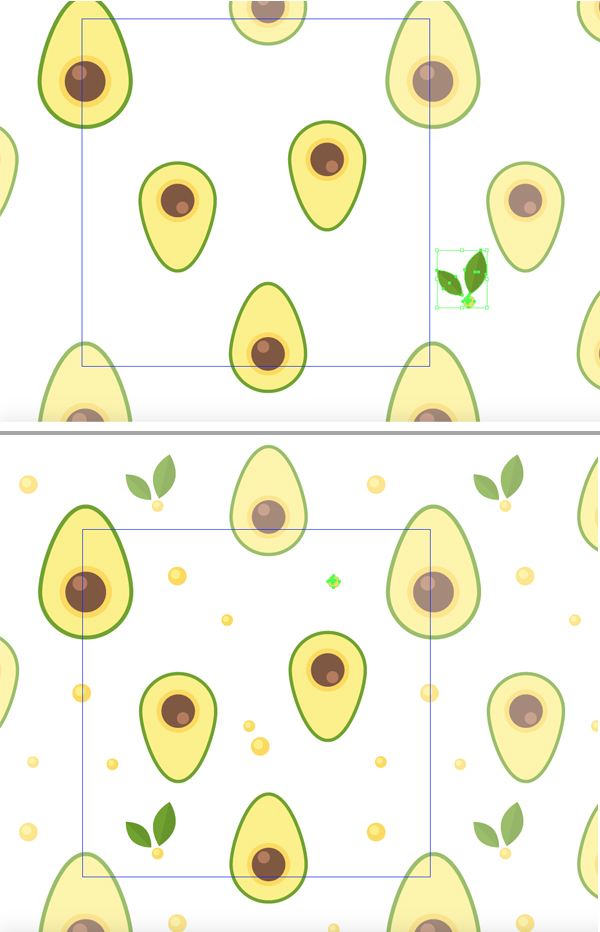
Let’s duplicate and rotate our avocado, varying the size and position of the copies to make the pattern more diverse.
Once you’re happy with the position of the avocados, start adding berries to fill up the blank spaces.
Step 13
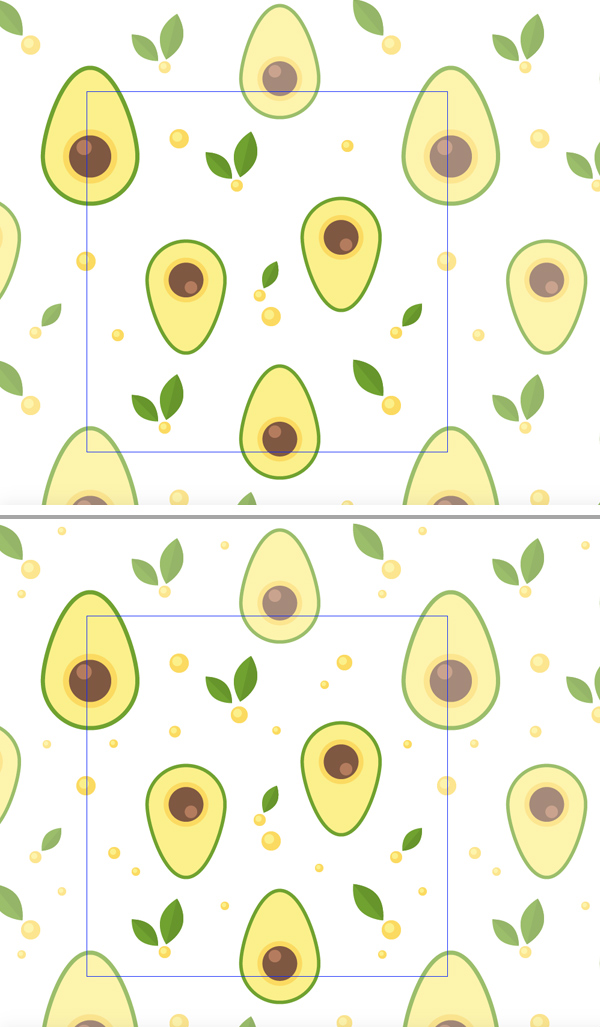
Go on and place the leaves here and there, adding a fresh green accents to our pattern.
Step 14
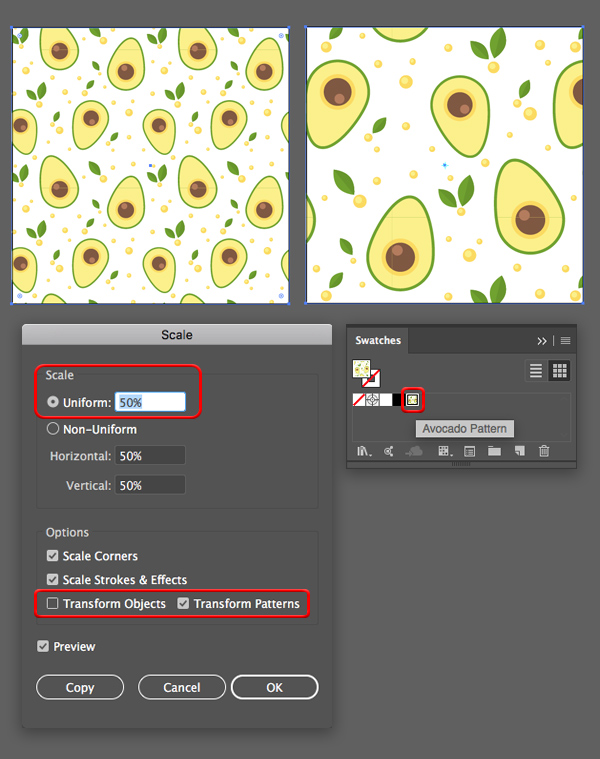
When you’ve finished with adjusting and positioning all the details, click Done in the top part of your document to exit the Pattern Mode. Now we can find our pattern in the Swatches panel and apply it to any object simply by clicking it. We can also return to Pattern Mode and edit our pattern anytime either by clicking the Edit Pattern button in the Swatches panel or by double-clicking it.
Another useful tool for editing our pattern is the Scale Tool (S). Let’s see how it works.
Make a 600 x 600 px square using the Rectangle Tool (M) and apply our pattern. Double-click the Scale Tool (S) to open the Options window. Set the Uniform Scale to 50%. Don’t forget to untick the Transform Objects box in order to scale only the pattern itself, not the whole rectangle. And there you have it!
Holy Guacamole, Our Seamless Avocado Pattern is Finished!
Great job, guys! You can now design an avocado pattern in Adobe Illustrator. I hope you enjoyed this tutorial and learned some new tricks, too.
Creating flat objects and turning them into seamless patterns is easier than it looks, so have fun and keep creating new designs!
