

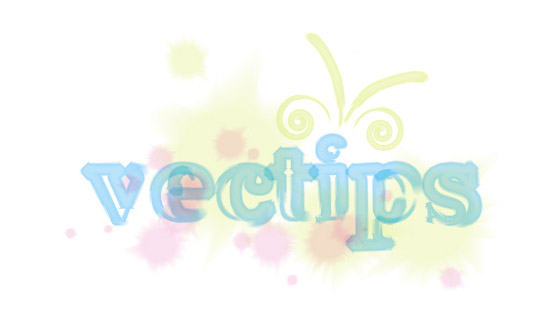
Spring is here! During this season, I often think of pastels, fresh airy designs, and watercolor effects. So, in the following tutorial I will explain how to create a couple watercolor brushes, transfer those to a watercolor text vector effect, and at the end of the tutorial you can download some Free Vectips Watercolor Brushes!
Notes: Watercolor Text Vector Effect
This watercolor text vector effect tutorial was created with Illustrator CS3.
Keyboard shortcuts are displayed in orange. ⌘ is displayed for the Command key (mac), with the Ctrl key being the Windows equivalent (not displayed).
Watercolor Art Brush
You might be saying “Doesn’t Illustrator already supply you with some watercolor brushes?” You are right, but the brushes we are going to create for our watercolor text vector effect have soft edges that blend well together, making them look more like watercolor brushes.
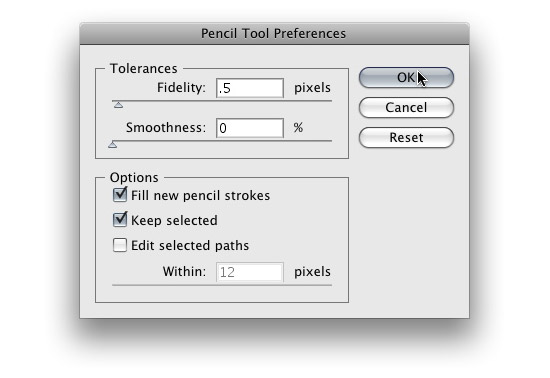
To start, you will need to set the some of the Pencil Tool’s setting. Double-click on the Pencil Tool (n) in the Tools Panel to bring up the Pencil Tool Preferences dialog. In this dialog, you want the Fidelity to be .5 pixels , just like in the Vectortuts tutorial.
Start drawing a brush stroke shape with the Pencil Tool (n), around a height of .25 inches and a length of 2 inches. It does not have to be exact, just rough dimensions for your first brush. Make sure to create some rough edges in the brush, this really helps the “bleeding” effect you get with watercolors. Also, make sure to close the path for the brush shape you just created. An easily way to close the path is to hold down Option / Alt right before you are done drawing, as explained in a previous post. Fill the shape with white and no stroke.
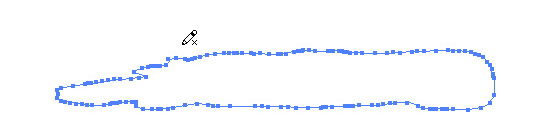
Next, draw a smaller brush stroke shape within the first one with the Pencil Tool (n) and make sure the paths don’t overlap. If you are having problems seeing the first shape, (because the color is white) just have the first shape still selected with you are drawing the second one. Fill the new shape with a 40%black and no stroke.
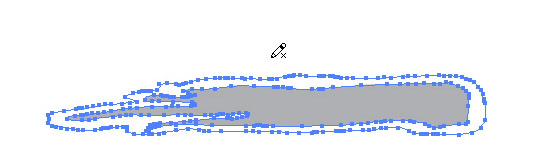
Draw a third shape inside the second one, remembering to close the shapes and not to overlap. Fill this shape with a 30% black and no stroke.

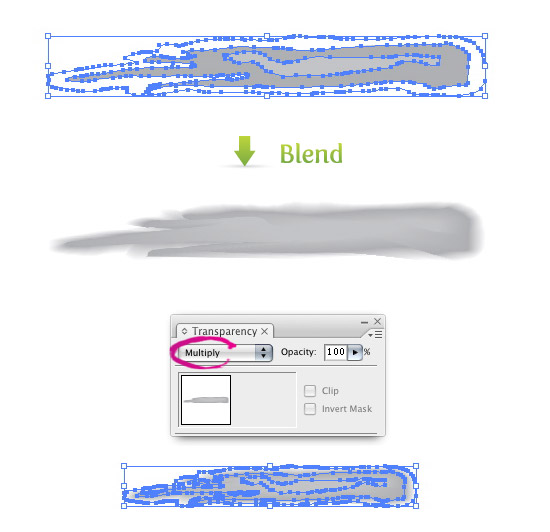
Once the three shapes are drawn, select all three and create a Blend by going Object > Blend > Make (⌘ alt/option b). If you do not have a smooth blend (they looked stepped) make sure that your shapes are closed and not overlapping each other. You can also check your Blend Options by going Object > Blend > Blend Options. Make sure it is set to Smooth Color. With the Blend selected, choose Multiply from the drop-down menu in the Transparency Panel.
Next, select your blend and drag it into the Brush Palette with the Selection Tool (v). When the New Brush dialog opens, select New Art Brush to bring up the Art Brush Options dialog. Go down to the bottom of the dialog to the Method and choose Tints from the drop-down list. This will let you change the color of the brush without creating a new brush.

Now you have a brush that you can create a watercolor text vector effect with! Just use the Brush Tool (b) to paint with it or apply it to any path. Don’t stop there, try to make other watercolor brushes, like the ones you can download at the bottom of the post!

Watercolor Scatter Brush
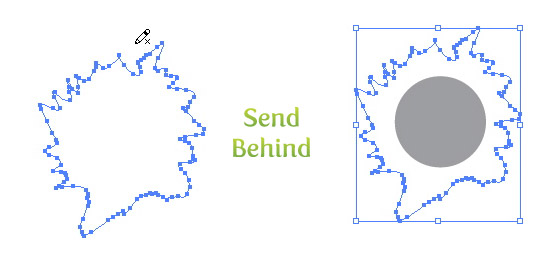
Create a ellipse with the Ellipse Tool (l), roughly .25 inches by .25 inches. Fill the circle with a 40% black and no stroke.

Next, use your Pencil Tool (l), with the same settings as the previous Art Brush, and create a burst shape around the ellipse. Again, make sure the path is closed. Fill the burst shape with white, no stroke, and send behind the original shape by going Object > Arrange >Send Backward (⌘[).
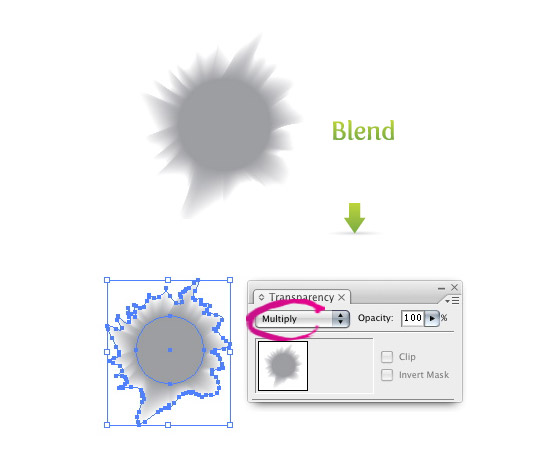
Select both shapes and create a Blend, then choose Multiply from the drop-down menu in the Transparency Panel.
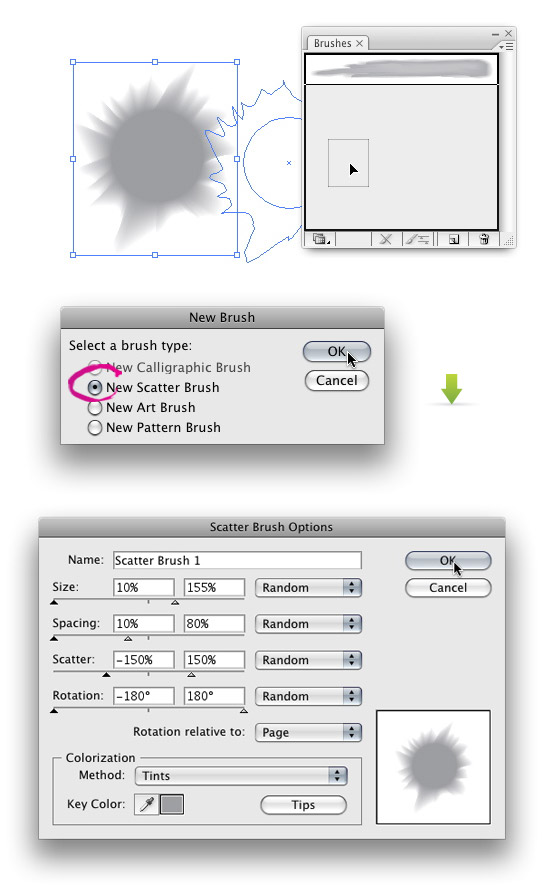
Next, drag the blend into the Brush Panel. Select New Scatter Brush to bring up the Scatter Brush Options dialog and change the following options.
- Size = Pick Random from the drop-down menu and change the first field to 10% and the second field to 155%.
- Spacing = Pick Random from the drop-down menu and change the first field to 10% and the second field to 80%.
- Scatter = Pick Random from the drop-down menu and change the first field to -150% and the second field to 150%.
- Rotation = Pick Random from the drop-down menu and change the first field to -180° and the second field to 180°.
- Colorization Method = Select Tints from the drop-down menu.
Now you have a nice Watercolor Scatter Brush to play with. Like with the Watercolor Art Brush, try out different shapes and different Scatter Brush Options and see what kind of watercolor text vector effect looks you can come up with.
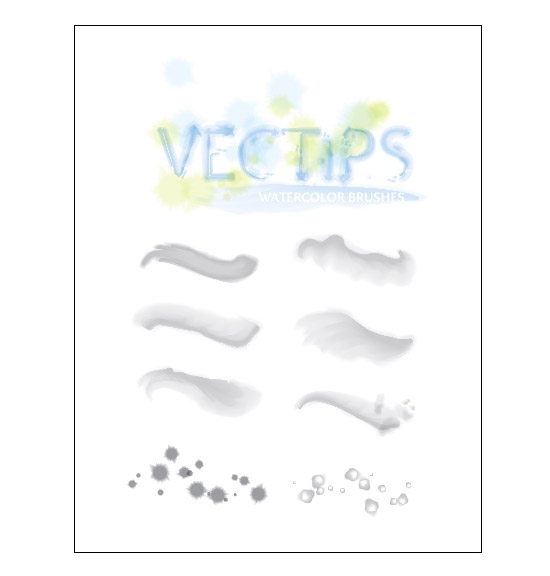
Free Watercolor Brushes
I have created a set of brushes that you can download to use in your watercolor text vector effect designs. Just click the download button below to download the Illustrator File. The artwork on the document is just an image to keep the file size down. To use the brushes, select one of the brushes from the Brush Palette to use with the Brush Tool (b) or apply to a path.


Great tutorial. Thanks
Nice sharing and very useful
I wanna try it, thank you vectips
very useful, thank you very much!