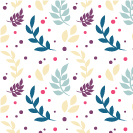
 Have you ever wanted to create your own intricate pattern for a website background or textiles and clothes or wrapping paper? Join me in this tutorial and let’s learn to design a gentle floral seamless texture! First of all, we’ll create an Art Brush for floral elements and plants. And then we’ll be using the Pattern Tool to build a pattern in a few clicks!
Tutorial Details:
- Program: Adobe Illustrator CS6 – CC
- Difficulty: Intermediate
- Topics Covered: Shape Building, Brush Tool, Art Brush, Pattern Tool
- Estimated Completion Time: 20 Minutes
Final Image: Floral Seamless Pattern
Step 1
Before we start, let’s define the color palette that we’ll be using for our pattern. I’m in love with bright, pastel and retro-style colors, so I’ve picked a few matching samples. You can right mouse click and save the screenshot below and then File > Place it into you Adobe Illustrator document. Use the Eyedropper Tool (I) to pick the colors from the squares and apply them to your future objects. Otherwise, go ahead and make up your own unique palette.
Step 2
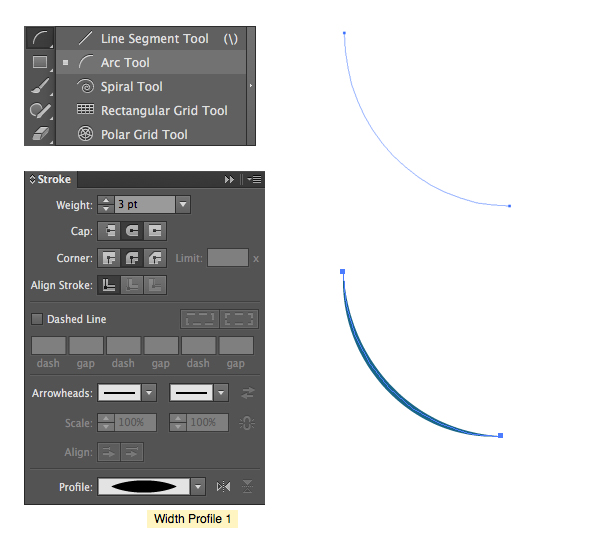
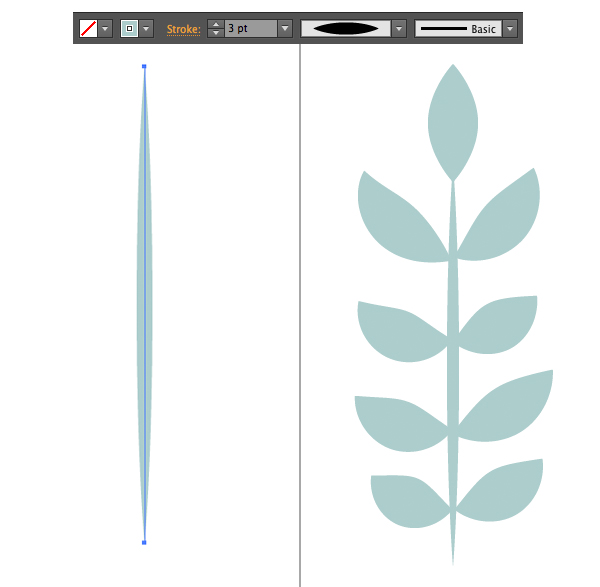
Let’s start making our first plant from a stem. Find the Arc Tool in the same drop-down menu as the Line Segment Tool (\) and select it. Create an arched line and apply a dark-blue Stroke. Head to the Stroke panel and set the Weight to 3 pt. Change the Profile to Width Profile 1 in the very bottom of the panel.
Step 3
Now let’s create our own brush for the leaves!
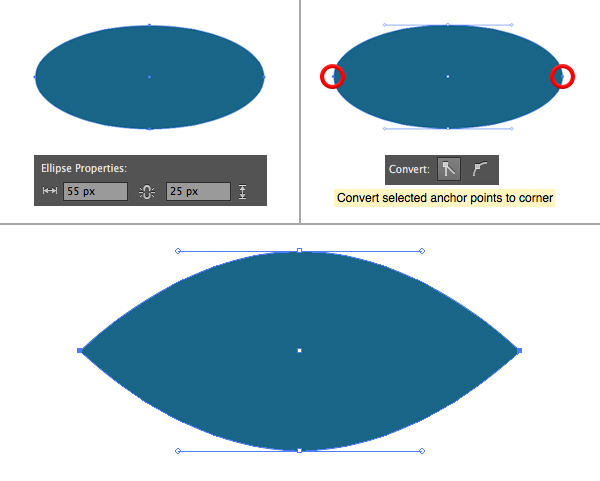
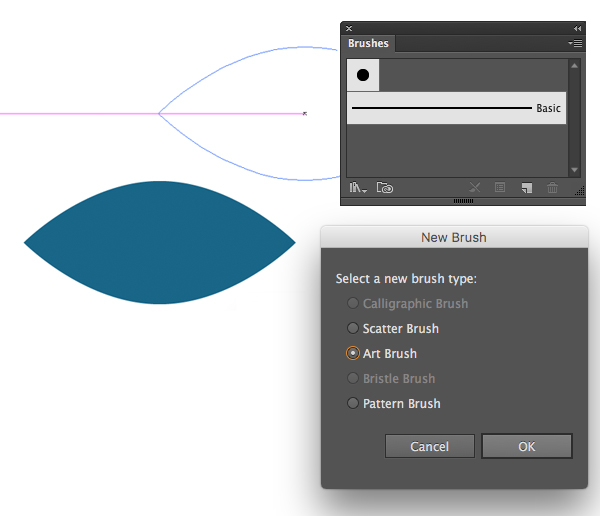
Take the Ellipse Tool (L) and make a 55×25 px dark-blue oval. Use the Direct Selection Tool (A) to select left and right anchor points and convert selected anchor points to corner, using the Convert function in the control panel on top.
Step 4
Open the Brushes panel (Window > Brushes), drag and drop our leaf onto the panel and create a new Art Brush.
Step 5
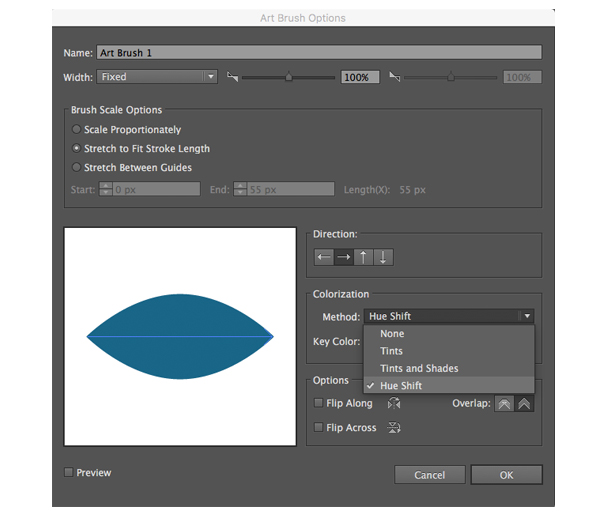
Here in the pop-up options window, we can adjust the Width of our brush, its Direction and other parameters. This time we’ll leave everything as default except the Colorization Method. Set it to Hue Shift in order to be able to change the colors of the elements while using our brush.
Step 6
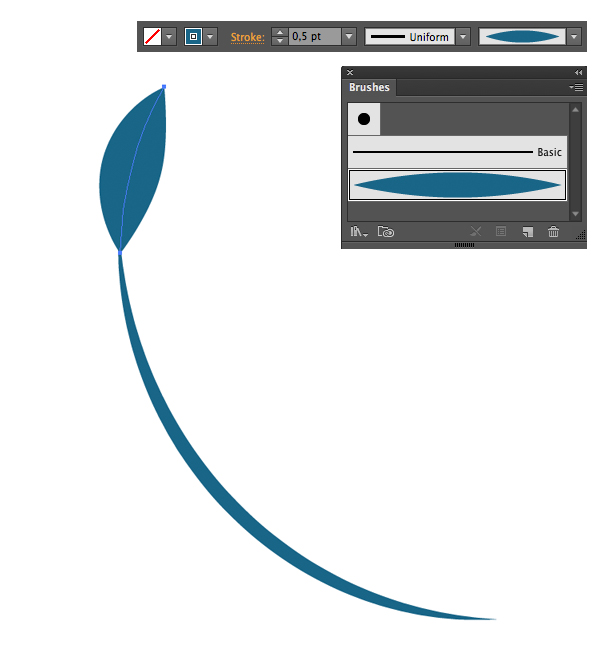
Now that our brush is ready, let’s try it out! Take the Paintbrush Tool (B) and make a stroke, creating a leaf. Adjust the size of the leaf by changing the Stroke Weight in the control panel on top. Set the Stroke to 0,5 pt and see how it looks. Make it larger or smaller, depending on the size of the stem.
Step 7
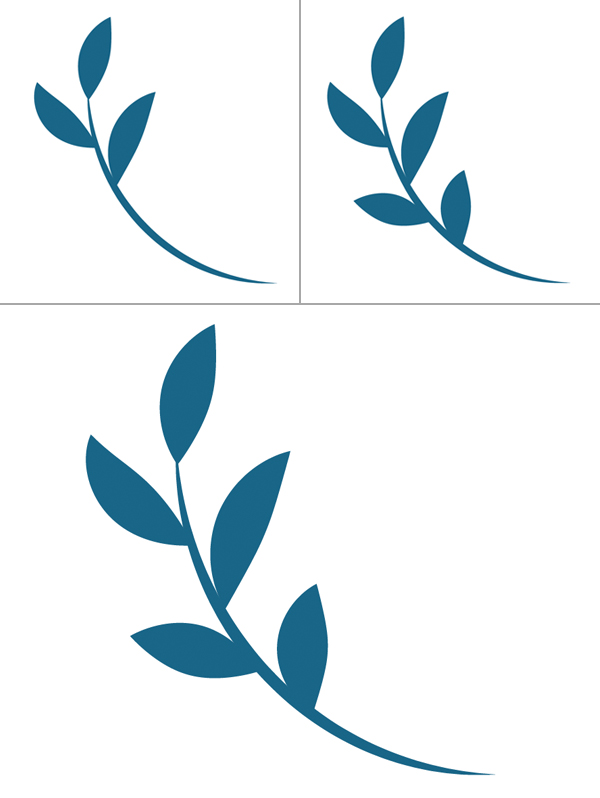
Continue adding leaves. The advantage of using a brush is that every leaf looks unique and a bit different. The objects don’t seem to be copy-pasted, what makes the plant more realistic.
Step 8
Let’s create another floral element, using the Line Segment Tool (\) for the stem and adding leaves with our brush.
Step 9
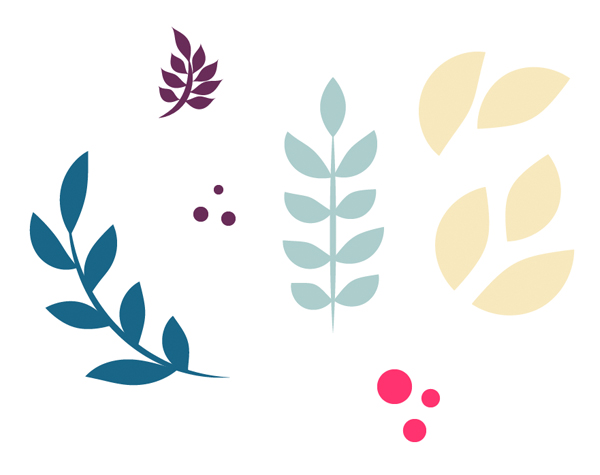
Create more elements for our pattern, adding some leaves and small round berries, using the colors from our palette.
Step 10
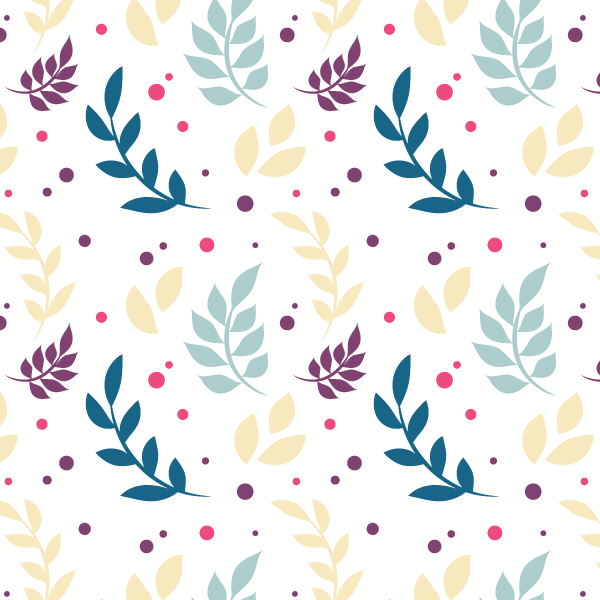
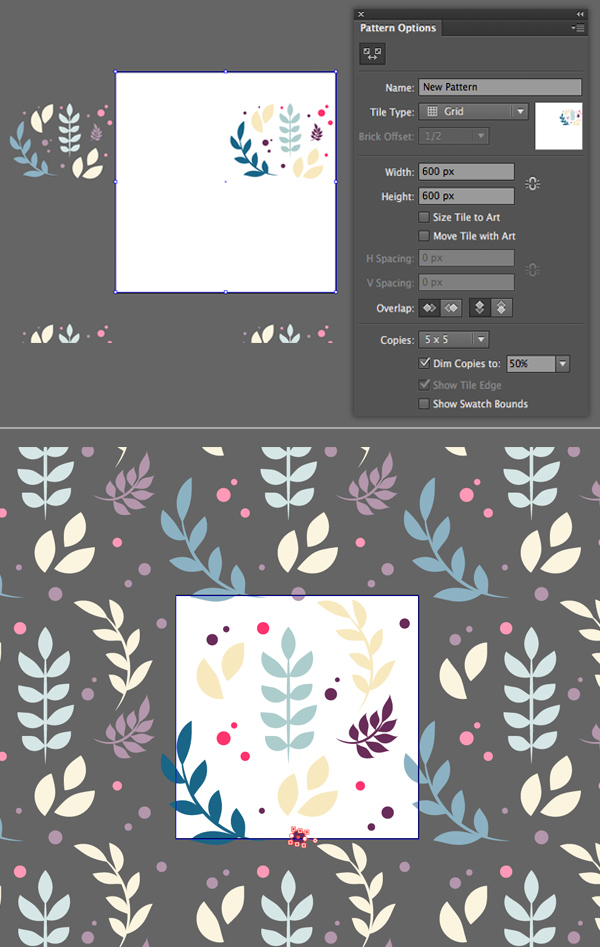
Select all the elements and go to Object > Pattern > Make. Head to the Pattern Options panel and from here we can select the desired Tile Type, Tile Size and other parameters. Let’s set the Tile Type to Grid and set the Width and Height to 600×600 px.
Make the elements larger, if needed, and spread them over the Tile area. You can notice semi-transparent copies of the objects outside the canvas, which change in real-time and help to see how the pattern will look like.
Move the elements around so that there are no gaps or empty spaces, making the texture look balanced and uniform.
Step 11
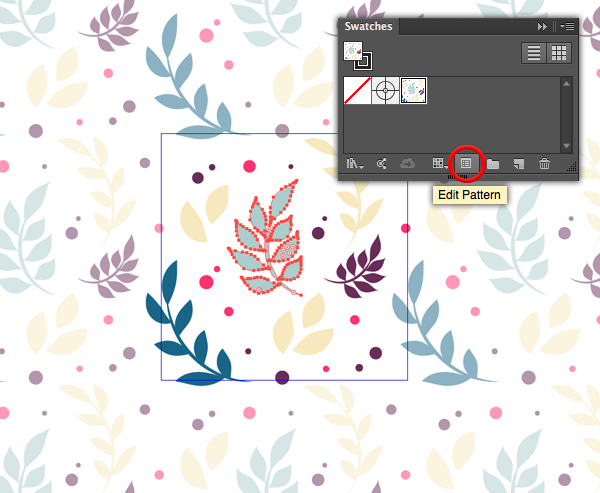
As soon as you’re happy with your pattern, double-click anywhere outside the Tile area or hit the Done button on top to exit the isolation Pattern mode. Now we can find our pattern in the Swatches panel (Window > Swatches) and apply it to any shape.
Remember that we can always edit our pattern, changing any colors or elements by clicking the Edit Pattern button in the Swatches panel. For example, I decided to replace the straight vertical stem with a copy of an arched plant. Now the pattern looks much better!
Voila! Our Gentle Floral Pattern is Finished!
Great job! Now we can apply our pattern to 600×600 px square and export it. Such patterns look great as backgrounds for blogs or websites, as fabric for fancy clothes, wrapping paper and so on.
I hope you’ve discovered some new tips and tricks that will be useful for your future pattern designs. Have fun!
Author: Yulia Sokolova
2D/3D artist and tutorial instructor, focusing on character creation, icons, lettering design, and illustrations.




Actually love the pattern on the dark grey (illustrator grey) background.
What an easy process! Thank you for your tip. It helped me so much.
Tutes!
Have you uploaded patterns to Spoonflower? If so, do any adjustments need to be made, especially for wallpaper, so the pattern seams match up?
Thank you and your tires are amazing!!