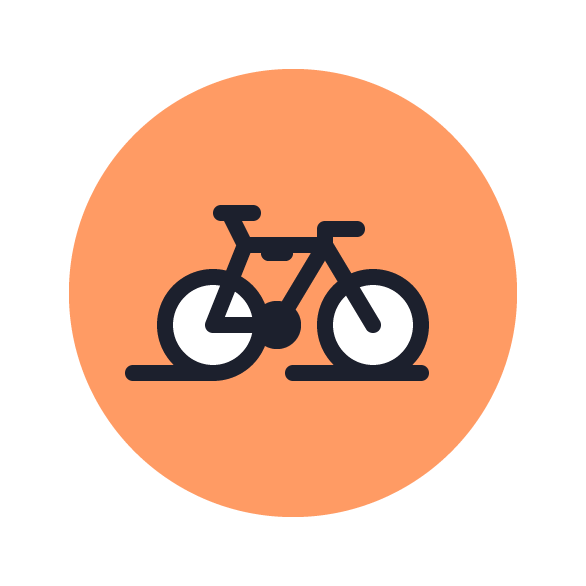
In today’s tutorial we’re going to take a quick look behind the process of creating a bicycle icon using nothing more than a couple of basic geometric shapes that we’re going to adjust here and there.
So, assuming you already have the software up and running, let’s jump straight into it!
Tutorial Details: Bicycle Icon
- Program: Adobe Illustrator CS6 – CC 2019
- Difficulty: Beginner
- Topics Covered: Design Theory, Compositional Construction, Shape Alignment, Grid Positioning
- Estimated Completion Time: 25 Minutes
Final Image: Bicycle Icon
Step 1
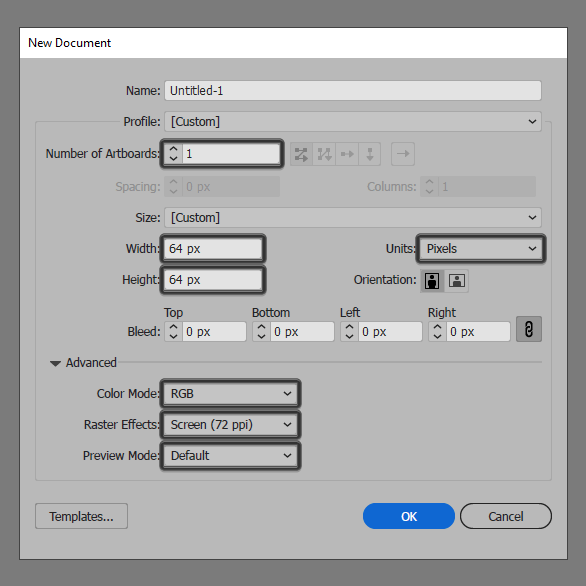
As with every new project, we’re going to kick things off by setting up a New Document, by heading over to File > New (or by using the Control-N keyboard shortcut), which we will then adjust as follows:
- Number of Artboards: 1
- Width: 64 px
- Height: 64 px
- Units: Pixels
And from the Advanced tab:
- Color Mode: RGB
- Raster Effects: Screen (72ppi)
- Preview Mode: Default
Quick tip: most of the indicated settings can be automatically triggered if you set the document’s Profile to Web, the only one that you’ll have to manually adjust being the Artboard’s Size (Width x Height).
Step 2
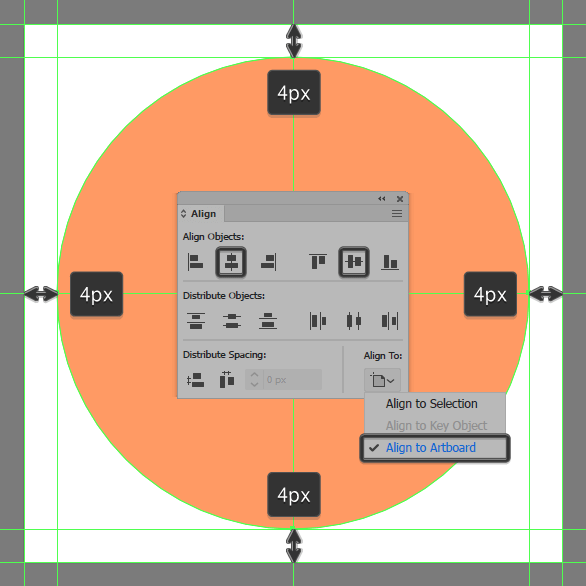
As soon as we’ve finished setting up our project file, we can start working on the actual bicycle icon, and we will do so by creating the main shape for the background using a 56 x 56 px circle, which we will color using #ff9b64 and then center align to the underlying Artboard using the Align panel’s Horizontal and Vertical Align Center options.
Step 3
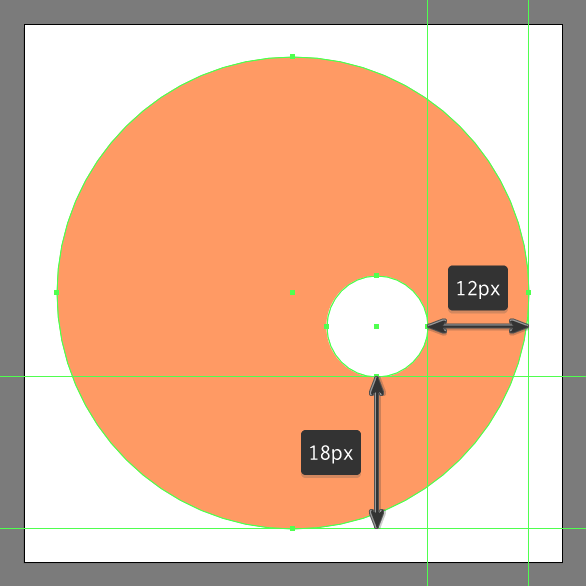
Add the main shape for the front wheel using a 12 x 12 px circle, which we will color using #FFFFFF and then position at a distance of 18 px from the background’s bottom anchor point and 12 px from its right one.
Step 4
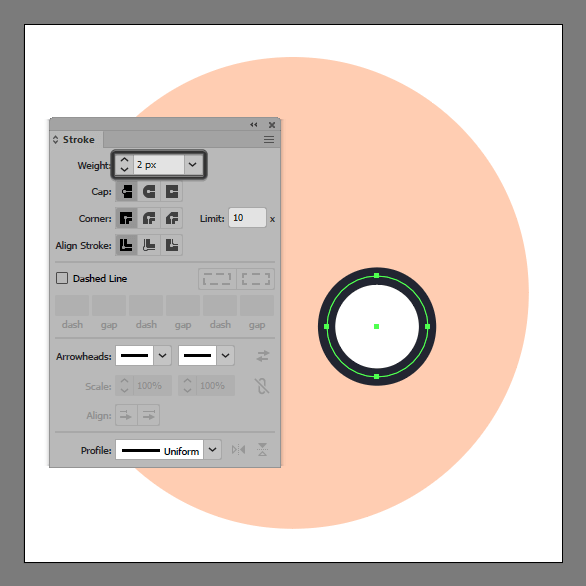
Give the shape an outline using the Stroke method, by creating a copy of it (Control-C) which we will paste in front (Control-F) and then adjust by first changing its color to #1c202d. Next, we’re going to immediately flip its Fill with its Stroke using the Shift-X keyboard shortcut, making sure to open up the Stroke panel and set its Weight to 2 px afterwards. Once you’re done, select and group the two shapes together using the Control-G keyboard shortcut.
Step 5
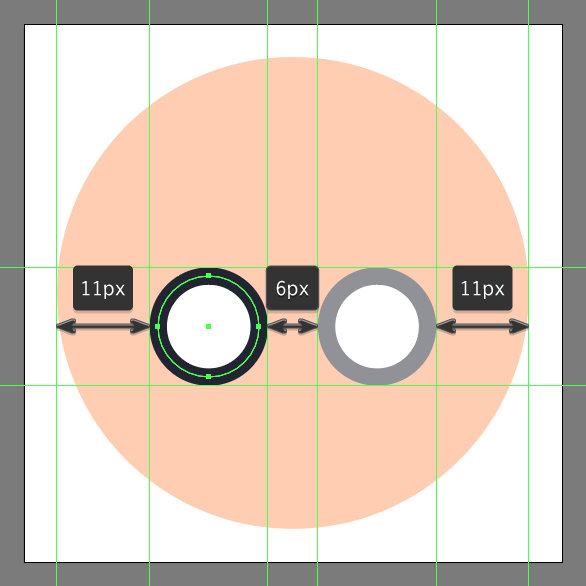
Add the rear wheel using a copy (Control-C > Control-F) of the one that we’ve just finished working on, which we will position onto the opposite side of the background, at a distance of 11 px from its left anchor point.
Step 6
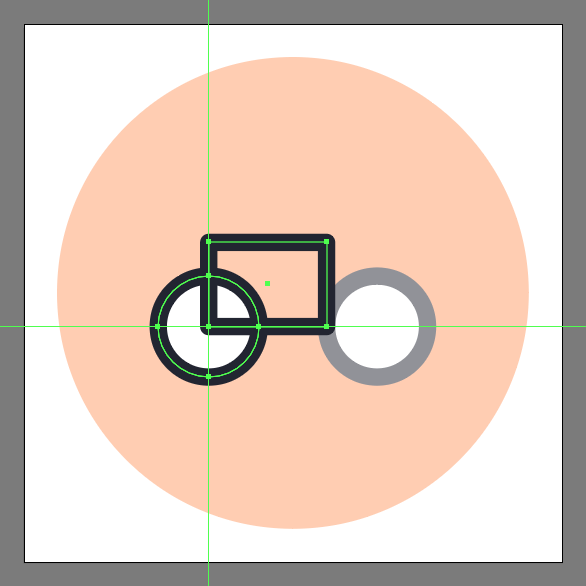
Create the main shape for the frame using a 14 x 10 px rectangle with a 2 px thick Stroke (#1c202d) and a Round Join, which we will position to the center of the rear wheel.
Step 7
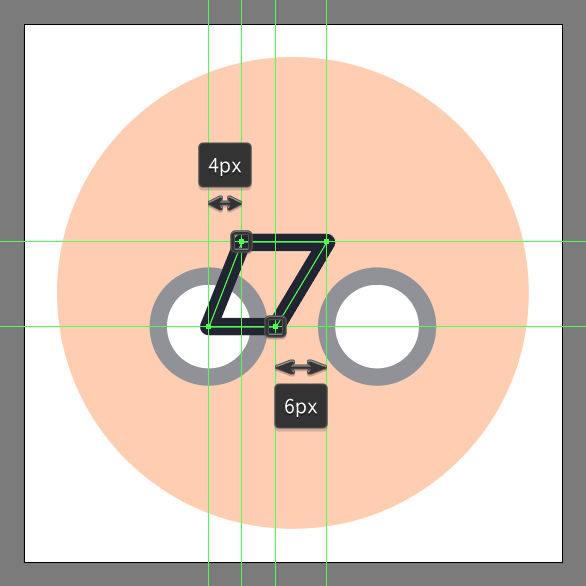
Quickly adjust the shape by grabbing the Direct Selection Tool (A) and then re positioning its top-left and bottom-right anchor points as seen in the reference image. Take your time, and once you’re done, move on to the next step.
Step 8
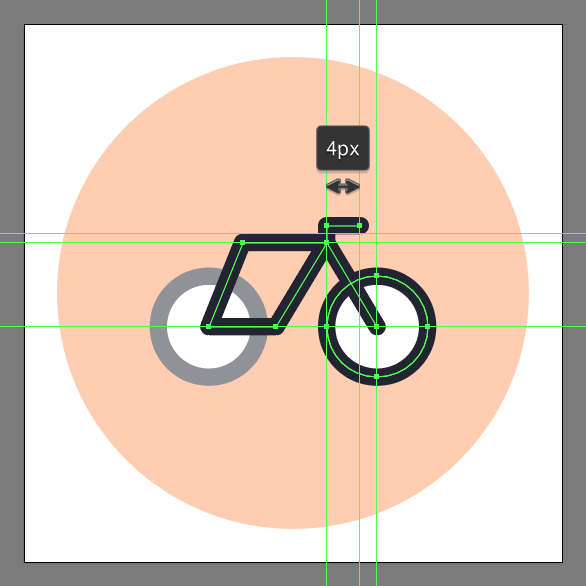
Select the Pen Tool (P) and using a 2 px thick Stroke (#1c202d) with a Round Cap and Join, draw the front section of the bicycle icon (the fork and the handle) using the reference image as your main guide.
Step 9
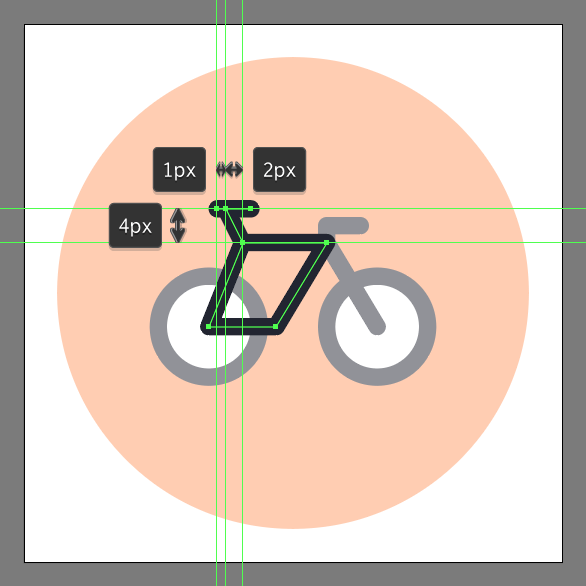
Once you’re done drawing the front section of the bicycle icon, move over to the back, and quickly draw the seatpost and saddle using two different 2 px thick Stroke segments (#1c202d). As soon as you finish adding the lines, make sure you select and group all of the frame’s composing shapes using the Control-G keyboard shortcut.
Step 10
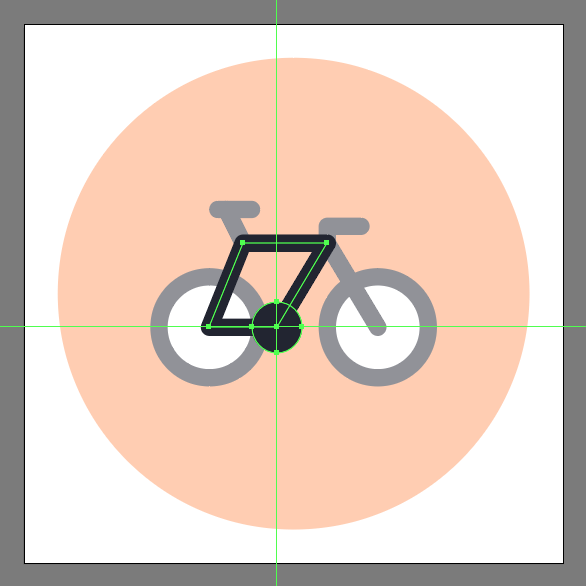
Add the crank using a 6 x 6 px circle, which we will color using #1c202d and then center align to the frame’s bottom-right anchor point.
Step 11
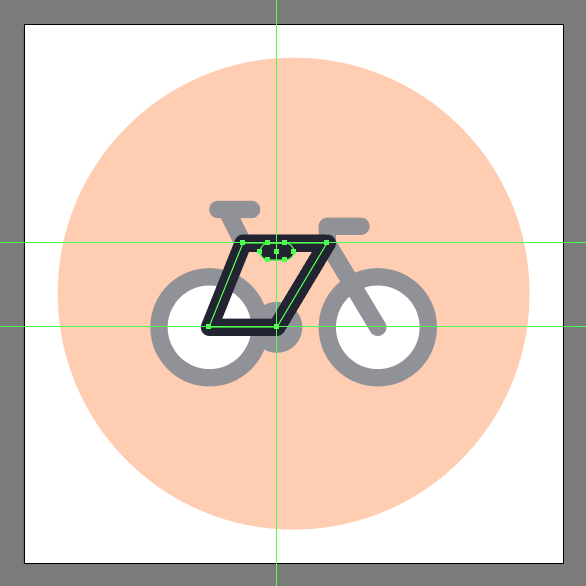
Create the little bottle holder using a 4 x 2 px rounded rectangle with a 1 px Corner Radius, which we will color using #1c202d and then position underneath the frame’s top section. Once you’re done, make sure you select and group (Control-G) all of the bicycle icon’s composing shapes before moving on to the next step.
Step 12
Finish off the bicycle icon, by quickly drawing the foreground lines using two 2 px thick Stroke lines (#1c202d) with a Round Cap, which we will position as seen in the reference image. As always, once you’re done, don’t forget to select and group (Control-G) all of the bicycle icon’s composing shapes before finally hitting that save button.
![]()
Great Job!
As always, I hope you had fun working on the project and most importantly managed to learn something new and useful during the process.
That being said, if you have any questions feel free to post them within the comments section and I’ll get back to you as soon as I can!


