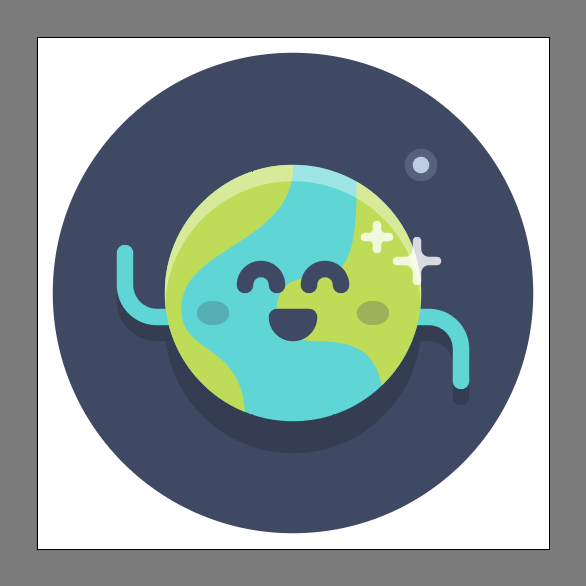
 In today’s tutorial we’re going to learn how to create a cute little Earth emoji icon, using nothing more than some basic geometric shapes and tools that you probably already work with on a daily basis.
So, assuming you already have the software up and running let’s jump straight into it!
Tutorial Details: Planet Earth Emoji Icon
- Program: Adobe Illustrator CS6 – CC
- Difficulty: Beginner
- Topics Covered: Design Theory, Compositional Construction, Shape Alignment, Grid Positioning
- Estimated Completion Time: 25 Minutes
Final Image: Planet Earth Emoji Icon

Step 1
Kick off the project by setting up a New Document by going to File > New (or using the Control-N keyboard shortcut), which we will adjust as follows:
- Number of Artboards: 1
- Width: 128 px
- Height: 128 px
- Units: Pixels
And from the Advanced tab:
- Color Mode: RGB
- Raster Effects: Screen (72ppi)
- Preview Mode: Default
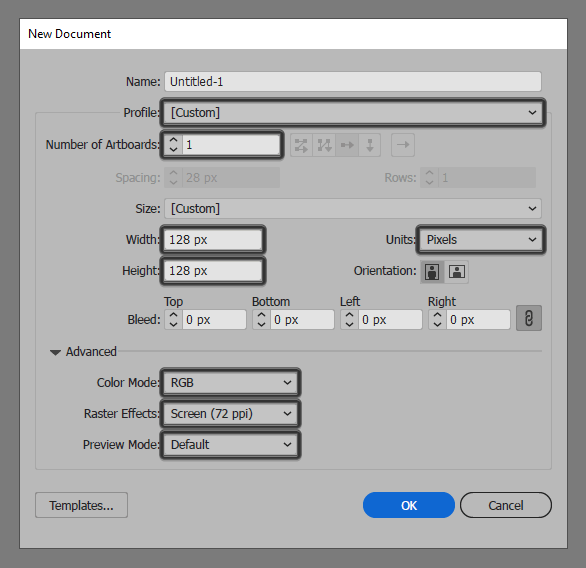
Quick tip: most of the indicated settings can be automatically triggered if you set the document’s Profile to Web, the only one that you’ll have to manually adjust being the Artboard’s Size (Width x Height).
Step 2
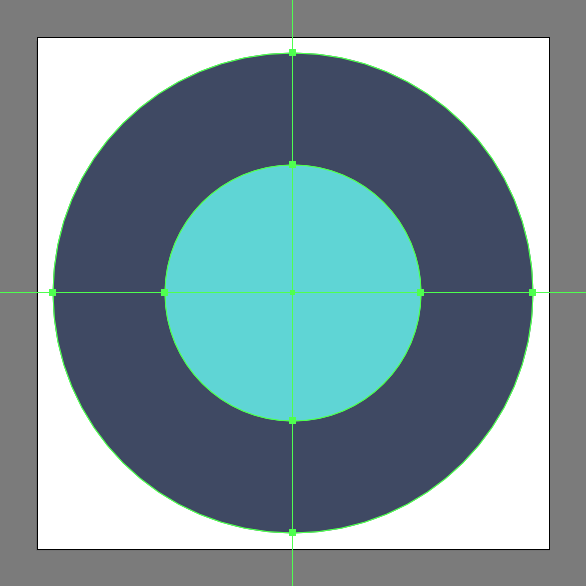
Start working on the actual icon, by creating the background using a 120 x 120 px circle, which we will color using #3D4763 and then position to the center of the underlying Artboard.
![]()
Step 3
Create the main shape for the planet’s body using a smaller 64 x 64 px circle, which we will color using #5FD6D6 and then center align to the underlying background.
Step 4
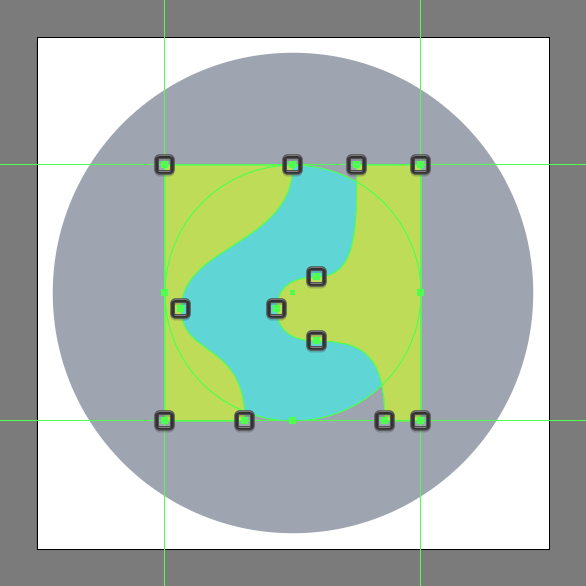
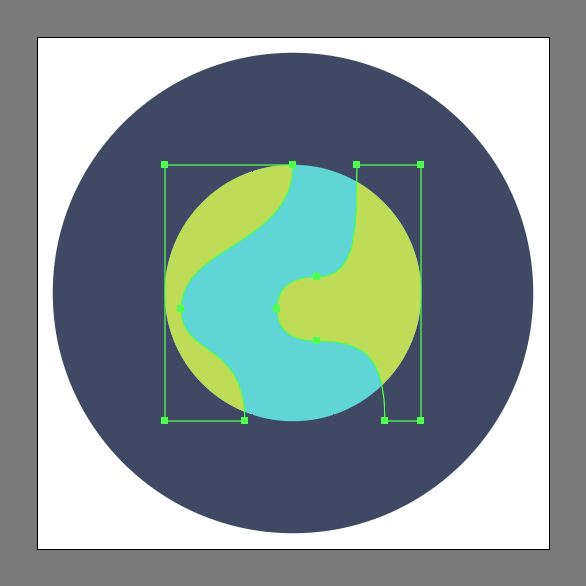
Using the Pen Tool (P), draw the main shapes for the two land patches coloring the resulting shapes using #C0DD57. Take your time, and once you’re done make sure to select and group the two together using the Control-G keyboard shortcut.
Step 5
Since we want the shapes to remain confined to the surface of the larger body, we’ll want to mask them using a copy (Control-C) of the underlying circle which we will paste in front (Control-F), and then with both the copy and the land patches selected simply right click > Make Clipping Mask.
Step 6
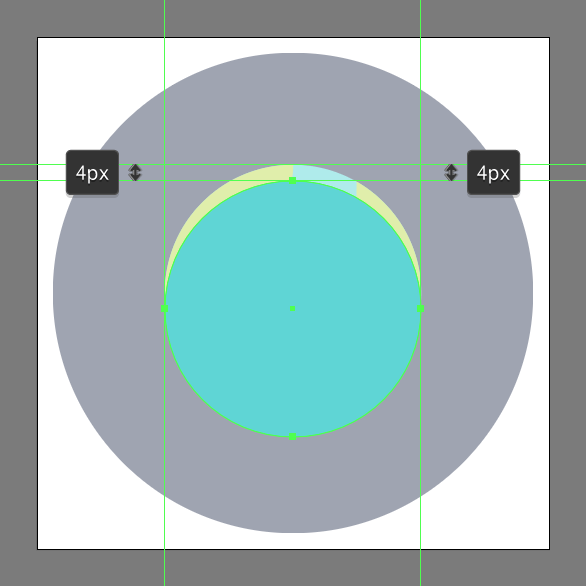
Create the main shape for the top highlight using a copy (Control-C > Control-F) of the planet’s main shape, which we will push to the bottom by a distance of 4 px using either the directional arrow keys or the Move tool (right click > Transform > Move > Vertical > 4 px).
Step 7
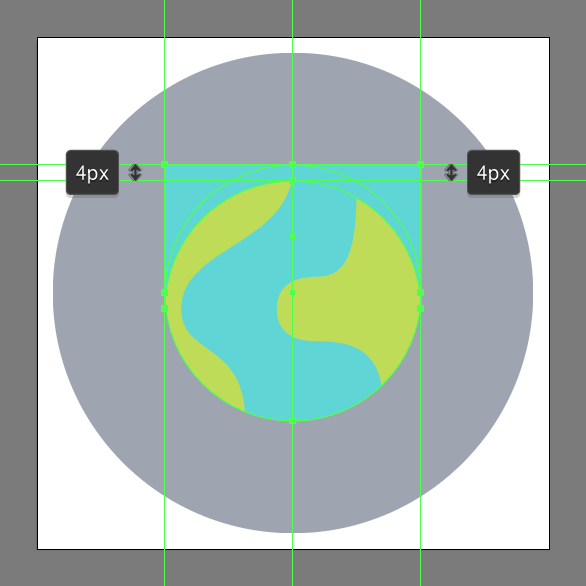
Open up the duplicate’s path by selecting its bottom anchor point using the Direct Selection Tool (A) and then immediately removing it by pressing Delete. Then, using the Pen Tool (P) close the resulting shape’s path by drawing a new line for its upper section as seen in the reference image.
Step 8
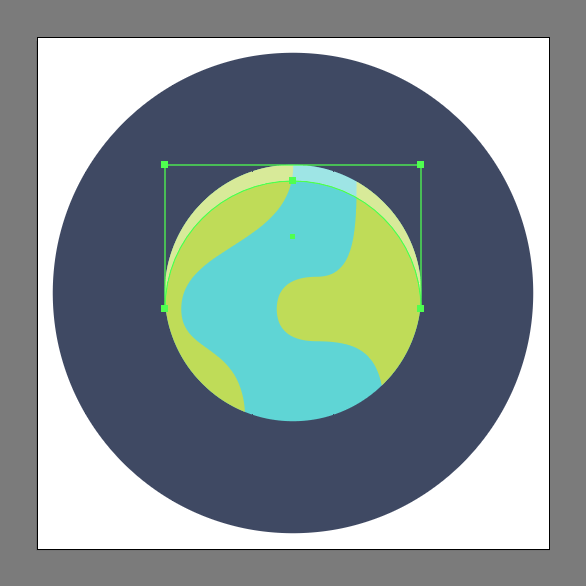
Set the resulting shape’s color to white (#FFFFFF), lowering its Opacity level to 40%, making sure to cut (Control-X) and then paste (Control-F) it within the Clipping Mask used for the two land patches.
Step 9
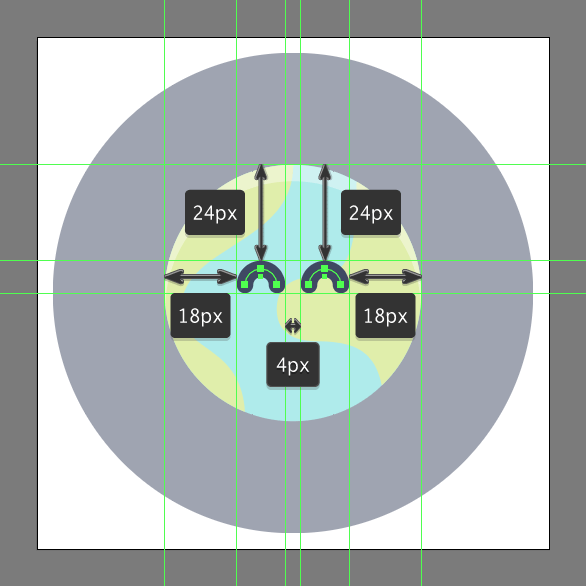
Create the eyes using two 8 x 8 px circles with a 4 px thick Stroke (#3D4763), which we will adjust by removing their bottom halves, making sure to set the resulting paths’ Cap to Round. Once you’re done, horizontally distance the two at 4 px from one another, grouping (Control-G) and then positioning them as seen in the reference image.
Step 10
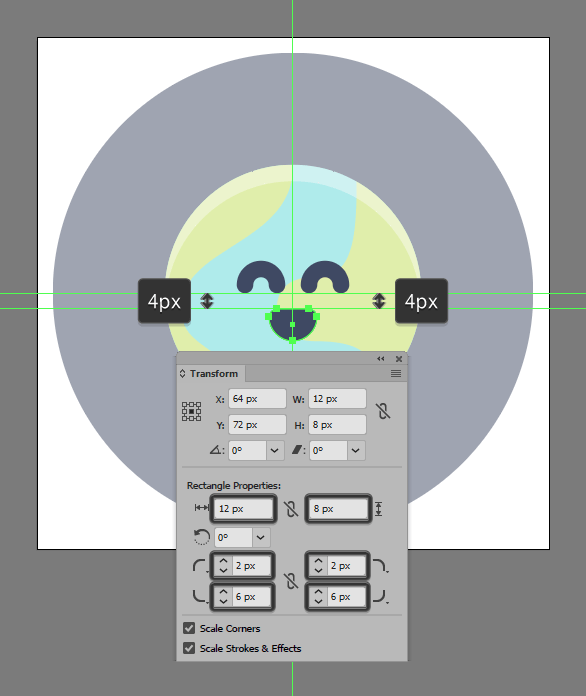
Add the mouth using a 12 x 8 px rectangle (#3D4763), which we will adjust by opening up the Transform panel and then going to Rectangle Properties and setting the Radius of its corners to 2 px and its bottom one to 6 px. Once you’re done, position the resulting shape beneath the eyes at a distance of just 4 px, making sure to select and group (Control-G) all three shapes together afterwards.
Step 11
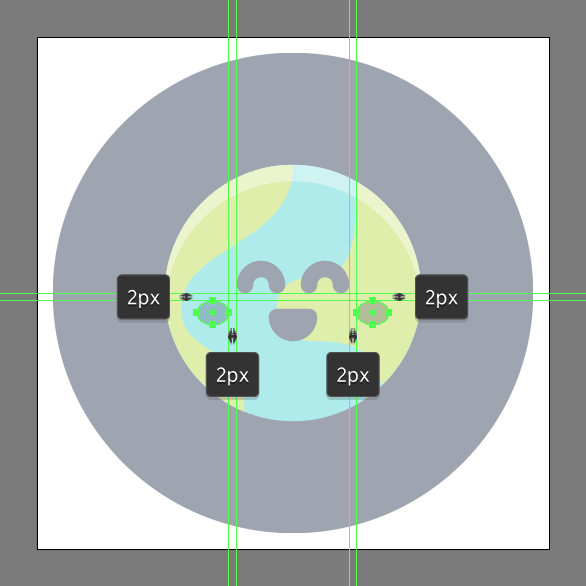
Create the blush spots using two 8 x 6 px ellipses (#3D4763), which we will adjust by lowering their Opacity to 28%, and then position onto the sides as seen in the reference image. Once you have the shapes in place, select and group (Control-G) all of the planet’s composing sections together before moving on to the next step.
Step 12
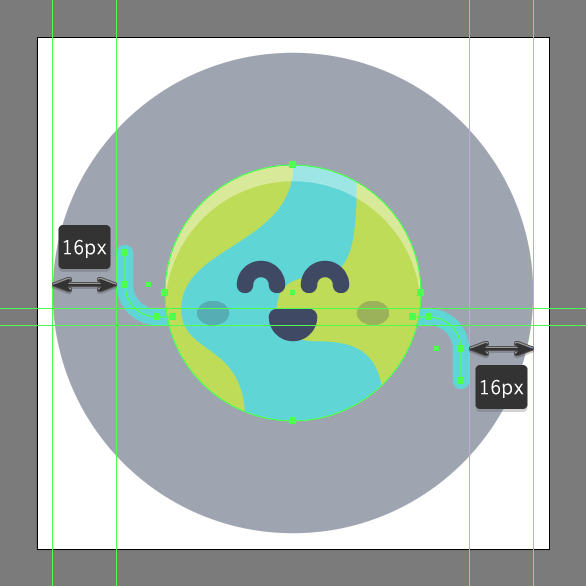
Add the hands using two 12 x 16 px rectangles with a 4 px Stroke (#5FD6D6) and a Round Cap, which we will adjust as seen in the reference image by opening up their paths, and then setting the radius of their outer corners to 8 px using the Live Corners tool. Once you’re done, position the resulting shapes underneath the larger planet (right click > Arrange > Send Backward), making sure to select and group all its composing shapes together using the Control-G keyboard shortcut.
Step 13
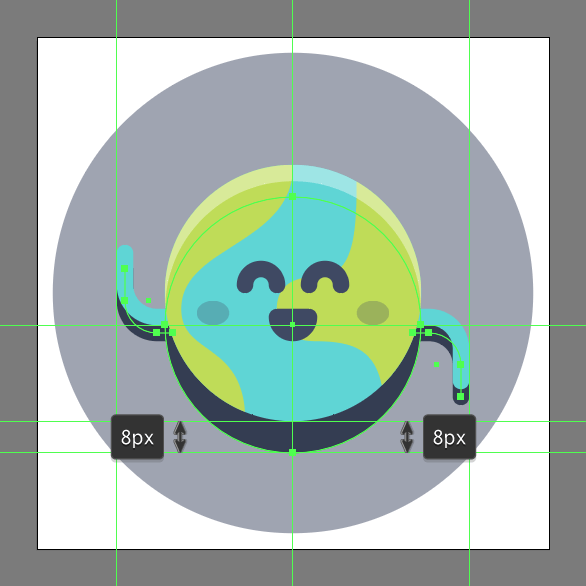
Quickly add the shadows using a copy (Control-C) of the planet’s hands and body, which we will paste in back (Control-B) and then adjust by setting their color to #3D4763, making sure to push them to the bottom by a distance of 4 px for the hands and 8 px for the main body.
Step 14
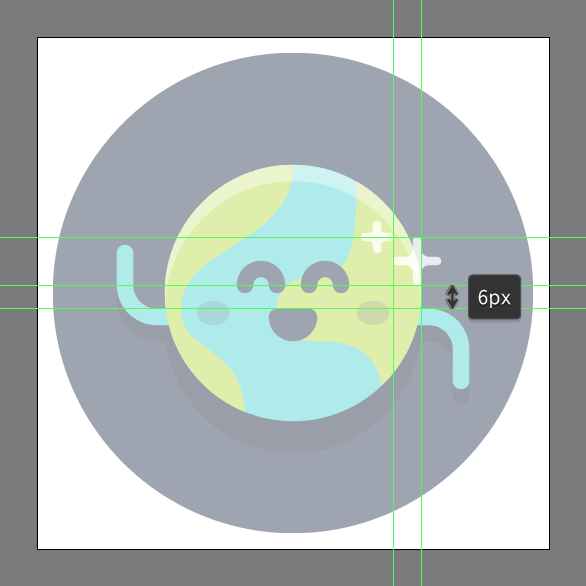
Create the star shaped highlights (#FFFFFF) using a 2 x 8 px rectangle positioned on top of an 8 x 2 px rectangle for the smaller one, followed by a 2 x 12 px rectangle positioned on top of a 12 x 2 px rectangle for the larger one. Individually unite each of the highlights’ composing shapes using Pathfinder’s Unite Shape Mode, making sure to adjust the resulting shapes by rounding both their inner and outer corners. Once you’re done, position the resulting shapes as seen in the reference image, making sure to lower their Opacity to 80%.
Step 15
Finish off the icon and with it the project itself by adding the little moon using an 8 x 8 px circle (#C1CDE5) with a 20% Opacity for its outer glow, on top of which we will add a smaller 4 x 4 px one (#C1CDE5). Once you’re done, group (Control-G) and position the two onto the upper right section of the background, making sure to select and group (Control-G) all of the icon’s composing shapes before hitting that save button.
![]()
Great Job!
As always, I hope you had fun working on the project and if you have any questions feel free to post them within the comments section and I’ll get back to you as soon as I can!
