

3D vector text can be a daunting undertaking when not using a program like Maya or SketchUp. However, using a simple bevel and extrude effect, gradients, and offset paths, you’ll find creating 3D vector text is actually an easy job.
Tutorial Details: 3D Vector Text Effect
- Program: Adobe Illustrator CS-CC
- Difficulty: Intermediate
- Topics Covered: 3D Text, Gradients, Appearance Panel
- Estimated Completion Time: 1-2 Hours
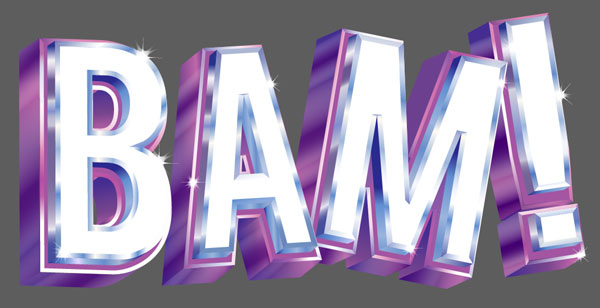
Final Image: 3D Vector Text Effect

Step 1 – Your Own 3D Vector Text
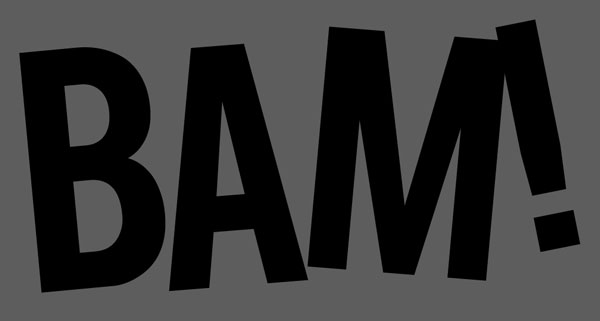
To begin this 3D vector text journey, start with a New Document and choose a solid san-serif font like Bebas. My chosen word is “BAM!” mostly due to its brevity. You can of course choose whatever word or words you like for this 3D vector text tutorial. Right-Click and choose Create Outlines.

Step 2
Ungroup your letters and move them around in an eye-catching formation. Group (Control-G) them back together when you’re satisfied with their placement.
Step 3
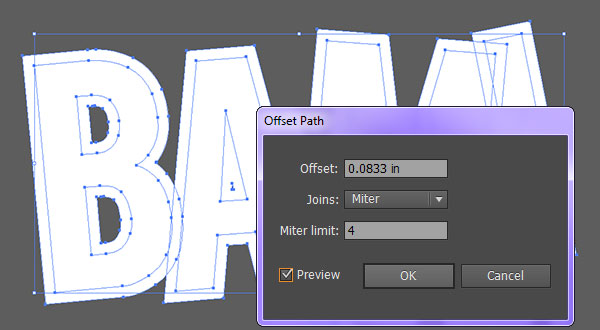
Select your text and go to Object > Path > Offset Path and, depending on the size of your text, input 4px-6px and hit OK.
Step 4
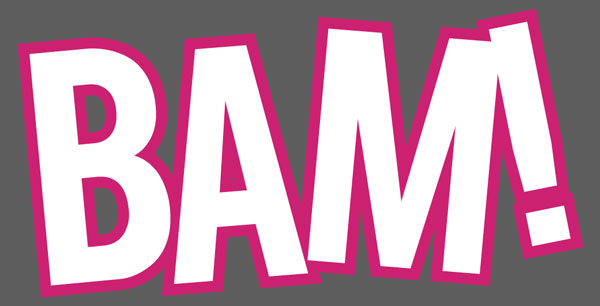
Select the newly offset objects and choose a bright color for their base color. Make sure the white letters are in separate Groups.
Step 5
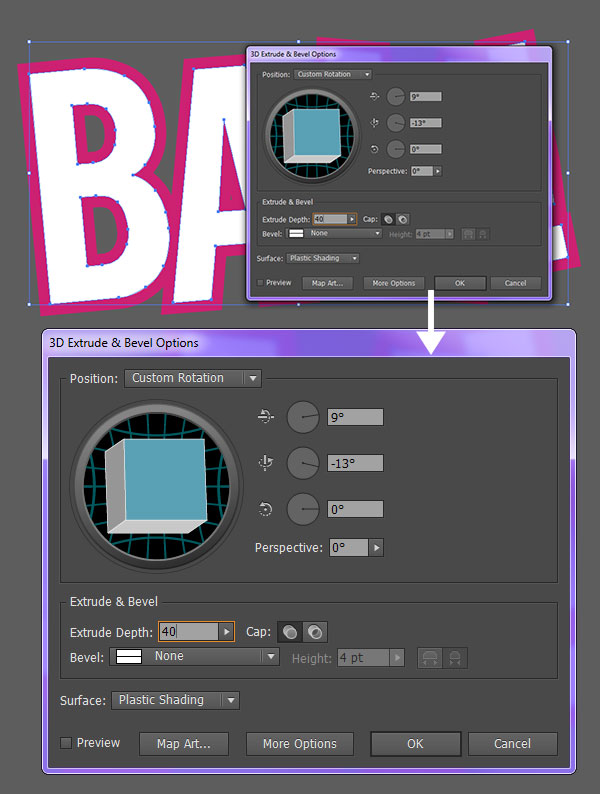
Select the white letter group in your 3D vector text and go to Effect > 3D > Extrude & Bevel and input the following information:
X-Axis:
- 9°
Y-Axis:
- -13°
Z-Axis:
- 0°
Extrude Depth:
- 40
Hit OK and let’s continue with the next effect.
Step 6
Use the same attributes for the 3D effect on the magenta letters, but set the Extrude Depth to a higher number that’s at least double the depth from the previous step. Expand both sets of letters under Object.

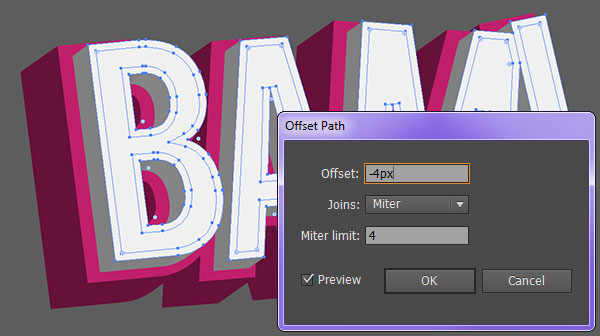
Step 7
Using the Direct Selection Tool (A), select the face of the white letters in your 3D vector text and Offset Path around -4px.
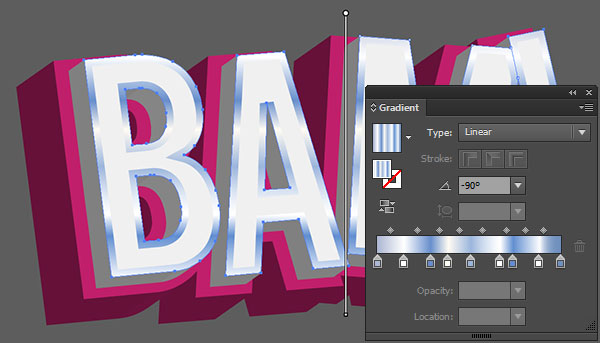
Step 8
Apply a Linear Gradient to the larger shapes of white lettering that goes from various light blues to white (see below) at -90° (you want it perpendicular to your lettering).
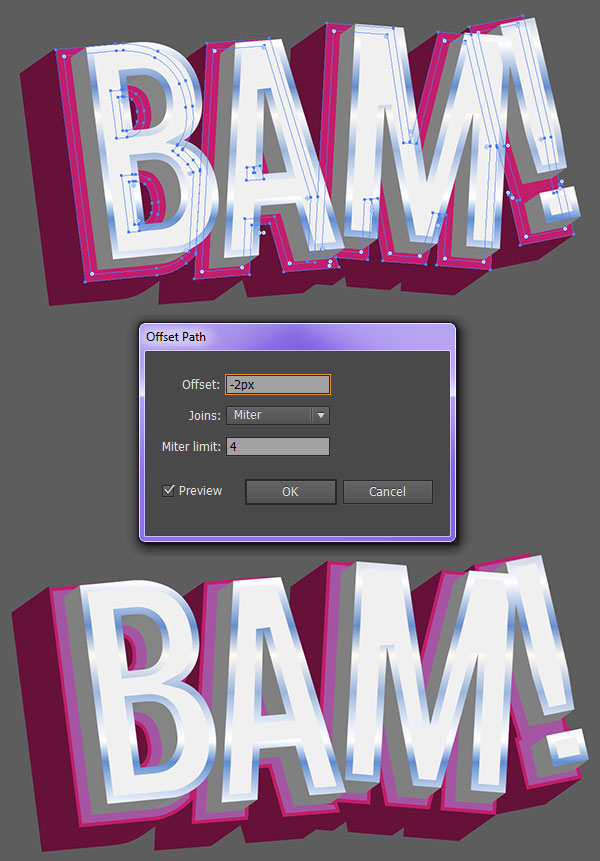
Step 9
Offset the Path of the face of the magenta letters. This time, go for -2px, or so (compare your Offset Preview to the image below. Select the inner shapes of the 3D vector text typeface and apply whatever color you want the second set to be (in this case, it’s a medium mauve).
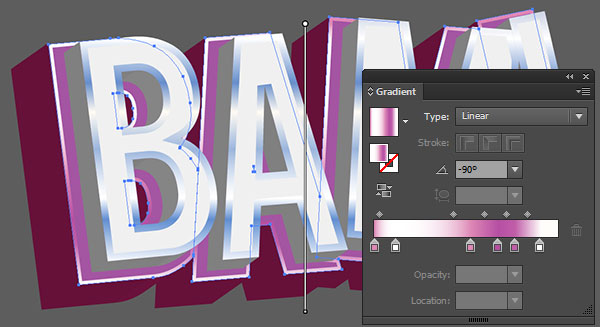
Step 10
Apply a Linear Gradient to the larger shape of the magenta letters. This one goes from light pink to white to various shades of pinks and mauves. See the Gradient panel below. Once again, the gradient’s angle is set to -90°.
Step 11
From here on out, we’ll focus on the letter B in our 3D vector text for the main techniques within the overall design.
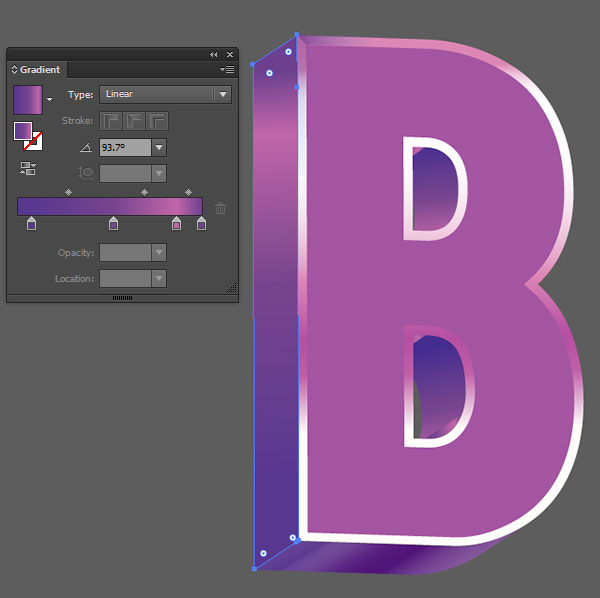
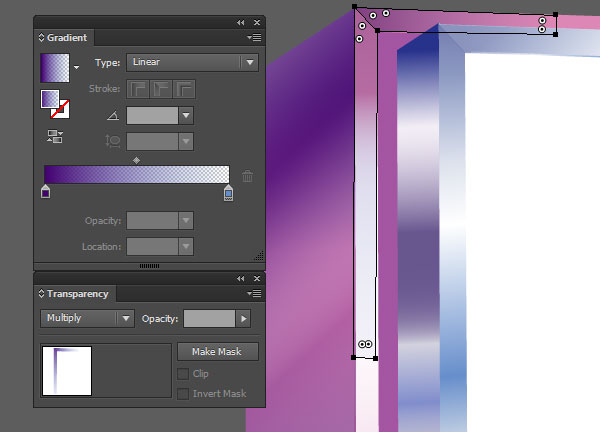
Hide the white lettering (and the other letters) in the Layers panel. Select the left side of the letter and apply a Linear Gradient that goes from shades of purple to pink. The angle should be parallel with the top edge of the rectangle shape.
Step 12
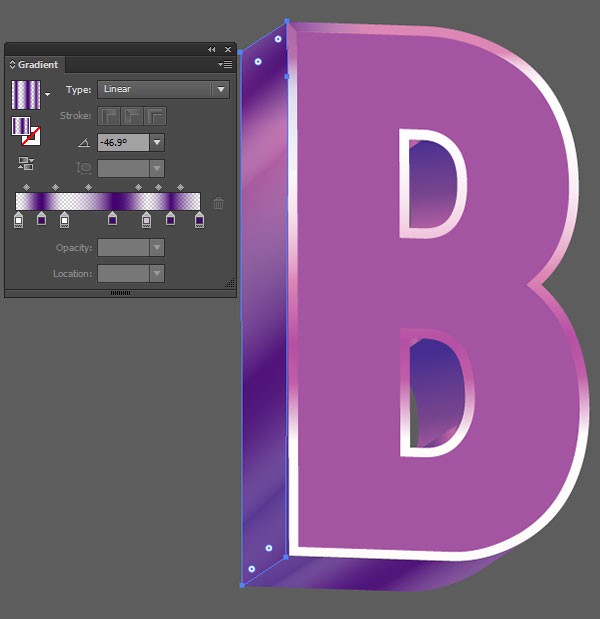
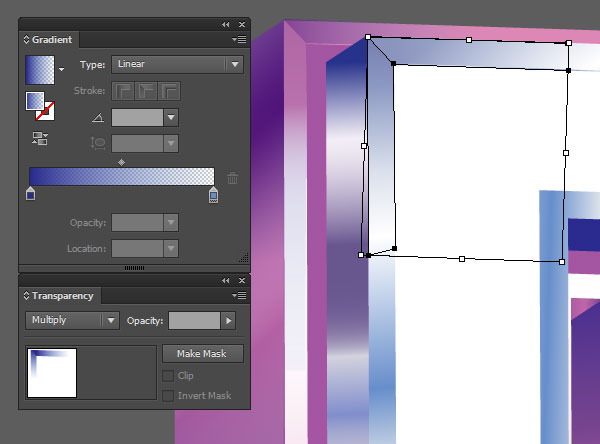
Copy (Control-C) and Paste (Control-V) the rectangle and apply a Linear Gradient that goes from white at 0% Opacity to purple at 100% Opacity repeatedly through the gradient. See the Gradient panel below for how many instances of each color I chose. Align the rectangle with its respective side. Repeat Step 11 on the inside shapes of the extruded B and repeat this step on the bottom of the shape as well.
Step 13
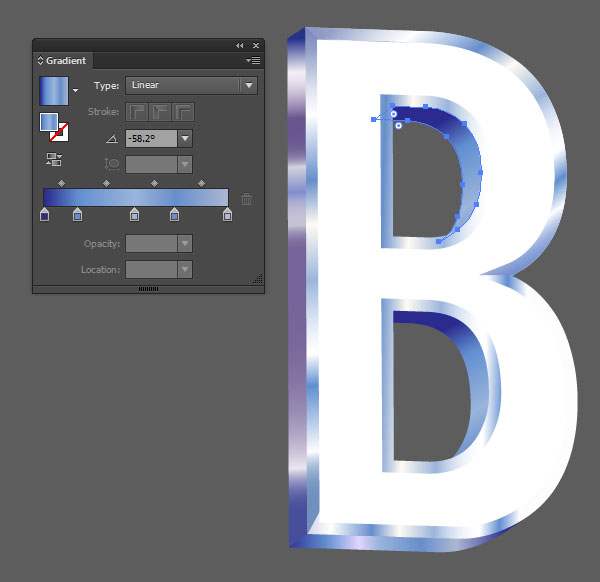
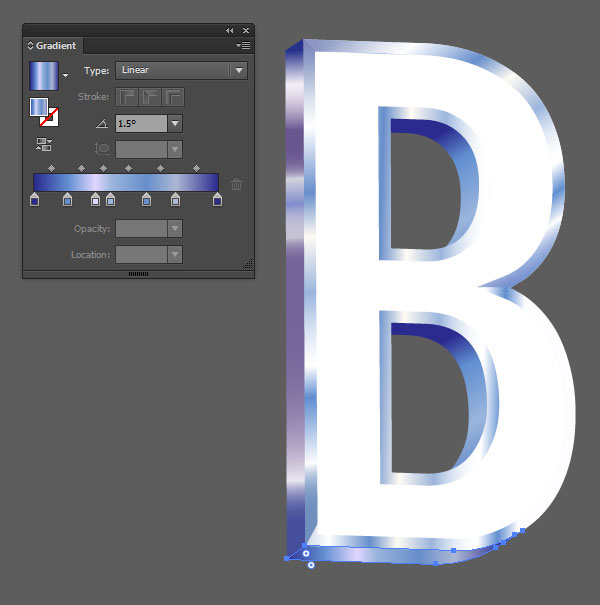
For the white letter of the 3D vector text, let’s start with the gradient used for the inside of the B. It’s three shades of blue repeated a couple times within a Linear Gradient. Adjust the angle according to the curve of your shape. There’s a bit of trial and error with a design like this.
Step 14
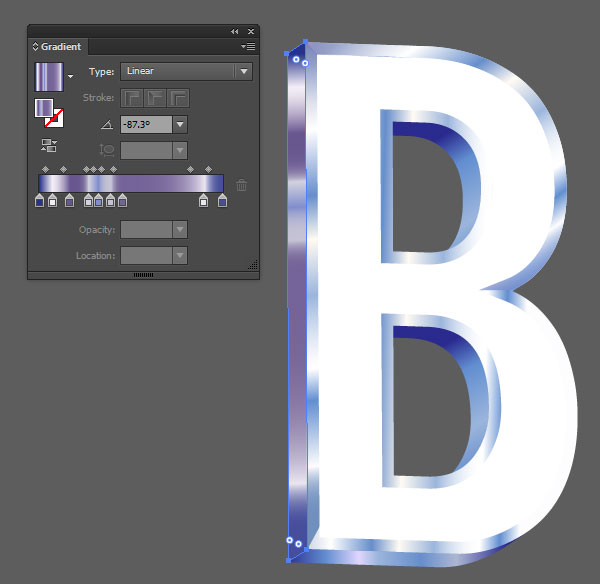
For the left side of the letter, the gradient goes from blue to white to gray-purple and back a few times in order to create a chrome-like gradient. Make sure the angle of the gradient is parallel to the top edge of the rectangular shape.
Step 15
The gradient on the larger face of the letter is the same as the one used in Step 13, but with a couple instances of white added into it for a brighter shine. The angle of the gradient is up to you. Use the same gradient, again, of the bottom edge of the B, but change the instances of white to light blue or light purple.
Step 16
Group your two B’s together and we’ll move on to the next step where we create the bevels within the edges of the letters as well as some sparkles. You can start to see the 3D-ness of our 3D vector text!

Step 17
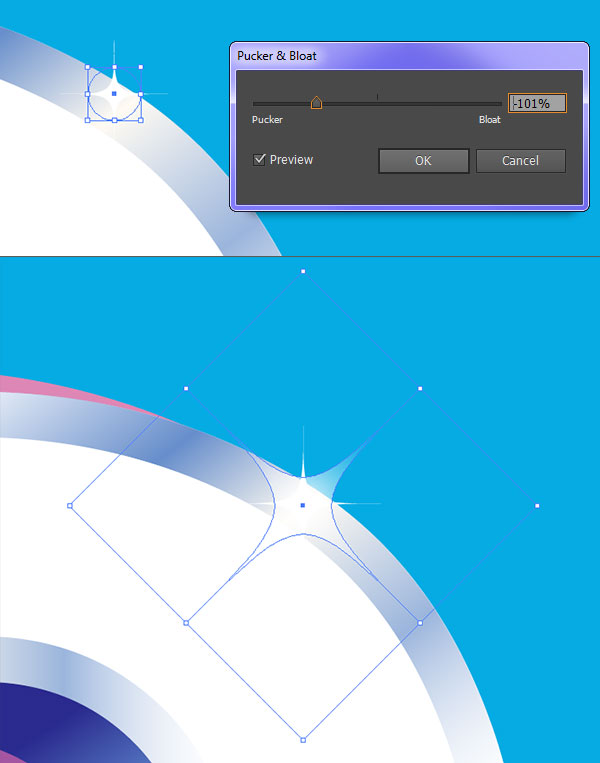
Use the Ellipse Tool (L) to draw a small white circle. Go to Effect > Distort & Transform > Pucker & Bloat and enter -101% so the circle puckers inward. Copy and Paste the shape, Rotate it, and set the fill color to a Radial Gradient going from white in the center at 100% to 0% Opacity. Repeat with another circle if you want a larger sparkle. Expand all sparkle shapes under Object and Group them together.
Step 18
For the bevel on each corner of the offset letters, simply used the Pen Tool (P) to draw angled shapes overlapping the offset gradients. Apply a gradient on any blue shapes that goes from dark blue at 100% Opacity to 0% Opacity (of the same color or a lighter hue). Adjust the gradient to your liking so it’s not too dark. You can also just reduce the Opacity in the Transparency panel. In the same panel, set the Blend Mode to Multiply. Repeat anywhere there’s a corner on the face of the white B.
Step 19
This is a repeat of Step 18, but with purple instead of blue. You’ll add these shapes to the corners of the pink/magenta letters.
Step 20
Repeat Steps 11-19 on your other 3D vector text letters. I found it easiest to Group each letter by color and shape so I could easily layer them and make quick changes if needed without bothering too much within the Layers panel (searching for an object or accidentally selecting the wrong object because it was overlapping. It’s quite the advantage to organize your workspace). Group together your lettering once completed.
Step 21
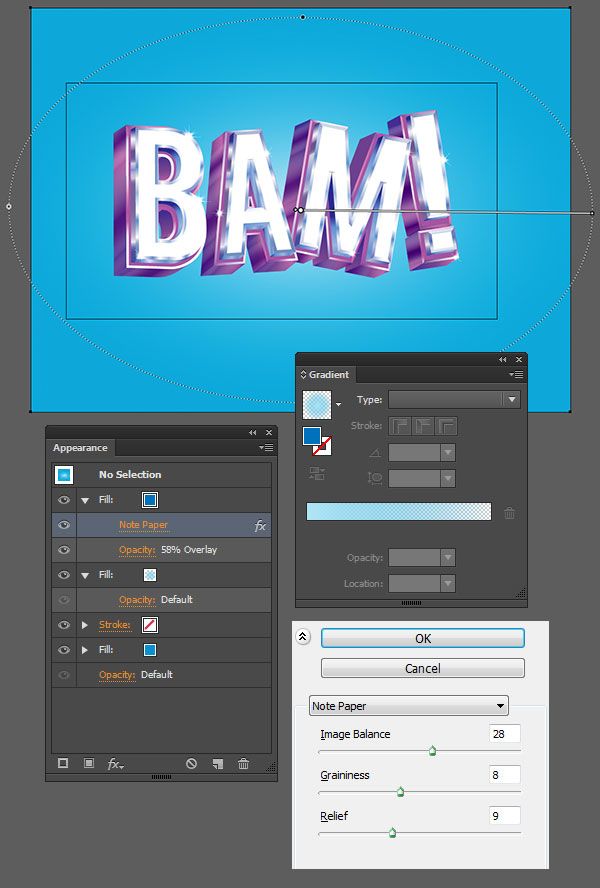
For the background, draw a large rectangle with the Rectangle Tool (M) over the Artboard and behind your lettering group. Open the Appearance panel. The first Fill is a bright blue. The second Fill is a Radial Gradient that goes from light blue at 100% to 0% Opacity. The third Fill is the Note Paper effect (Effect > Sketch > Note Paper…) with the following attributes:
Image Balance:
- 28
Graininess:
- 8
Relief:
- 9
Set the Blend Mode of the Note Paper Fill to Overlay at 58% Opacity. Check out how my Appearance panel was organized below.
Step 22
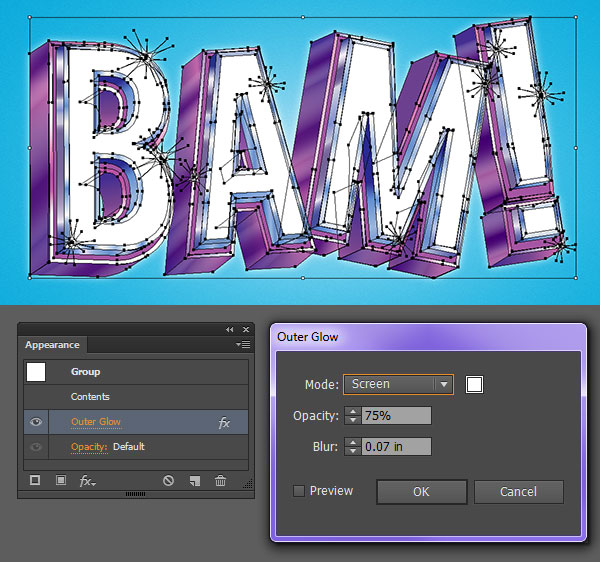
Finally, Select your lettering group and apply an Outer Glow in the Appearance panel (Effect > Stylize > Outer Glow) with the following attributes:
Mode:
- Screen
Color:
- White
Opacity:
- 75%
Blur:
- 0.07 in
Now You Can Make Your Own 3D Vector Text!
Push your lettering design further by creating a whole poster or typographic illustration with the techniques from this tutorial. Play with lighting, gradient colors, and textures. Most importantly, show your work off in the comment section below!
Author: Mary Winkler
Mary works under the brand Acrylicana® designing apparel, jewelry, and illustrating for companies like Disney, Jakks Pacific, Envato, and more. Check out Acrylicana.com for more artwork, tutorials, and more.


I truly appreciate this blog post.Really looking forward to read more. Awesome.
I need some help, I’ve been stuck on step 11 for a couple minutes now because I can’t select the left side of my 3D text, how do I select it?
awesome
I am bignner and very happy to see these tutorials, because I have lot off here to learn,
God bless you.
This tutorial is awesome! Thanks for sharing!
Glad you enjoyed it! 🙂