
 Say goodbye to summer in the northern hemisphere with a delicious, drippy ice cream text vector effect! What a delightful way to end the season.
Tutorial Details: Delicious Ice Cream Text Vector Effect
- Program: Adobe Illustrator CS6 – CC 2015 and Adobe Photoshop CS6 – CC 2015
- Difficulty: Intermediate
- Topics Covered: Appearance panel, Live Corners, Blending Modes
- Estimated Completion Time: 25 Minutes
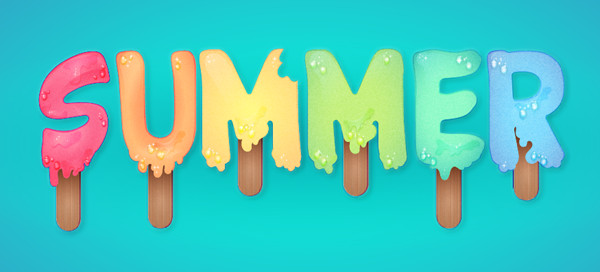
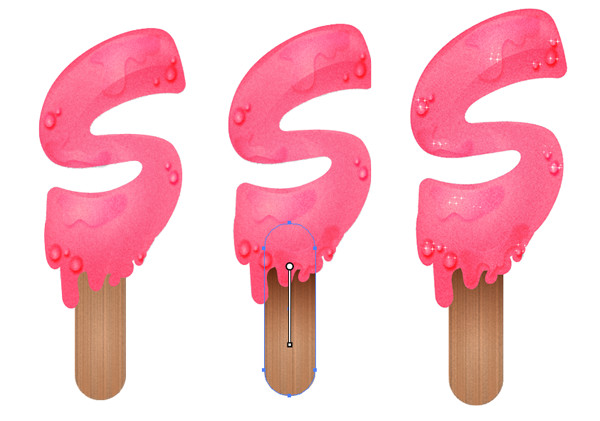
Final Image: Delicious Ice Cream Text Vector Effect
Step 1: Delicious Ice Cream Text Vector Effect
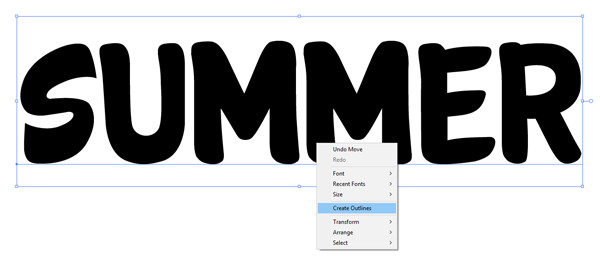
To start our farewell to summer ice cream text vector effect, create a New Document in Adobe Illustrator and choose a fat, rounded font for the word of your choice. I opted for Cartwheel. Expand your text to Objects.
Step 2
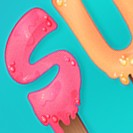
Ungroup your text and set each letter to a light, creamy color. You can choose a rainbow similar to mine or go for some delicious ice cream colors. Using the Direct Selection Tool, select each letter object and round out its corners slightly. I want the text to be a bit chubbier and look a little melted.

Step 3
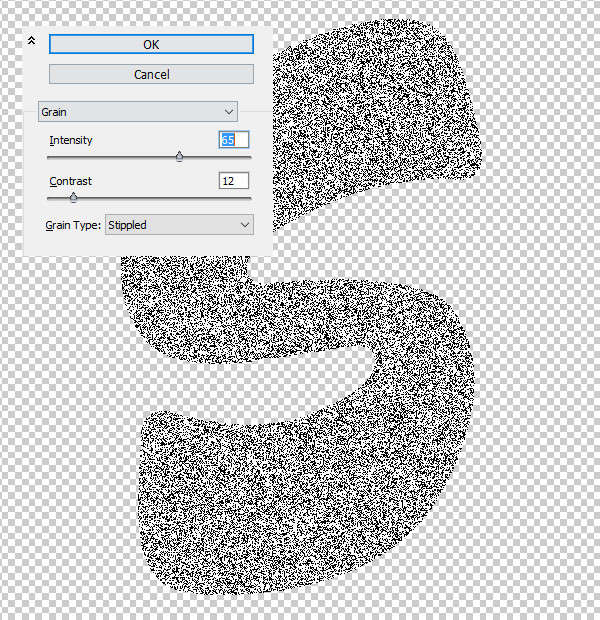
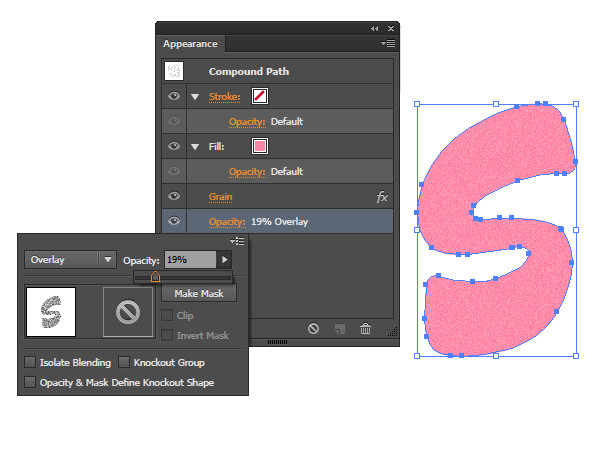
We’re going to focus on the letter “S” for this tutorial. Select your first letter and Copy and Paste it over the first. In the Appearance panel, go to Effects > Texture > Grain and apply the following settings:
- Intensity: 65
- Contrast: 12
- Grain Type: Stippled
Step 4
In the Appearance panel set the effect’s Opacity to 19% and the Blending Mode to Overlay.
Step 5
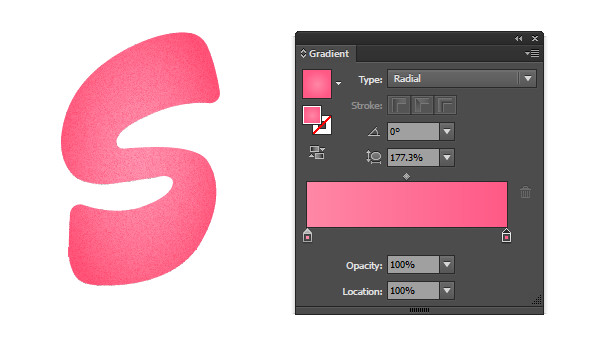
Duplicate your letter shape again and set the fill to a Radial Gradient with the inner color set the the base fill color and the outer color to a darker hue. In my case it’s pink and dark pink. Set the Opacity of the inner color to 0% and the outer color to 100%.
Step 6
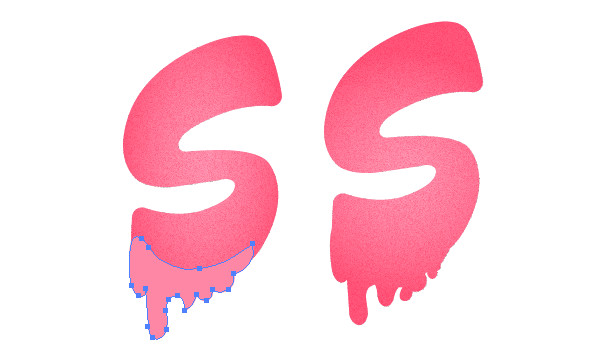
With the Pencil Tool, draw a drippy shape at the bottom of your design. Duplicate the drippy shape three times and Unite each copy to their respective letter component by way of the Pathfinder panel. Group together your layer components so far.
Step 7
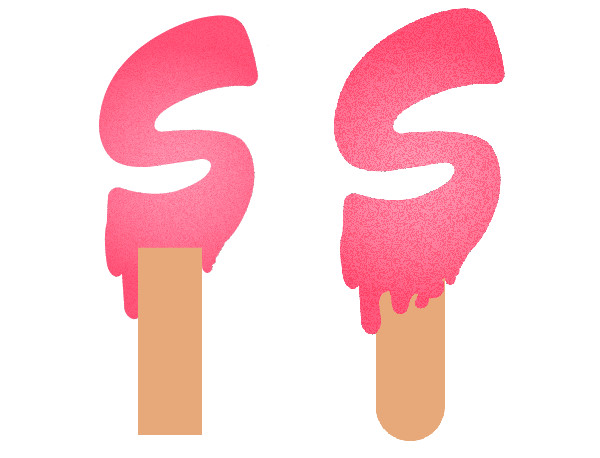
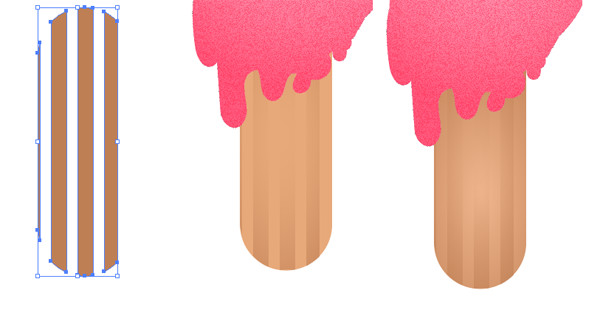
Draw a vertical rectangle with the Rectangle Tool. Set the fill color to tan. Pull the shape’s Live Corners inward to round out the rectangle and place it beneath the ice cream text vector component group.
Step 8
Draw four dark tan rectangles that overlap the ice cream stick. Unite all four in the Pathfinder panel. Duplicate the main ice cream shape and place it beneath the united rectangle group. Select both and hit Intersect in Pathfinder and place it over the original stick shape. Set the fill color to a Radial Gradient with dark tan at 0% and 100% Opacity.
Step 9
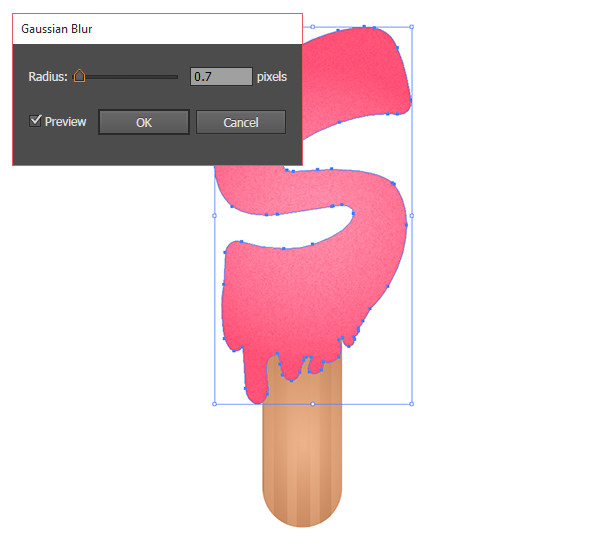
Select the grain layer from Step 3 and apply a Gaussian Blur effect of 0.7 pixels.
Step 10
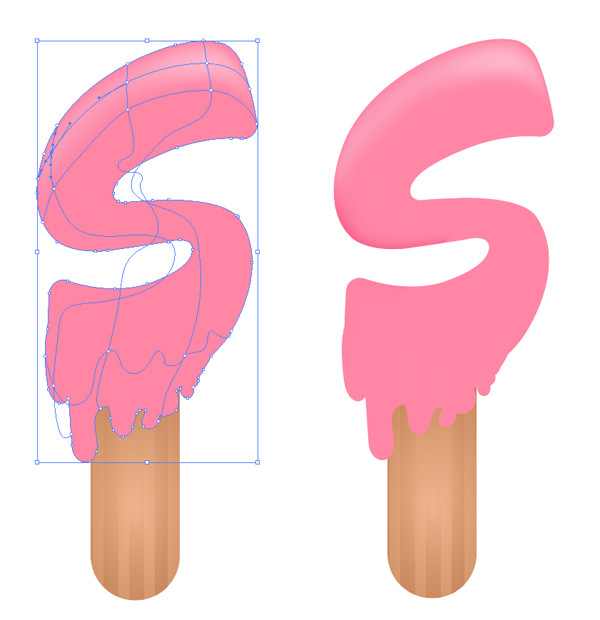
I’ve hidden the other objects above the original ice cream shape. In this optional step, you can apply a highlight using a Gradient Mesh. Select the Gradient Mesh Tool and select your ice cream object. Using the Direct Selection Tool select three of the anchor points on the top of the “S” and set the color to a light pink. Repeat with some of the edge anchor points and change their colors to dark pink. unhide your other objects within your group.
Step 11
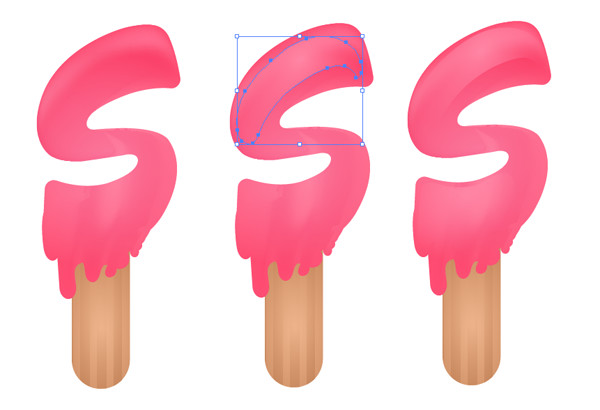
Draw a highlight shape with the Pencil Tool and set the color to alight pink Radial Gradient going from 0-100% Opacity. Adjust the gradient’s radius with the Gradient Tool so it’s oblong and set the object’s Blending Mode to Screen and Opacity to 50% or so in the Transparency panel.
Step 12
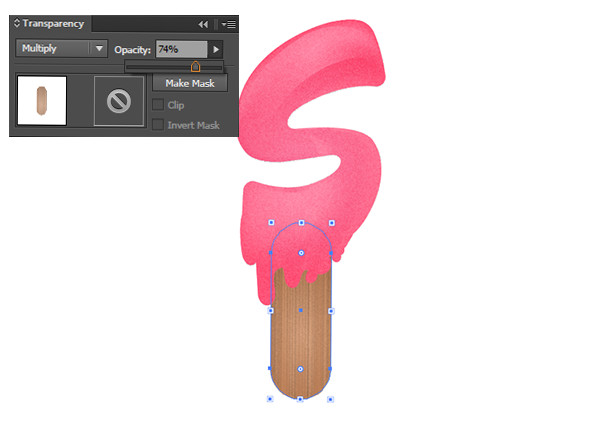
Duplicate the main stick shape and place it on top of the rest of the ice cream stick components. Go to Effect > Texture > Grain and apply the following attributes:
- Intensity: 65
- Contrast: 12
- Grain Type: Vertical

Step 13
In the Transparency panel, set the Blending Mode to Multiply and the Opacity to 74%.
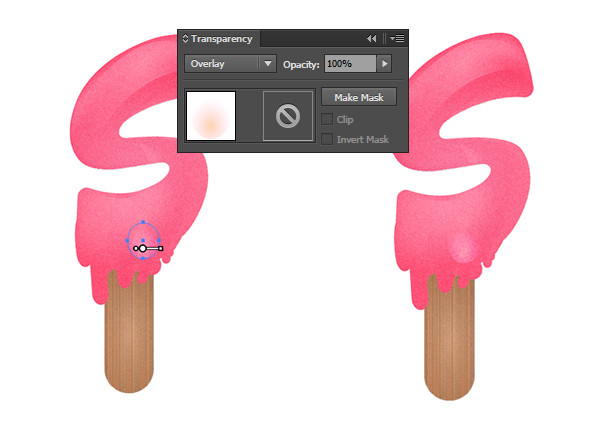
Step 14
To create water droplets on your ice cream draw an ellipse with the Ellipse Tool and fill it with a radial gradient going from light pink or light yellow at 100% Opacity to the ice cream’s base color at 0% Opacity. Set the Blending Mode to Overlay.
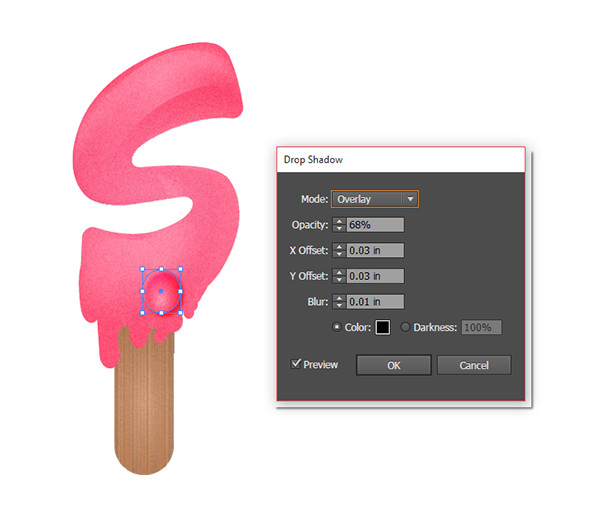
Step 15
With your water droplet selected go to Effect > Stylize > Drop Shadow and apply the following attributes:
- Mode: Overlay
- Opacity: 68%
- X Offset: 0.03 in
- Y Offset: 0.03 in
- Blur: 0.01 in
- Color: Black
You’ll be using these attributes for all water droplets and splashes of water within the design, though the gradient from the previous step will change depending on the color below the water droplet.
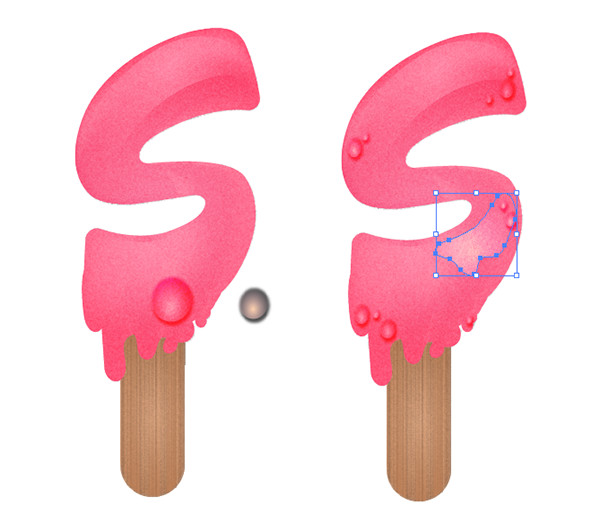
Step 16
Draw additional droplet shapes and repeat Steps 14-15 for each. Copy, Paste, and Scale multiple instances of the droplets to speed the process up.
Step 17
As another optional step, Duplicate the ice cream stick object again and apply a dark brown Linear Gradient to it with the Opacity set the 0% at the bottom and 100% at the top. Set the Blending Mode to Multiply in the Transparency panel. Adjust the angle of the gradient with the Gradient Tool.
Conclusion: Delicious Ice Cream Text Vector Effect
Repeat the steps above on each letter to create a whole set of delicious ice cream treats! What fantastic flavors can you create with the technique explored above? Share your end of the summer inspired message in the comment section below!
Author: Mary Winkler
Mary works under the brand Acrylicana® designing apparel, jewelry, and illustrating for companies like Disney, Jakks Pacific, Envato, and more. Check out Acrylicana.com for more artwork, tutorials, and more.


