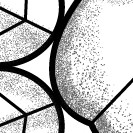
 Create a quick and easy set of stipple Illustrator brush files perfect for craeting vector flash art designs ready for tattoos, posters, and more! The techniques explored in this tutorial can be applied to other styles of brush creation as well.
Tutorial Details: Stipple Illustrator Brush
- Program: Adobe Illustrator CS5 – CC
- Difficulty: Beginner
- Topics Covered: Custom Brush Creation and Shape Building
- Estimated Completion Time: 30 Minutes
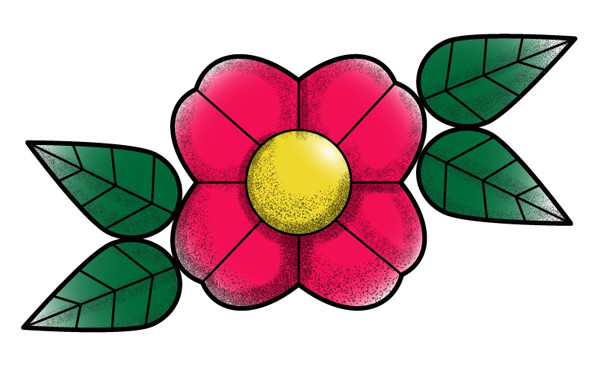
Final Image: Stipple Illustrator Brush
Step 1: Stipple Illustrator Brush
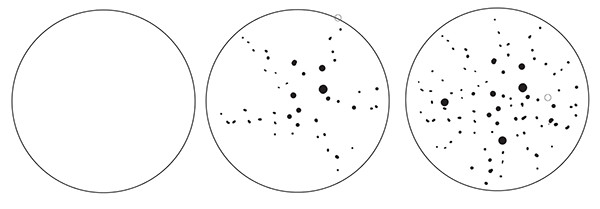
Let’s begin making our stipple Illustrator brush – using the Ellipse Tool draw a circle (hold down the Shift key) and then Lock the object in the Layers panel. Using the Blob Brush Tool, click blobs around the center of your circle and begin to radiate them outward. You’re stippling, and creating tiny dots. Vary the size of your blobs slightly and try to keep them mostly smooth and circular (though not quite perfect is fine too).
Step 2
Every so often Group together your stippled dots and Copy and Paste your design so you have light and dense brushes to choose from later. Continue adding shapes and stippling within your circle, concentrating more shapes in the center and radiating them outward.

Step 3
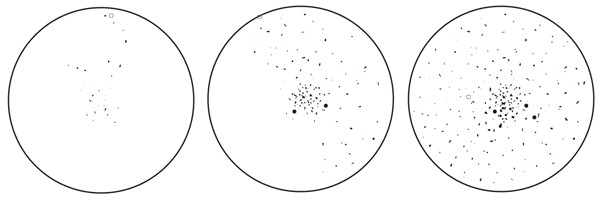
For a lighter stipple Illustrator brush, start fresh with a new circle. Lightly scatter small blobs coming from the center and moving outward. Notice how much space exists between each dot. You can create a variety of brush styles.
Step 4
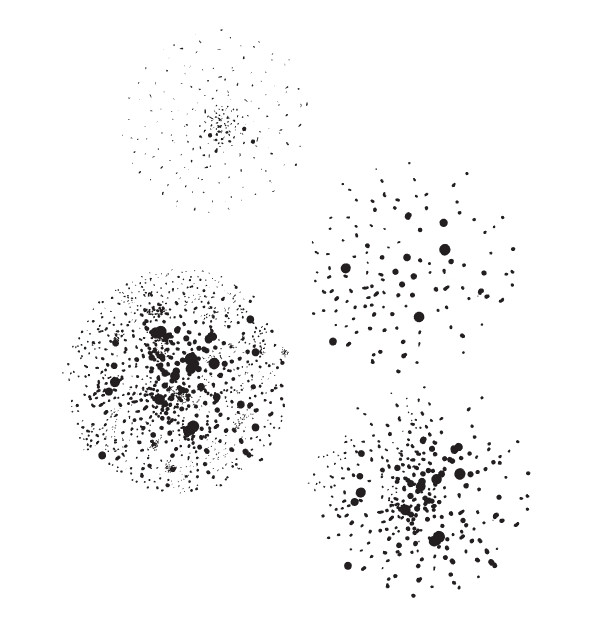
When you’re satisfied with your stippled circle designs, delete the circles and make sure each section is grouped together. I drew four brush styles below.
Step 5
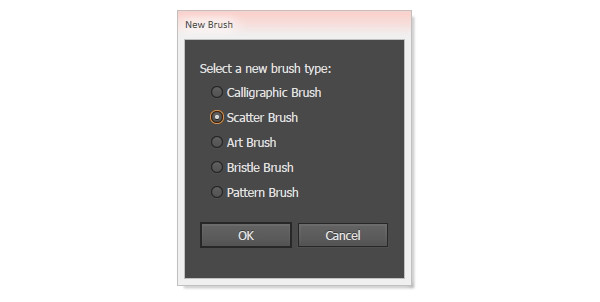
Select one of your stipple groups and in the Brush panel, create a New Scatter Brush. The settings you’ll want to choose are next!
Step 6
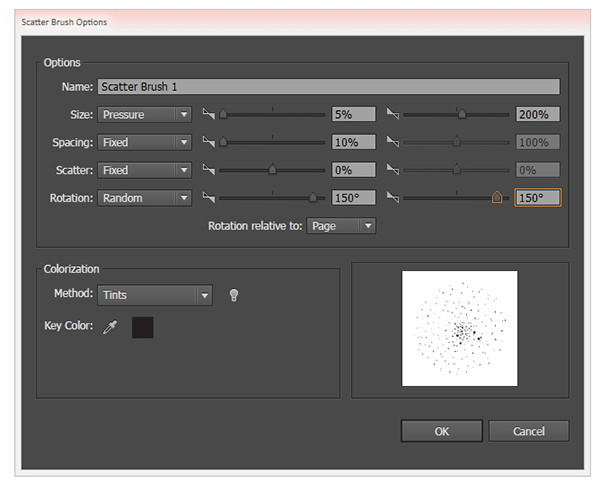
Set Size to Pressure with a range from 5% – 200% (or less of a margin). Set the Spacing to Fixed at 10%. Set Scatter to Fixed at 0%. Finally set Rotation to Random at 150° to -150°. Hit OK. Your new brush is ready to use! Repeat for the other brush styles so you have your whole set ready to go.
Step 7
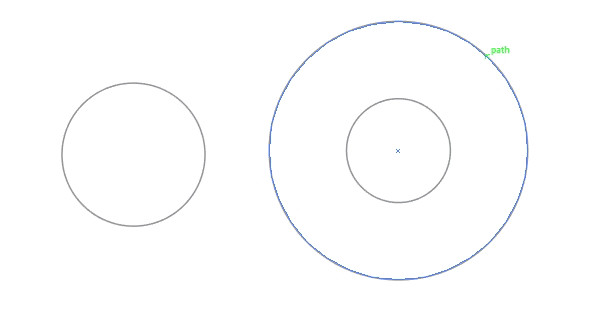
Let’s create a design in which to use our new brushes! With the Ellipse Tool draw two circles. One should be small while the other large. Align them to their centers.
Step 8
Select the larger circle and go to Effect > Distort & Transform > Pucker & Bloat to apply a Bloat effect of 18%.
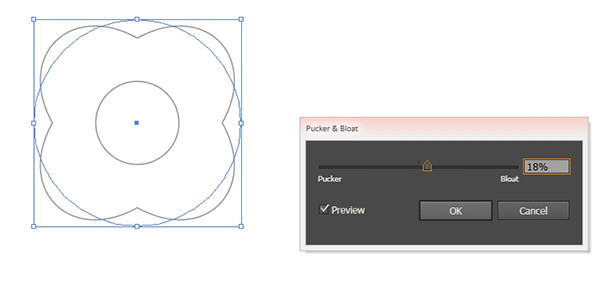
Step 9
Use the Line Segment Tool to draw four lines connecting the petal divisions to the center circle.
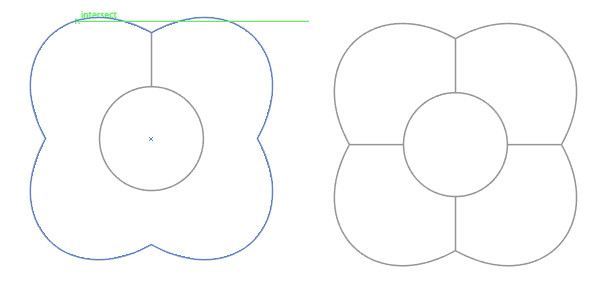
Step 10
Under Object hit Expand Appearance. Use the Pen Tool to add anchor points to the center of each of the four petals. This time, apply a Pucker effect of 5%.
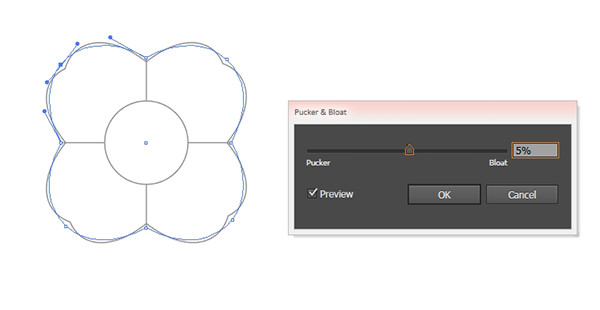
Step 11
For the leaf, either use the Pen Tool to draw a leaf shape, or draw a circle and pull one of the anchor points outward with the Direct Selection Tool. Then, convert that anchor point from a curve to a point. Use the Line Segment Tool or the Pen Tool to draw veins in the leaf.
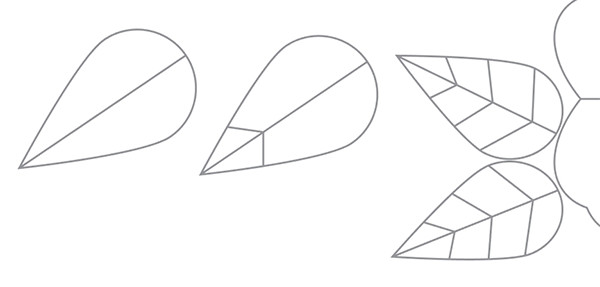
Step 12
Copy and Paste a few leaves and gather them around the flower, Rotating and Reflecting them as you see fit. Add additional lines in the center of the flower’s petals.
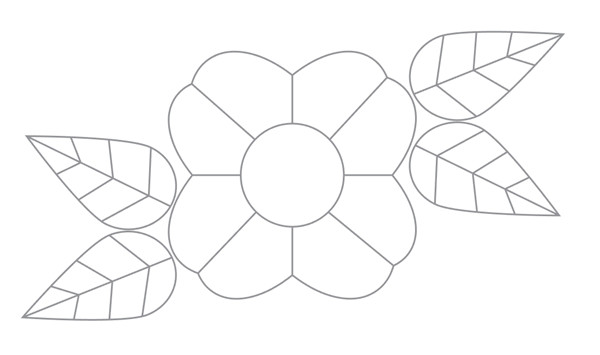
Step 13
Select the larger base shapes and give them a thicker stroke weight than the inner shapes (lines and veins).
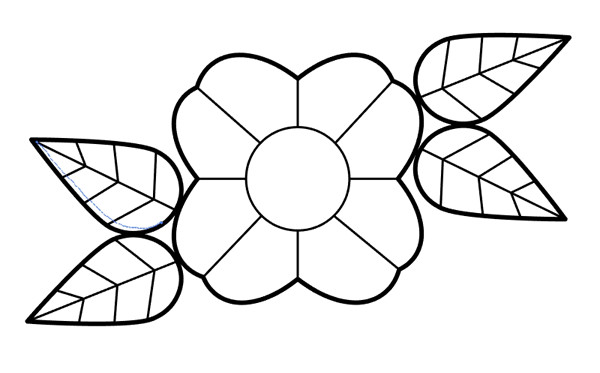
Step 14
Now, using the Paintbrush Tool, select one of your newly made stipple brushes from the Brush panel. Draw several strokes around your design to shade in your design.
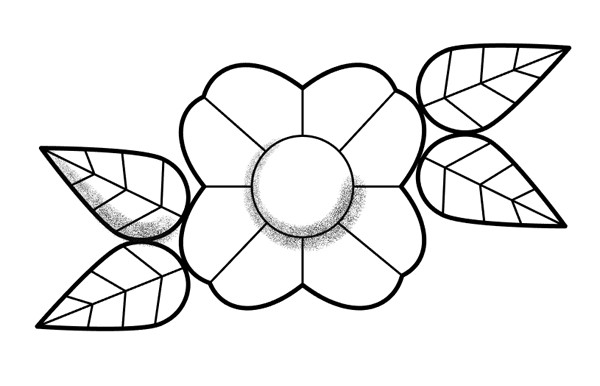
Step 15
You can shade very lightly or do so darkly with a denser stipple Illustrator brush. Additionally, if you’re not using a pressure-sensitive tablet, you may just want to use the Pen Tool and adjust the stroke width as needed.
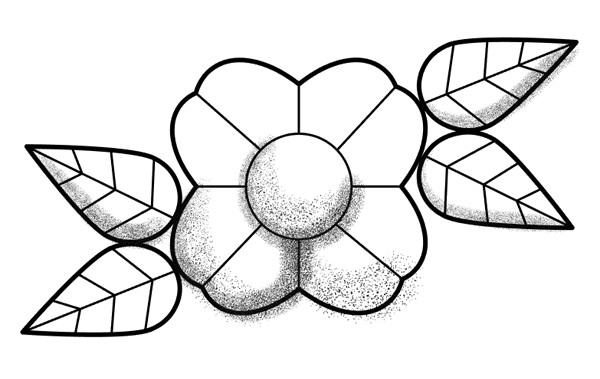
Conclusion: Stipple Illustrator Brush
You can keep your final design black and white…
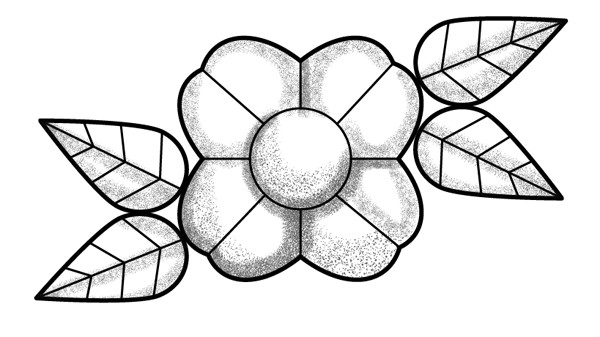
…or add color and gradients to it if you wish. Share your stippled flash art designs in the comment section below! What other sorts of textured brushes would you like to see as a tutorial? Let us know in the comment section as well, as we’re always listening to what fantastic design styles you’d like better insight into creating.

Author: Mary Winkler
Mary works under the brand Acrylicana® designing apparel, jewelry, and illustrating for companies like Disney, Jakks Pacific, Envato, and more. Check out Acrylicana.com for more artwork, tutorials, and more.


Eager to practise and use it… Step by step guides are love! thanks
What tool do you use to get rid of the brush marks that are outside of the flower and leafs?