
 Who doesn’t love candy? Who can withstand that colored, delicious sweetness that makes your mouth water? Today I will show you how to create two delicious candy vectors and lollipop vectors using the basic tool and the Brush Strokes Panel. You will learn to create some basic shapes, spirals, create new brushes, and then edit them to perfect sweetness. Let’s get started!
Tutorial Details
- Program: Adobe Illustrator CS6
- Difficulty: Beginner
- Topics Covered: Basic Tools and Effects, Brushes
- Estimated Completion Time: 30 minutes
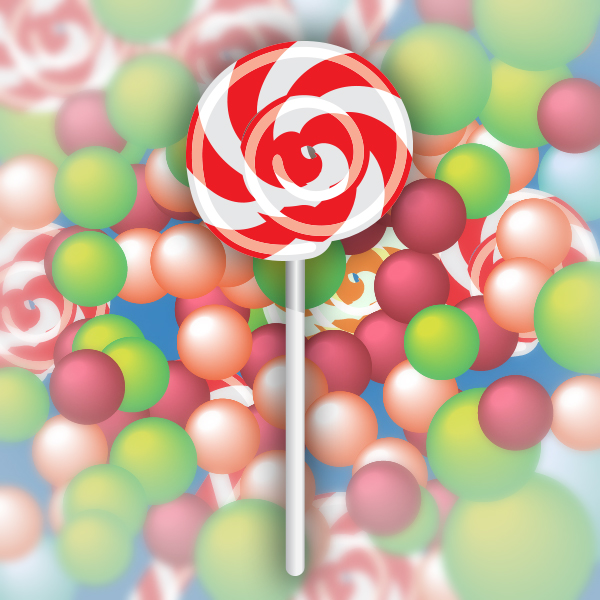
Final Image
Step 1
Create an artboard that is 800 x 600px. Select CMYK color mode, Screen (72ppi) and make sure that the “Align New Objects to Pixel Grid” box is unchecked before your click OK.
Step 2
Create a Rectangle with the Rectangle Tool (M). Set its size to width=540px and height 40px. Go to Effect -> Stylize -> Round Corners. Set the Radius to 20px. Fill it with a light gray color. Create a rectangle with the Rectangle Tool (M). Duplicate the rectangle: start dragging while pressing the Alt Key. Press Ctrl +D to repeat the previous step, …and again, until you have the right amount of rectangles. Select all of them and fill them with red.

Step 3
While the rectangles are still selected, go to Object -> Transform -> Shear, set the Shear Angle to 45°, then press OK. You can experiment with other angles, in this case check the Preview box to see the result. Now group the red objects together (Select all of them and press Ctrl + G), then place them over the rounded rectangle.

Step 4
Select the rounded rectangle, and place a copy to the Clipboard (Ctrl +C). You will need it later. Select the group and the rounded rectangle and intersect them (Window -> Pathfinder Panel -> Intersect) while pressing the Alt Key. On the Pathfinder Panel press Expand. Press Ctrl + B to paste the object from the Clipboard behind the red objects. You should see something like on the image below.

Step 5
Create a new rounded rectangle (w=510px / h=8px), fill it with white and place it over the other objects and set its Blending Mode (Window -> Transparency Panel) to Overlay. Select all objects and group them together. Now drag the group over the Window -> Brushes Panel.
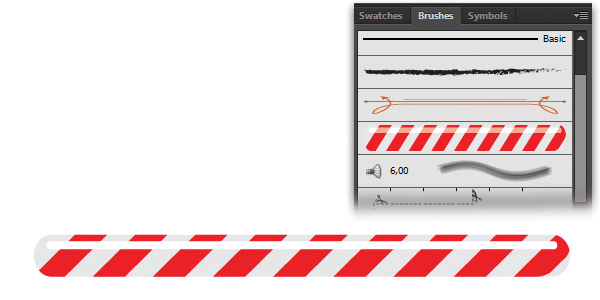
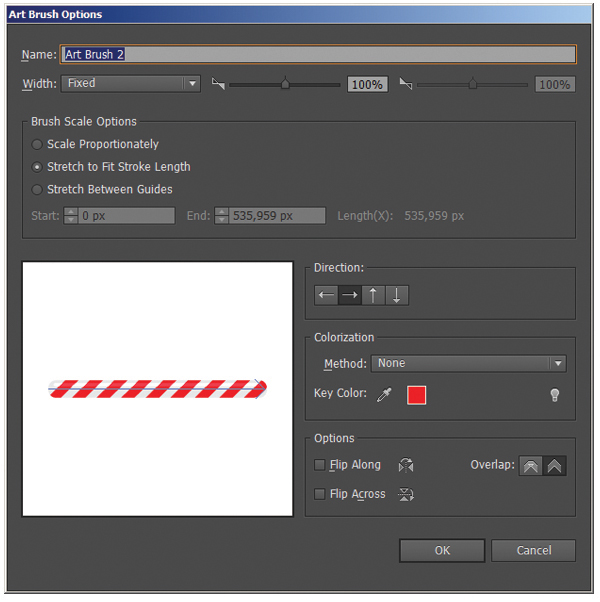
Step 6
Select Art Brush as the new Brush type, press OK. On the Art Brush Options dialog you can set the new brush properties. In our case you can use the basic settings, so just Press the OK button.
Step 7
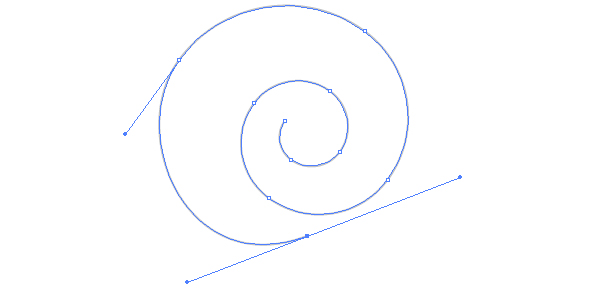
Create a Spiral with the Spiral Tool. While pressing the Left Mouse Button, you can rotate, resize, replace (by pressing the Space key) or even add or remove curls with the Up or Down Keys.
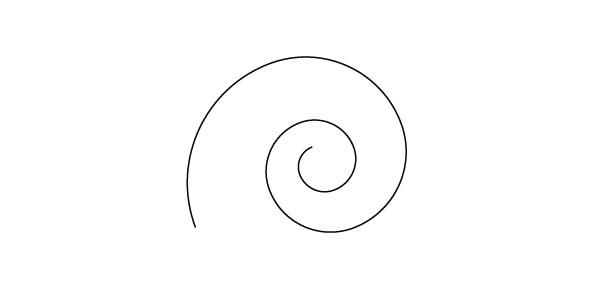
Step 8
With the Direct Selection Tool (A) grab the last anchor point and move it closer to the center of the spiral. Use the handles to get a rounded shape as you see on the image below.
Step 9
Select the brush you created previously from the Brushes Panel.

Step 10
Create a rounded rectangle (w=15 /h=320px). Place it behind the spiral and fill it with a linear gradient of white and gray.
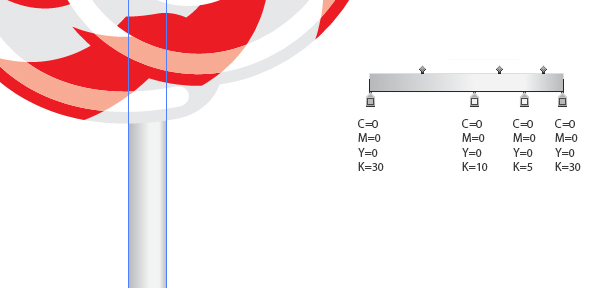
Step 10
Remember, you can edit the curl of the spiral with the Direct Selection Tool (A) so you can create whatever shape you want. Or you can create a whole new candy with the same brush.
For example to create a Christmastime candy cane you just have to create a Circle with the Ellipse Tool (L). With the Direct Selection Tool (A) select the bottom anchor point (1) and delete it. Click with the Pen Tool (P) on the anchor point (2) and add another anchor point (3) to extend the arch with a line. You can edit later if you need a longer line. Now select the same brush you created earlier and you’re done!

Step 12
Here are the results of today’s work.

That’s it! I hope you liked this tutorial. Have fun practicing these techniques you’ve learned today and experiment to get the best, most delicious results!
Author: Zoltan Ordog
Zoltan is a designer from Transylvania, working with Adobe Illustrator and Photoshop. His design interests include user interface design, icon design, branding and identity design. Visit Vectorgraphit.com to read his other tutorials.


Tried this over and over again but every time, the brush strokes follow the stroke ALONG the lines, creating what one might see in a rose pattern.
Now, if I create a Pattern brush, I get the desired effect but it’s a pattern, so it repeats poorly of course.
Driving me nuts as it looks so easy to do!
Thanks for the tutorial though!