

If you need a quick design or texture for your project, this easy bokeh vector is perfect for backgrounds, icons, and illustrations. What’s more, you can easily create it in 15 minutes or less with this quick tutorial!
Tutorial Details: Easy Bokeh Vector Effects in 15 minutes or Less
- Program: Adobe Illustrator CC
- Difficulty: Beginner
- Topics Covered: Gradients, Symbols Panel, and Transparency Panel
- Estimated Completion Time: 15 Minutes
Final Image: Easy Bokeh Vector Effects in 15 minutes or Less

Step 1: Easy Bokeh Vector Effects
Use the Ellipse Tool (L) to draw a circle. Set the Fill Color to the hue of your choice.

Step 2
Use the Gradient panel to add two instances of your hue of choice. Set the Gradient Type to Radial. Change the Opacity of the first color to 0% and make sure the transparent color is in the center of the gradient.
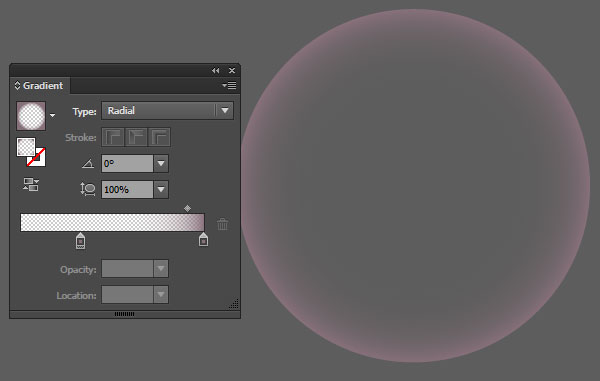
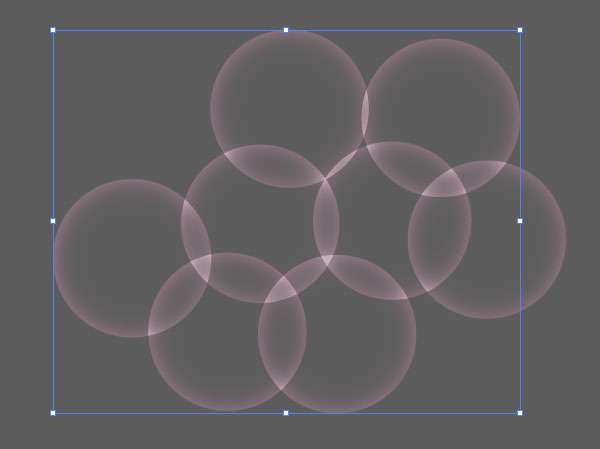
Step 3
Draw another circle and use the same gradient as before, but this time the center color should be at 100% Opacity. These will be your two styles of circles for the bokeh vector design.
Step 4
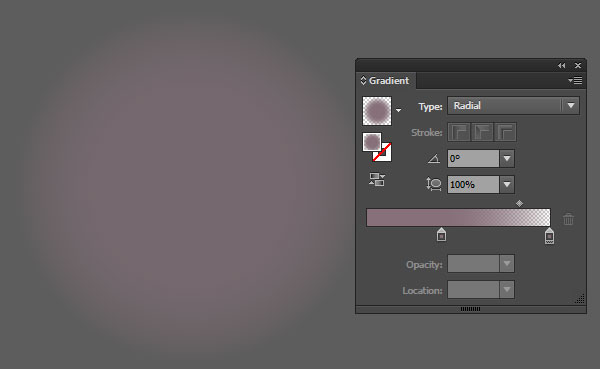
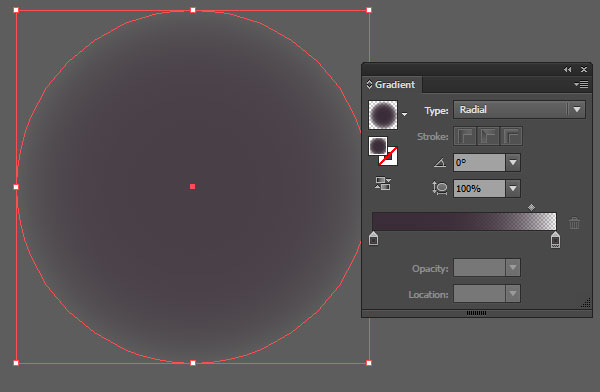
Play with other colors and move the slider between the two colors in the Gradient panel so there’s a larger pigmented circle than the default Radial Gradient.
Step 5
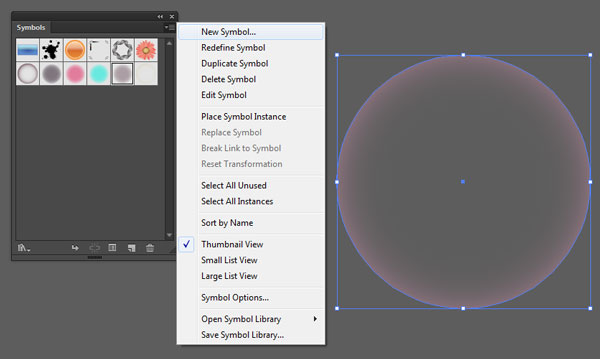
Next step for your own bokeh vector, select one of your gradient circles and in the Symbols panel, hit New Symbol in the panel’s options.
Step 6
Give your symbol a name and change the Type to Graphic (in case you wish to import the symbol to Flash later. As a rule, I always make sure symbols are ready to go for all purposes). Hit OK and let’s use our new bokeh vector symbol!

Step 7
With the Symbol Sprayer Tool (Shift-S), select your new symbol from the Symbols panel, and “spray” out several instances of the gradient circle. Editing the Symbol Sprayer Tool Options (hit Enter with the tool selected) to control the Intensity, Density, and more. Hopefully you can see your bokeh vector starting to take shape.
Step 8
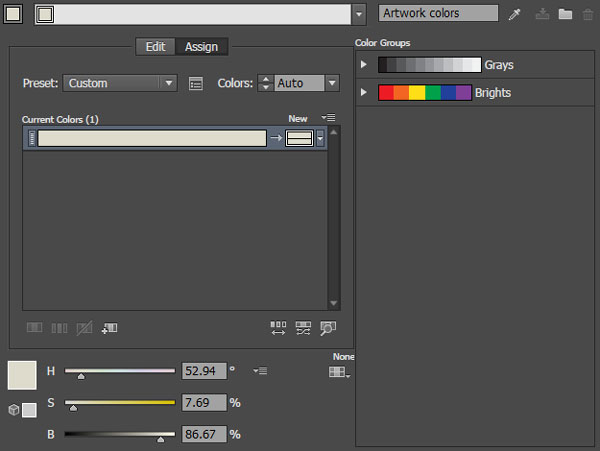
To easily change the color of your symbol set, select it and go to Edit > Edit Colors > Recolor Artwork and change the current color under New to the color of your choice (you can go through your swatches, color picker, or use the sliders below).
Step 9
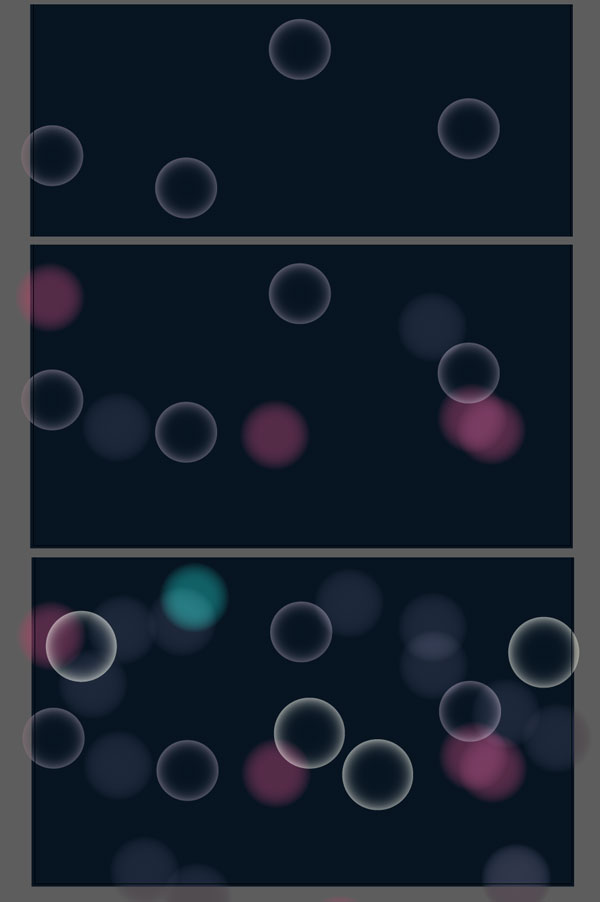
For the final image of this bokeh vector tutorial, draw a large, dark navy blue rectangle over the artboard using the Rectangle Tool (M). Choose various instances of gradient circle symbols and use the Symbol Sprayer Tool to spray out a few at a time over the artboard. Deselect the symbol set to begin a new one. Layer different styles and colors of the symbols on top of each other.
Step 10
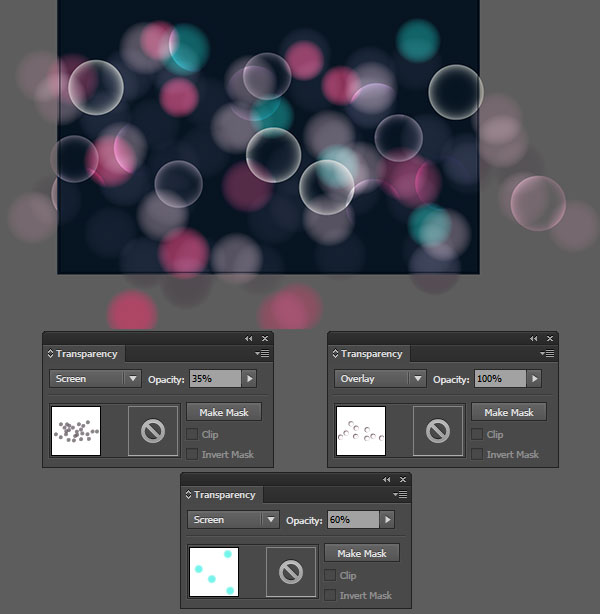
Select a few of the symbol sets and change the Blend Mode to Screen or Overlay in the Transparency panel. Feel free to adjust the Opacity of the sets in the panel as well in order to get different sets to blend into each other.
Conclusion: Easy Bokeh Vector Effects
That’s it! Creating this design so easy; simply form radial gradients and overlay shapes on a background, and you’re done! Use this design to add a trendy effect to your creation, and be sure to share your bokeh vector effects in the comment section below.
Author: Mary Winkler
Mary works under the brand Acrylicana® designing apparel, jewelry, and illustrating for companies like Disney, Jakks Pacific, Envato, and more. Check out Acrylicana.com for more artwork, tutorials, and more.


Thanks!
Very easy and convenient 🙂
This is my turn how to create 100% vector bokeh effect in Adobe Illustrator https://roman-volkov.blogspot.com/2017/09/illustrator-tips-tricks-9.html
Thanks, this website is really beneficial
Awesome tutorial, we have featured it here : http://theneodesign.com/best-illustrator-tutorials-november-2014/