
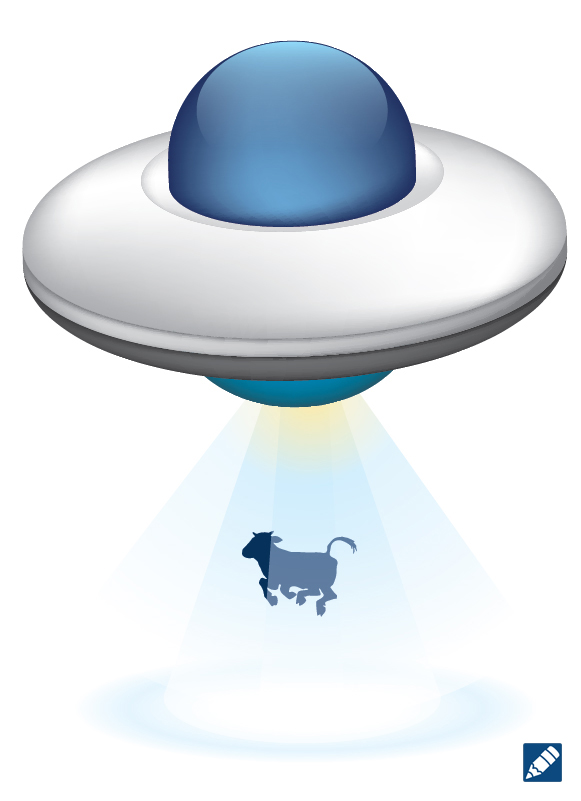
 In the following tutorial, you will learn to create a simple flying vector UFO in Adobe Illustrator. Using 3D effects and Gradient Mesh, you will learn to create this piece with realistic effects.
Tutorial Details
- Program: Adobe Illustrator CS6
- Difficulty: Beginner
- Topics Covered: Basic Tools and Effects, Gradient Mesh basics
- Estimated Completion Time: 50 minutes
Final Image
Step 1
Create an artboard that is 800 x 600px. Select CMYK color mode, Screen (72ppi) and make sure that the “Align New Objects to Pixel Grid” box is unchecked before your click OK.
Step 2
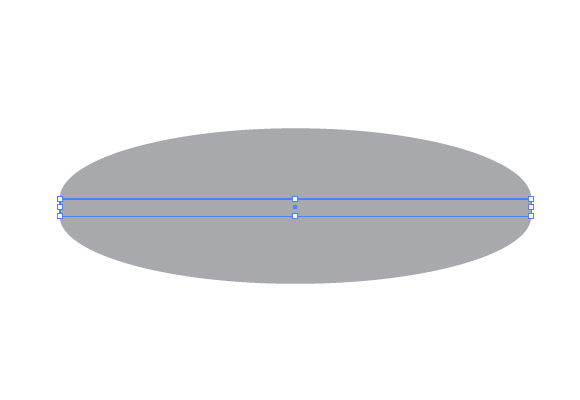
Create an ellipse with the Ellipse Tool (L). You don’t need to set a size. Just make sure that it is similar to the one on the image below. Duplicate the ellipse (Ctrl +C, Ctrl + F) and move it down with the Down Arrow Key.

Step 3
Create a rectangle with the Rectangle Tool (M). Place it between the two ellipses.
Step 4
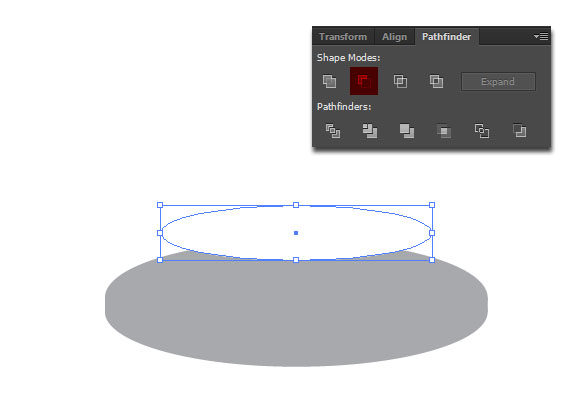
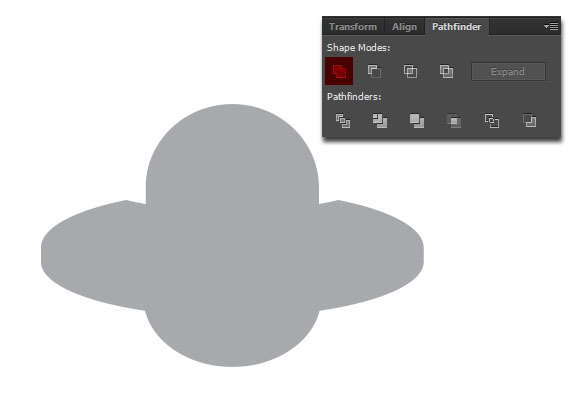
Create a new, smaller ellipse and place it over the other shapes. While the new ellipse is selected, press the Shift Key and select the other from the top. On the Window > Pathfinder Panel, select the Minus Front option.
Step 5
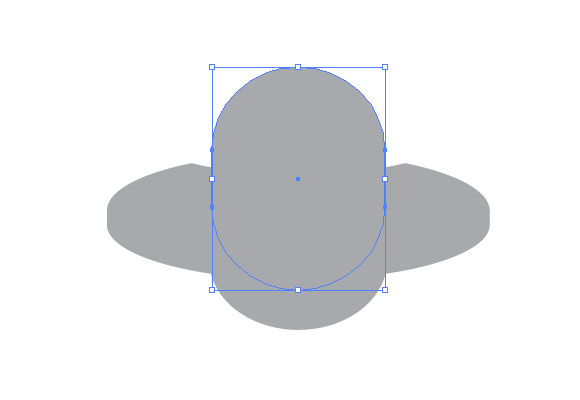
Create two rounded rectangles with the Rounded Rectangle Tool. You can increase or decrease the angle by pressing the Up or Down Arrow Keys while holding the Left Mouse Button. Place them on the top and bottom of the other shapes.
Step 6
Select all shapes and press Unite on the Pathfinder Panel. Now you have the silhouette of a UFO.
Step 7
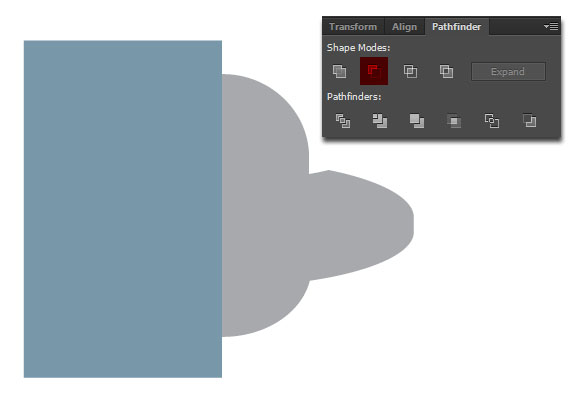
We need to create a 3D object. We will use the Revolve effect. For this, we need to cut the silhouette in half. Create a rectangle, and place it to overlap the half of the UFO ‘s shape. Select both shapes and press Minus Front on Pathfinder Panel.
Step 8
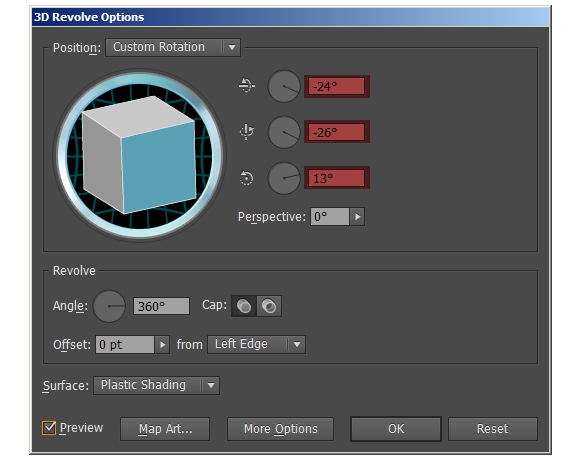
Go to Effect > 3D > Revolve and use these values for X, Y and Z axis. Press OK.
Step 9
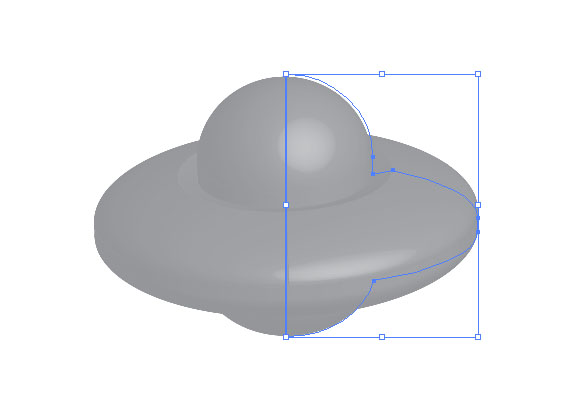
You can play with the values as you want until you get the perfect position and angle for your UFO.
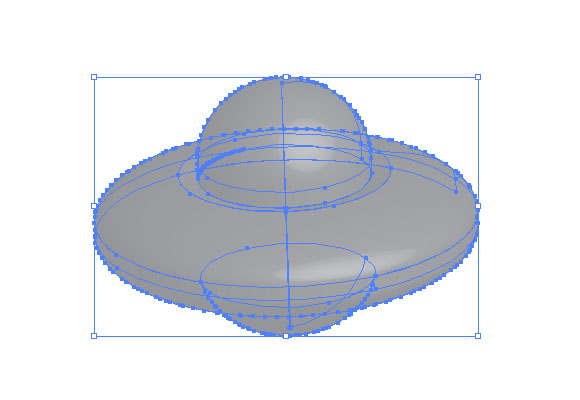
Step 10
While the object is a 3D object, you can’t edit as a vector shape, so you need to convert it to regular vectors. To do this, go to Object > Expand Appearance. You transformed the 3D object into a group of shapes.
Step 11
In order to manipulate the shapes further, you will first need to go to Object > Ungroup (Ctrl + Shift + G). Select every shape and press Unite on the Pathfinder Panel.

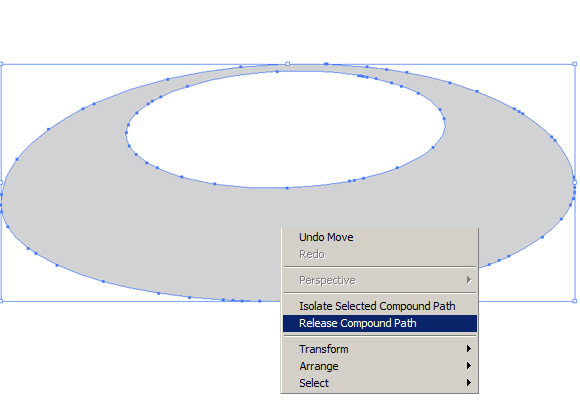
In some cases, the expanding process results in compound paths that need to be released. To release the compound paths, click on them with the Right Mouse Button and select Release Compound Path.
Step 12
After expanding the 3D objects, you get some hidden objects which you don’t need. To remove them, select all visible shapes by clicking on them while holding the Shift key. When you’re done, use the Rectangular Marquee Tool (while holding the Shift key), and make a box around the design. Doing so, you will deselect all the items you need and select all the shapes you don’t need. Press delete. If you see that something is missing, go to Edit > Undo, and repeat the selection until you get the correct results.
Another way to get rid of the shapes you don’t need is to select all the visible shapes one by one while holding the Shift Key. Place these shapes to the Clipboard (Ctrl + X), and delete any other shapes.

Step 14
Now place back everything from the Clipboard (Ctrl + F). Fill every shape with a color. Think about the color of the margins that every shape will have after you use the Mesh Tool (U).
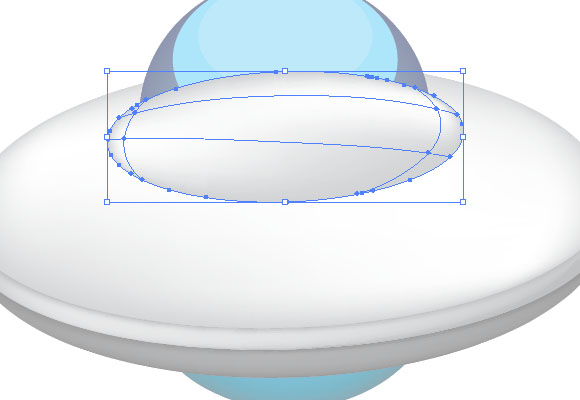
Create two ellipses. These will be the reflections on the “glass cockpit” of the UFO.

After expanding the 3D object, the resulted shapes have lots of anchor points. To use the Mesh Tool, some of the points must be removed. Go to Object > Path > Simplify. Set the Curve Precision to 100% and press OK.
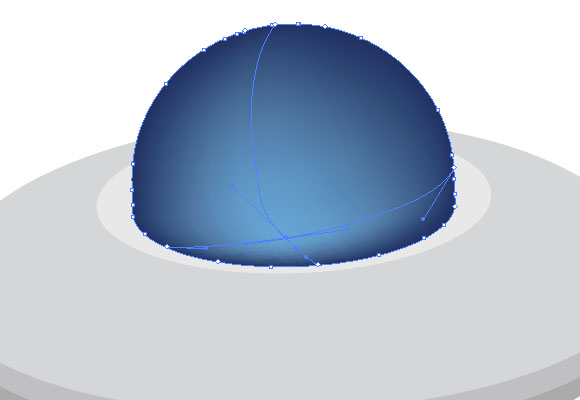
Step 15
Now you can start using the Mesh Tool. Let’s start with the cockpit. Click anywhere on the shape’s area. After converting a shape into a mesh, you can select its points with the Mesh tool, Direct selection tool or the Lasso tool. Now you can add a color to the mesh. Select a color from the swatches palette, or use the Eye Dropper Tool (I) to select a color from an image.
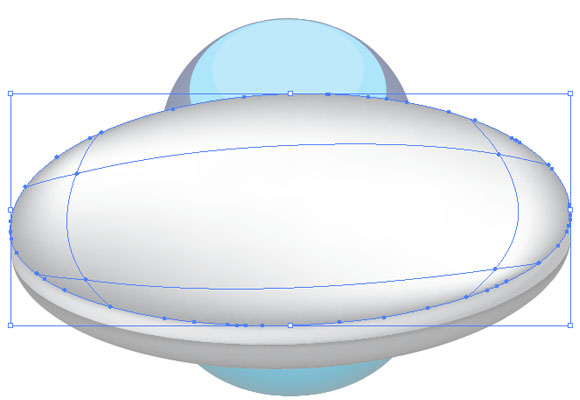
Step 16
Select the other shapes and add points and color to them. In this case, add the color white.
Step 17
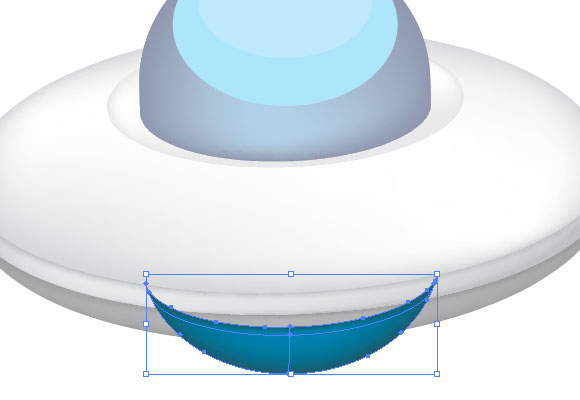
On the bottom part of the UFO, add points as you see on the image and add colors as you like.
Step 18
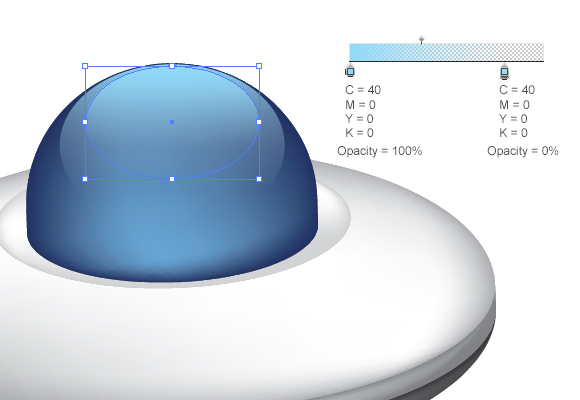
Remember those two ellipses? Fill them with a gradient of blue and set the opacity of the second color to 0% as pictured below using the Gradient Panel.
Step 19
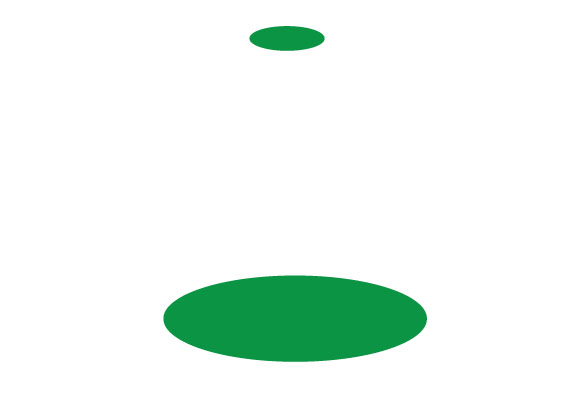
We’re done with the UFO. Now we’ll create the light rays beneath it. Create two ellipses, and place them below the UFO.
Step 20
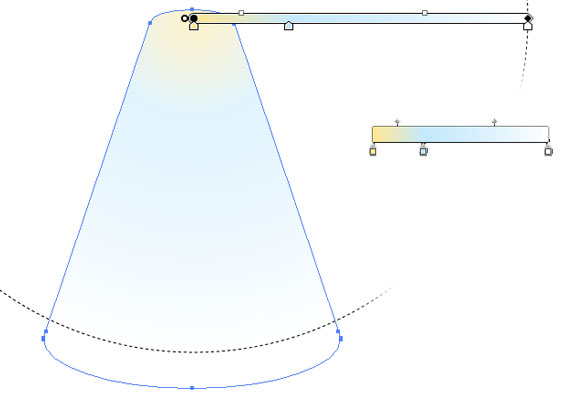
With the Pen Tool (P), create a trapeze by connecting the margins of the ellipses. Select all three shapes and unite them (Unite – Pathfinder Panel).
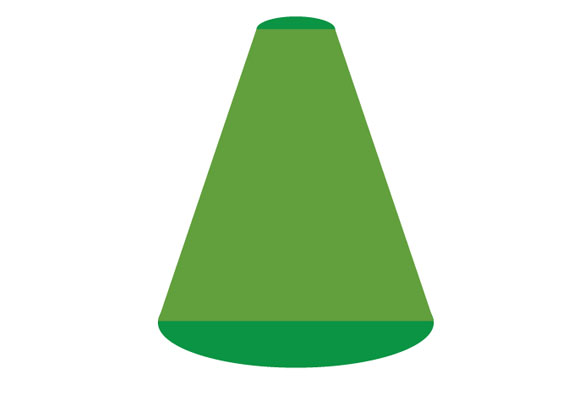
Step 21
Fill it with a gradient starting with yellow (C0 M8 Y50 K0), then lightblue (C20 M0 Y0 K0), and finally white.
Step 22
Create multiple instances of this shape, rotate them and place them so you get a light ray effect. I found this free Jumping Cow vector file, and I thought it would be perfect to use on the final image.
That’s it! I hope you liked this tutorial. Have fun practicing these techniques you’ve learned today!
Author: Zoltan Ordog
Zoltan is a designer from Transylvania, working with Adobe Illustrator and Photoshop. His design interests include user interface design, icon design, branding and identity design. Visit Vectorgraphit.com to read his other tutorials.


Greaaat..
but the Step 11 is not clear.. when I do the step ..the result is not the same as yours so I can’t complete the Tutorial…why?
I LOVE THIS SO MUCH OMG SO GOODDDD
This is a good tutorial but there are some steps such as 4, 11, 12, 14 and 15 that are unclear and need further explaining. These steps are at times a little vague and hard to follow and resulted in long periods of frustration occasionally solved with a ridiculously simple answer. This comment is not being made as negative criticism but as constructive criticism.
Kind regards
Georgia
really supper