Hey, welcome back to another icon tutorial, in which we’re going to explore how to create a messaging app icon in Figma, using nothing more than a couple of basic geometric shapes, that we’re going to adjust here and there.
Tutorial Details: Messaging App Icon
- Program: Figma
- Difficulty: Beginner
- Topics Covered: Compositional Construction, Shape Alignment, Shape Adjustment
- Estimated Completion Time: 16 Minutes
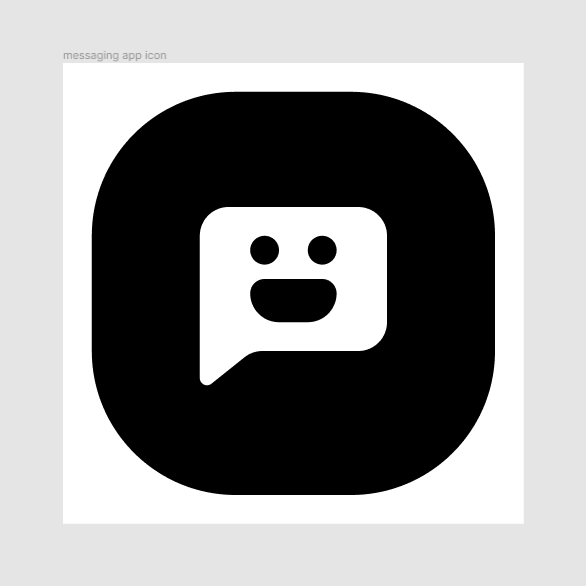
Final Image: Messaging App Icon

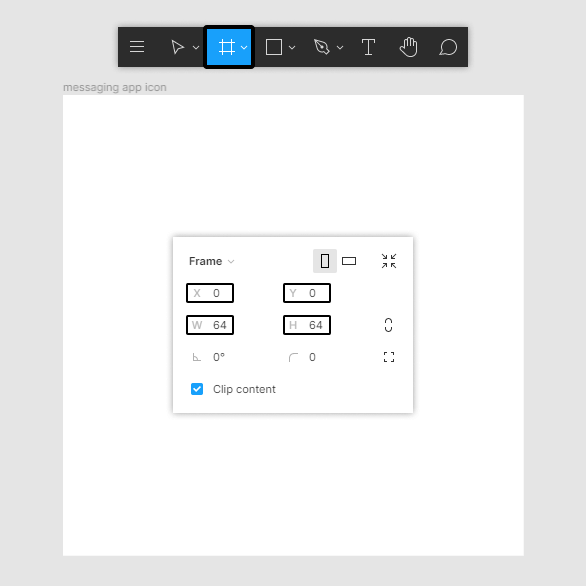
Step 1
As with every new project, we’re going to kick things off by creating a new Draft, and then setting up a 64 x 64 px frame using the Frame tool (F), naming both the draft and frame in order to have a clear, steady workflow.
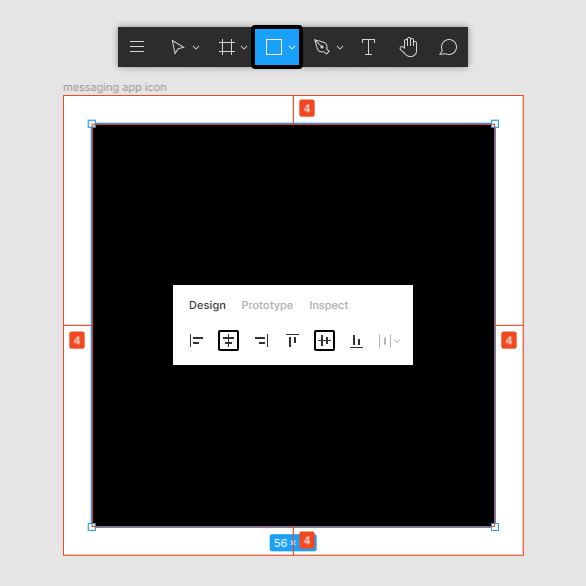
Step 2
Start working on the actual icon by creating the main shape for the background, using a 56 x 56 px square, which we will color using black (#000000), and then position to the center of the frame using the Align horizontal centers (Alt-H) and Align vertical centers (Alt-V) options.
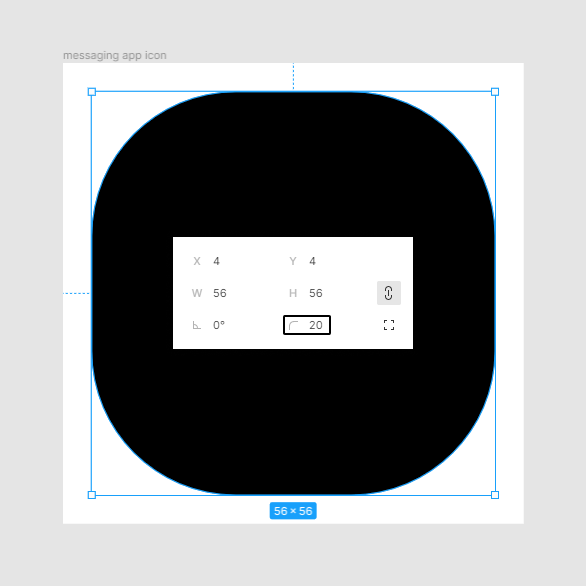
Step 3
Adjust the shape that we’ve just created by setting its Corner radius value to 20 px from within the Design panel.
Step 4
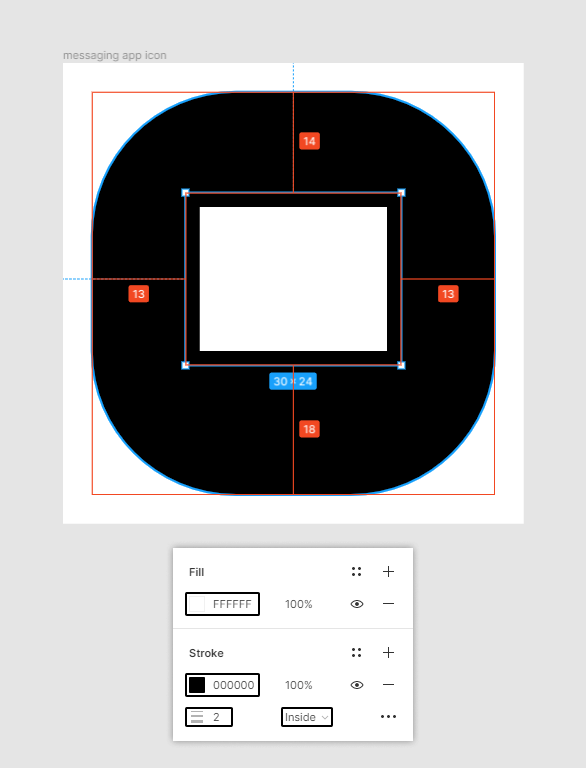
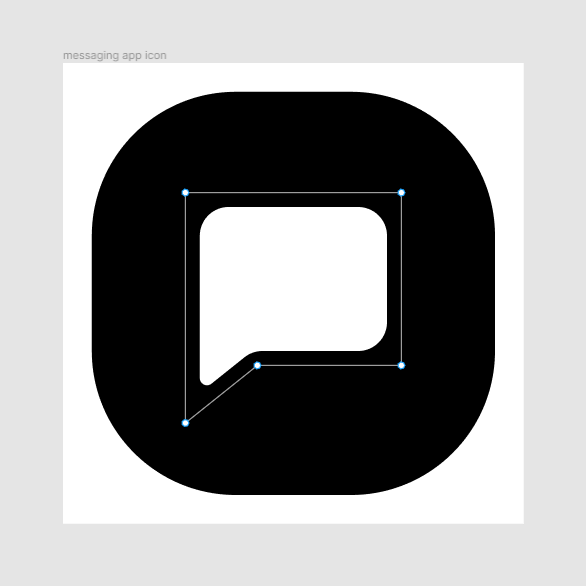
Create the main shape for the chat bubble using a 30 x 24 px rectangle (#FFFFFF) with a 2 px thick Stroke (#000000) set to the inside, which we will position as seen in the reference image.
Step 5
Adjust the shape that we’ve just created, by first hitting Enter in order to go into vector edit mode, and then adding a new anchor point to the center of its path’s bottom edge by simply clicking on it, which we will then select and re-position at a distance of 10 px from the bottom-left anchor.
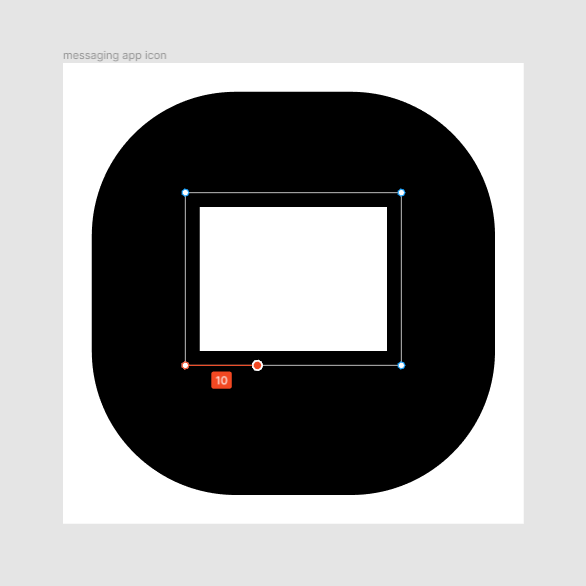
Quick tip: you can always measure the distance found between two different anchors by selecting the one that you want to re-position, and then while holding down the Alt key simply hover the anchor that you want to use as a reference point.
Step 6
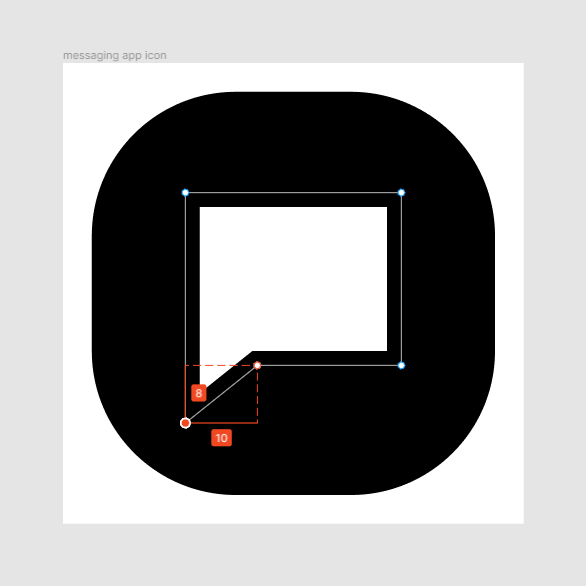
Continue adjusting the shape, by selecting its bottom-left anchor, and then pushing it to the bottom by a distance of 8 px.
Step 7
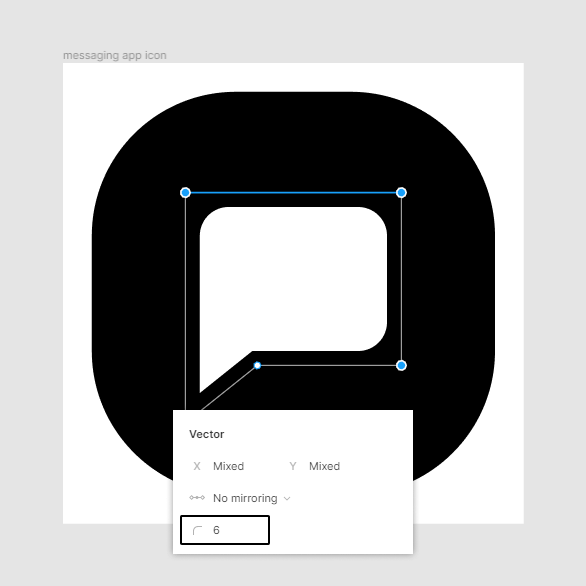
Set the Corner Radius of the top-left, top-right and bottom-right anchors to 6 px from within the Design panel’s Vector section.
Step 8
Finish adjusting the shape by setting the Radius of its bottom-left anchor to 3 px, and its inner one to 2 px. Take your time, and once you’re done exit vector edit mode by pressing either Done or Enter.
Step 9
Add the eyes using two 4 x 4 px circles, which we will color using black (#000000) and then horizontally distance at 4 px from one another, grouping (Control-G) and then positioning them onto the chat bubble as seen in the reference image.
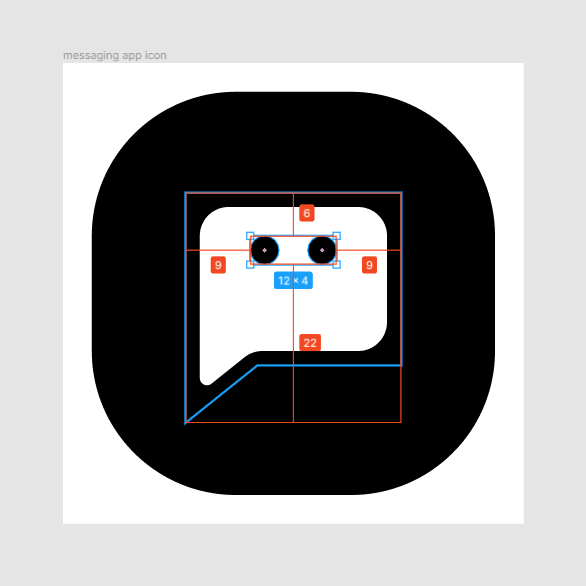
Step 10
Create the mouth using a 12 x 6 px rectangle, which we will color using black (#000000), and then position just below the eyes, at a distance of 2 px.
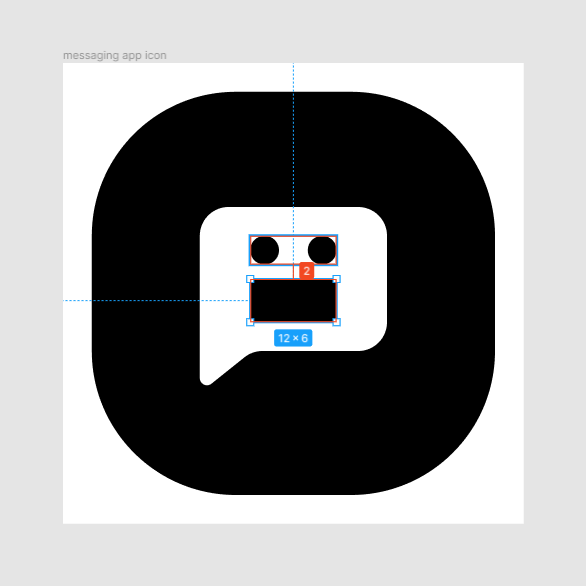
Step 11
Finish off the icon, and with it the project itself by enabling the Independent corners option, and then setting the Radius of its top corners to 2 px, and its bottom ones to 4 px. Take your time, and once you’re done don’t forget to select and group all of the icon’s composing shapes together using the Control-G keyboard shortcut.
Great Job!
As always, I hope you had fun working on the project, and managed to learn something new and useful during the process. That being said, we’re going to continue our Figma series with new projects, so stick around if you want to learn more!