
 Let’s go old school with recreating a time honored printing technique in Adobe Illustrator. With a modified photo texture, we’ll quickly edit any text to look like a wood block printing text effect, ready for whatever your digital needs may be!
Tutorial Details: Wood Block Printing Text Effect
- Program: Adobe Illustrator CS6 – CC 2015 and Adobe Photoshop CS5 – CC 2015
- Difficulty: Intermediate
- Topics Covered: Photo Textures, Live Tracing, Appearance Panel
- Estimated Completion Time: 15 Minutes
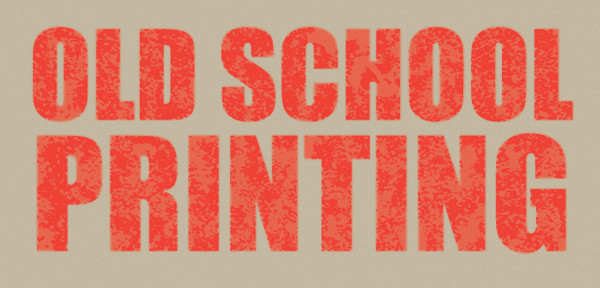
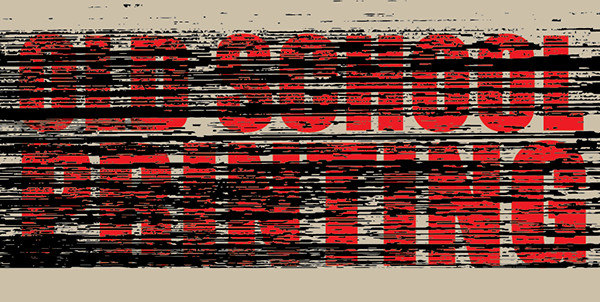
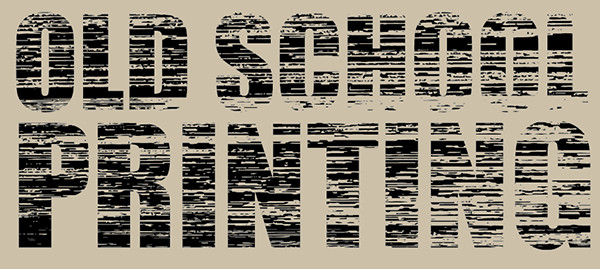
Final Image: Wood Block Printing Text Effect
Step 1: Wood Block Print Treatment
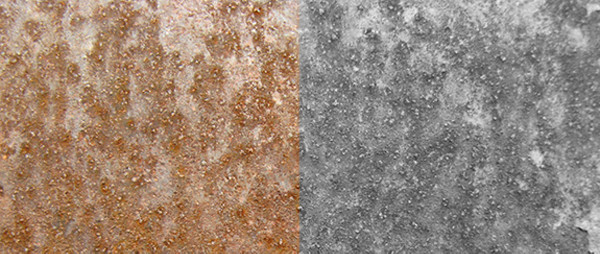
Starting with Adobe Photoshop and a wood or rust stock texture of your choice (I chose a couple from Textures.com, Desaturate your image.
Step 2
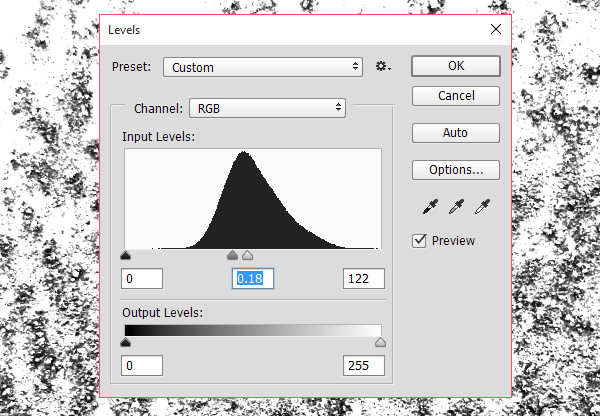
Go to Image > Adjustments > Levels and set the input levels to 0, 0.18, and 122 and hit OK.
Step 3
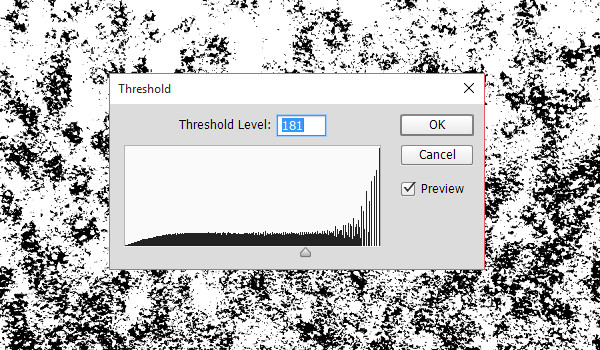
Next, go to Image > Adjustments > Threshold and set the level to 181.
Step 4
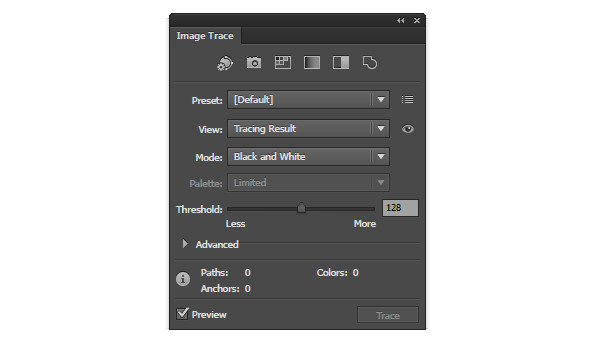
Export your file as a JPG and Import it into Adobe Illustrator. Open the Image Trace panel and set the Mode to Black and White and Threshold to 128, or so. Hit Trace.
Step 5
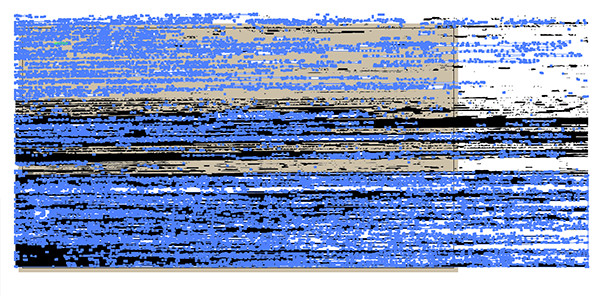
Go to Object > Expand and then Right-Click your newly expanded texture so you can Ungroup it. With the Magic Wand Tool, select the white portions of the texture and Delete them. Unite the black objects of the texture together in the Pathfinder panel.
Step 6
Using the Type Tool, write out the text of your choice and Convert to Outline. Unite the text objects in the Pathfinder panel and overlap the text with your texture.
Step 7
Select both objects and hit Intersect in Pathfinder.
Step 8
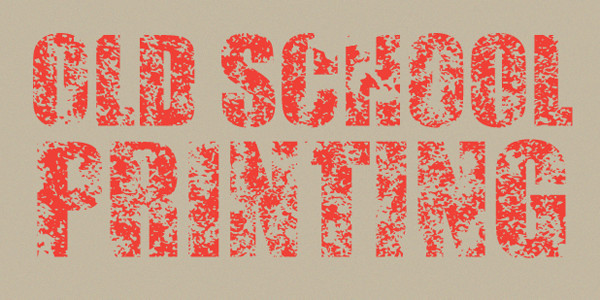
Set the newly textured text to the “ink” color of your choice. I chose red for this text effect.

Step 9
The texture I used above was a wood texture. Here’s an example of a rst texture having been used.
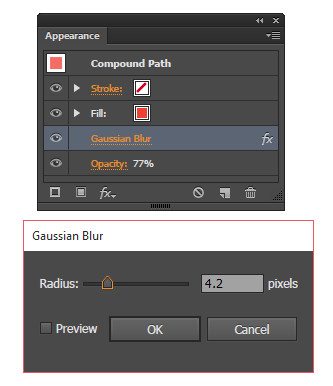
Step 10
To complete your wood block printing text effect, you’ll need another instance of your original text outlines (from the start of Step 6). In the Appearance panel, apply a Gaussian Blur Effect with a 4.2 pixel radius and set the Opacity to 77%.
Conclusion: Wood Block Printing Text Effect
Place the second text instance below your text effect for a more realistic looking print. Try a textured background too to finish off the look. Think grain or paper when applying a light grain effect to a rectangle below your text.
Author: Mary Winkler
Mary works under the brand Acrylicana® designing apparel, jewelry, and illustrating for companies like Disney, Jakks Pacific, Envato, and more. Check out Acrylicana.com for more artwork, tutorials, and more.


I got this website from my friend who told me on the topic of this site and at the moment this time
I am browsing this web site and reading very informative articles at this place.
Thanks! I am trying this out today. This would also work with images instead of type, no?
DID NOT WORK FOR ME 🙁