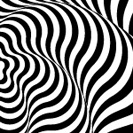
Today we will learn how to create an optical illusion by using simple geometric forms, the Blend Tool and Live Effects. You can receive many variants of such artwork by changing the parameters of the effects. It is much easier than it might seem at first glance. So let’s get started!
Tutorial Details
- Program: Adobe Illustrator CS3 – CC
- Difficulty: Beginner-Intermediate
- Topics Covered: Blend Tool, Transform and Pathfinder live effects
- Estimated Completion Time: 10 minutes
Final Image
As always, this is the final image that we’ll be creating:
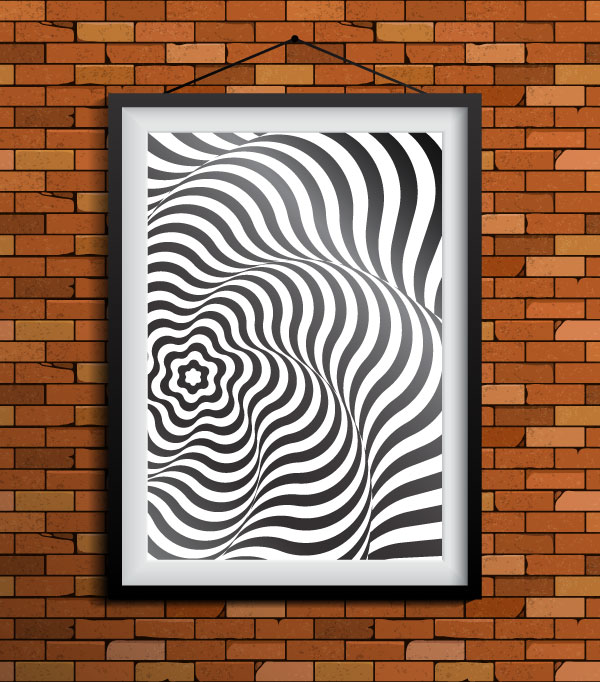
Op Art, also known as optical art, is a type of art that started being popular in the second part of the 20th century; it uses different optical illusions based on the features of perception of planar and spatial figures.
Step 1
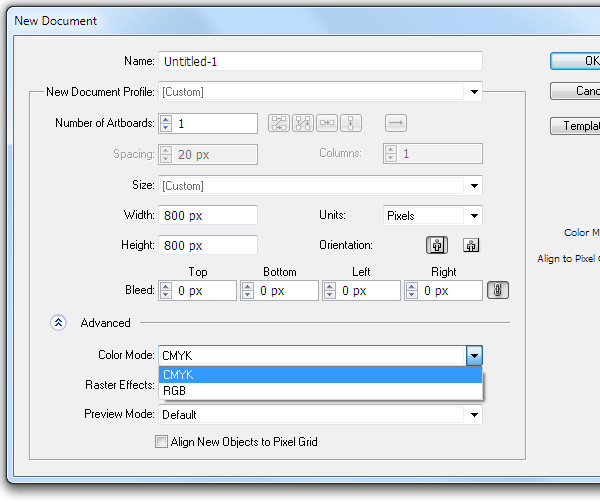
Start Adobe Illustrator and create a new document (File > New…). In the opened dialog box ,set the parameters of the artboard and choose the color mode depending on how you want use your received image. If you’re planning to print your optical art, choose the CMYK color mode. If you want to publish your artwork in the web only, then choose the RGB color mode.
Step 2
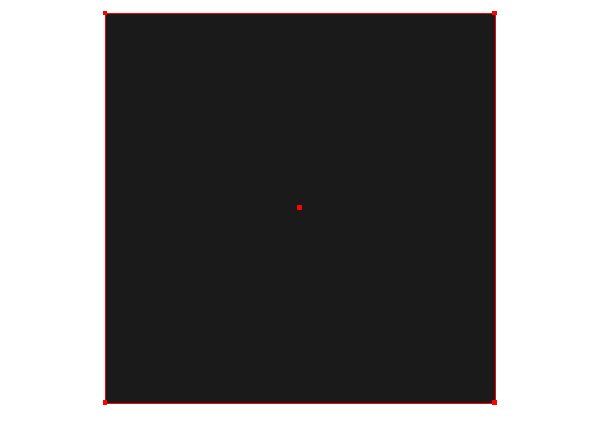
Take the Rectangle Tool (M) and create a square of any size with black fill and with no stroke.
Step 3
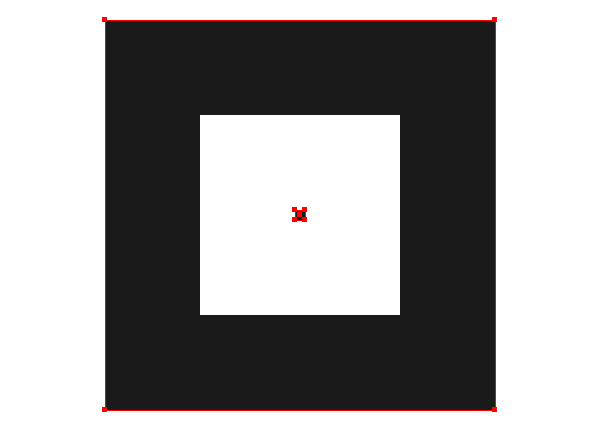
And now create a second black square, which is smaller than the previous one. The center of the second square matches the center of the first square.
Step 4
Select both squares, then go to the Object > Blend > Make or use the shortcuts Option/Alt + Cmd/Ctrl + B. Keep the blend object selected and go to the Effect > Pathfinder > Exclude.
Step 5
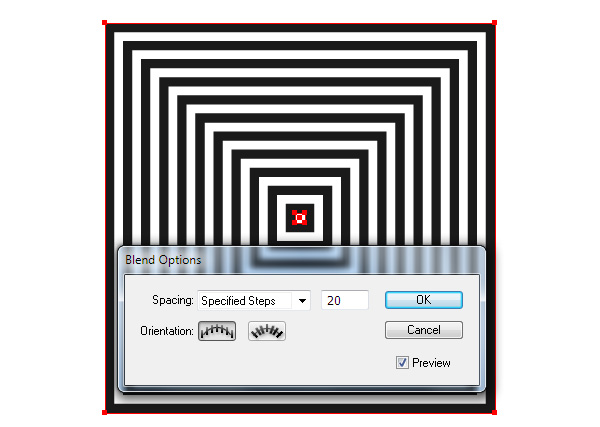
Click twice on the Blend Tool (W) icon on the Tool panel or go to Object > Blend > Blend Options…. Select the Specified Steps from the pop out menu and set the number of steps which fits our intentions.
Step 6
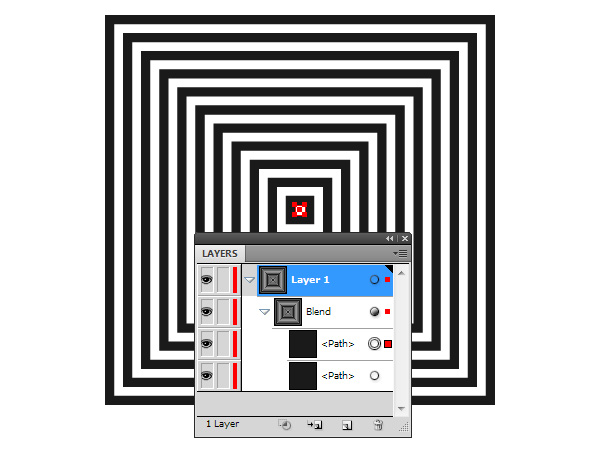
Select the smaller rectangle. It can be easily done in the Layers panel.
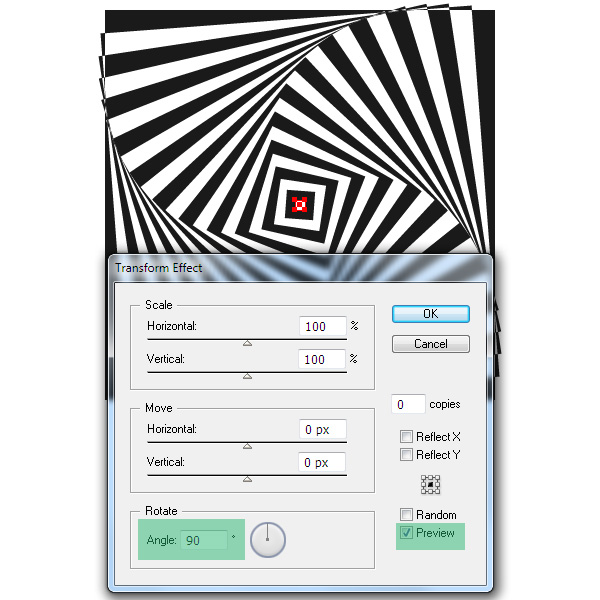
Now go to the Effect > Distort & Transform > Transform…. Experiment with the angle for this effect and tick the Preview option to observe the changes taking place.
Step 7
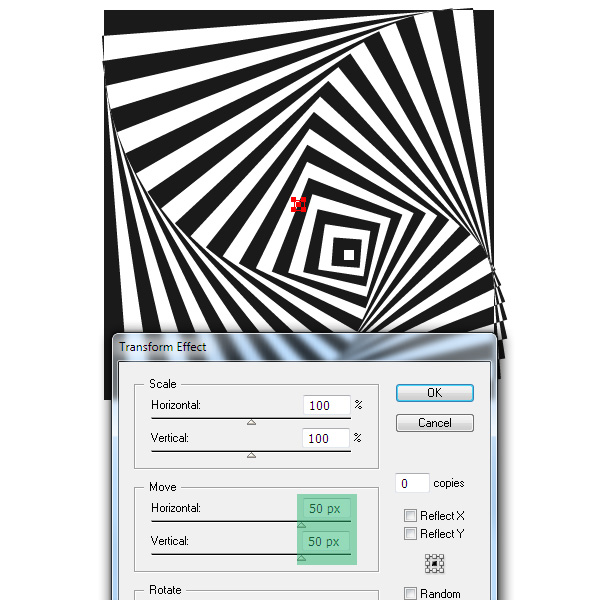
The basis for our optical illusion is created. Now you can continue experimenting with the effect’s parameters. For example, you can set the value of the vertical and/or horizontal shift in the Transform Effect dialog box; then click OK.
Step 8
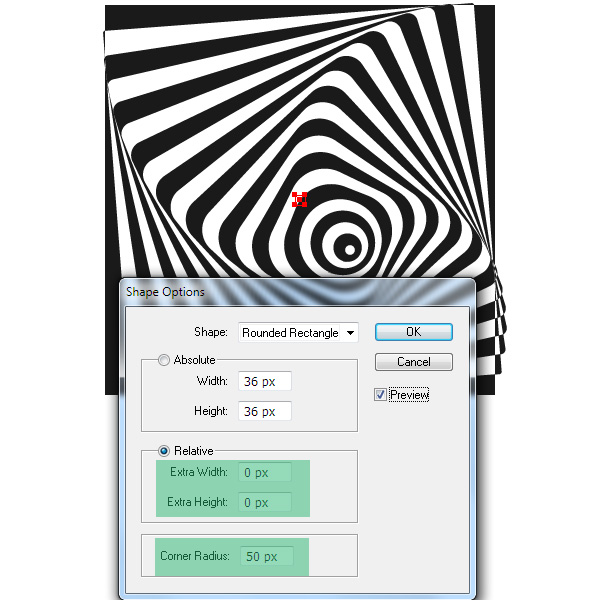
Since we only use live effects to create Op Art, we can continue to play with the forms. Keep the upper square selected, go to the Effect > Convert to Shape > Rounded Rectangle…, select Relative, set 0px for the parameters Extra Width and Extra Height, then set the Corner Radius.
Step 9
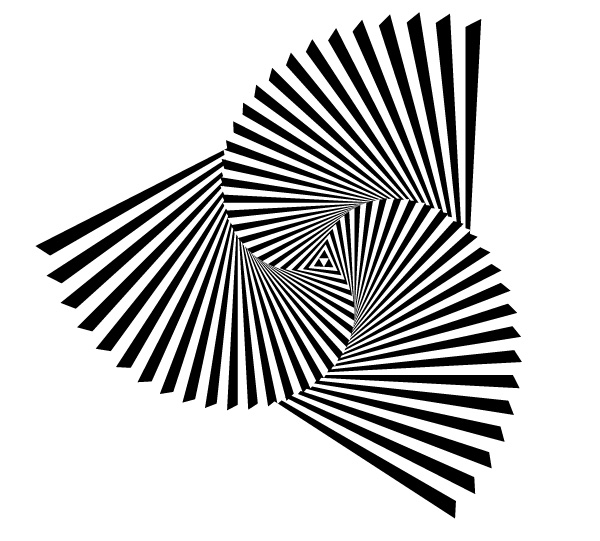
The basic for blend object should not necessarily be in square shapes. You’re free to choose whatever forms you like. The optical illusion, based on two triangles, is indicated in the figure below.
Step 10
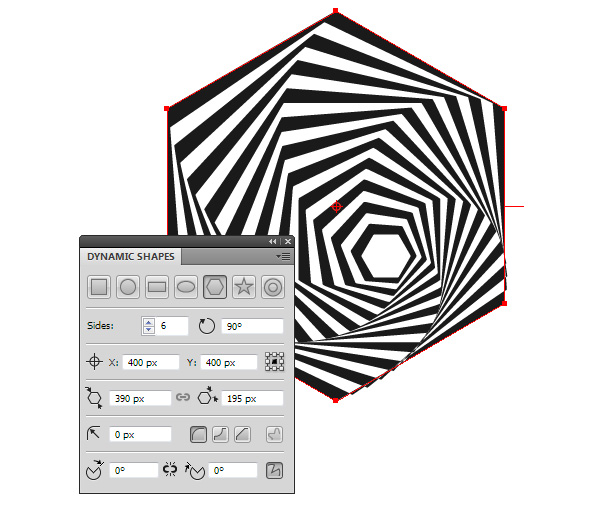
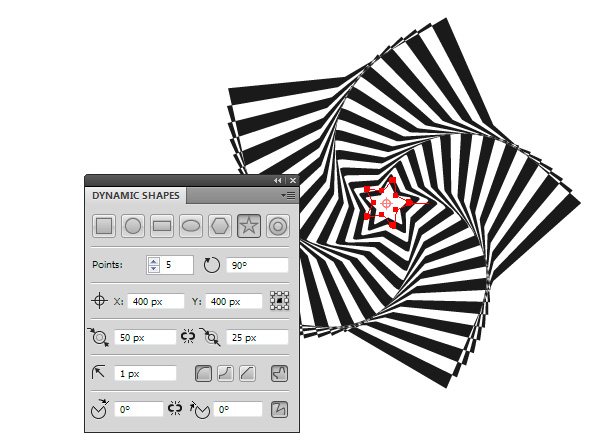
We can very quickly create a great number of optical illusions with the help of the VectorScribe plug-in. One of its tools is the Dynamic Shape Tool, which can convert standard forms into dynamic and then change their parameters as we desire. You won’t need to create a new blend object, just simply convert the existing forms into new ones, for example squares into hexagons or even stars.
Step 11
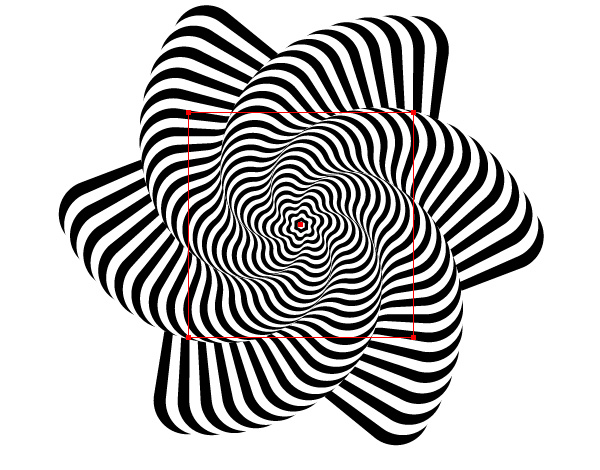
And finally, if you need to restrict the created op art to a picture plane, do it with the help of the Clipping Mask. Using the Rectangle Tool (M), create a rectangle of the necessary size.
Now select our illusion and a rectangle, then go to the Object > Clipping Mask > Make or use Cmd/Ctrl + 7 shortcuts.
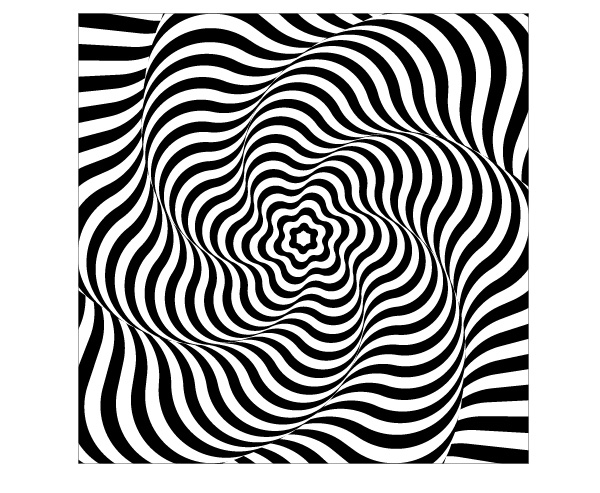
All we need to do is to print our artwork and hang it on the wall. I hope you have fun experimenting with this technique!
![]()
Author: Iaroslav Lazunov
My name is Iaroslav Lazunov, I am a graphic designer from Ukraine. I am glad that I finally found the job in my life that I can share my knowledge and experiments with you in my tutorials. Follow me on Twitter or visit my blog Vectorboom.com.




Thanks for a great tutorial! It came in very handy recently. I still think it’s weird that using Pathfinder > exclude doesn’t work, if you use the Pathfinder menu. But going to effects > Pathfinder > exclude does. I guess they are two different things?! Who knew.
Hi Iaroslav and thanks so much for the tutorial. I have a problem at step 9. I get this instead of what you had in the image (see sample below). http://postimg.org/image/uh7xnozdt/
I would love to know how to accomplish the triangle thing display as well. I suspect there was some further editing.
One last question – in the final example, there is no overlapping where there are hard edges. In the previous examples, and my explorations, there is always overlapping on the edges. How do you resolve this?
Thanks!
Figured it out! The place where step 4 wasn’t working was using Pathfinder > Exclude = produced no results.
Solution: The pathfinder palette doesn’t produce results, but after careful review of directions, going to the menu bar > effects > pathfinder > exclude DOES WORK.
Seems like a bug within Illustrator, and not sure what the difference between the palette and menu is, but palette doesn’t work while menu does.
Cool looking effect, unfortunately steps 4–5 aren’t working as described in Illustrator CC 2015.
Any updates on this @ Iaroslav Lazunov?
This does not work in illustrator cs2 🙁
Hi!
Thank you for sharing this.
There is just a problem with the order of step 4 and 5, as Carrie noticed.
If I do the steps in the order you describe, it doesn’t work.
I had to invert Step 5 and Step 4 to do it properly: first, the blending of the two square (setting as you describe “Specified Steps”: 20); then, Effect > Pathfinder > Exclude.
I already have a problem at stage 4. I tried to use the blend option but nothing happened. Pls advise.
Many thanks,
Kamon
Excellent tutorial, I learn abouth how to use the tansformation tool and creating abstract designs, comments are welcome. Attached is the link posted on twitter, enjoy! vectips.com/tutorials/create-artworks-opt-art-style-using-adobe-illustrator/ … pic.twitter.com/thR3VEupUw
I learned more things about the blend tool, the effects panel and its feature
vectips.com/tutorials/create-artworks-opt-art-style-using-adobe-illustrator/ … pic.twitter.com/thR3VEupUw.
the link posted on twitter is attached,
comments are welcome
Hiya,
I am also having trouble with step 4 onwards – if you first go to expand appearance – you and then pathfinder > exclude, you get step 4, but then if you go on to blend > specified steps 20, I just get a few squares in the middle and not what is on step 5 visual.
Hey there! I love your tutorials, because they are extremely well-written, but could you please correct the title, it’s op-art not opt-art.
Thanks for writing these, you’ve saved me hours of extra-labour on many occasions.
Thanks for the heads up on that! We’ve now corrected the title. 🙂
Sorry, it works when you do step 4 via menu effects > pathfinder > exclude… but doesn’t work in the pathfinder panel
Thanks for that tip. This may be on account of your version of Illustrator. Thanks for passing along!
Step 4 doesn’t work…
this is awesome! thank you for the tutorial!
STEP 4?????
I don’t get it too.
Are you having trouble with this effect? If so, can you give us some additional information as to where you’re having trouble?
Hi Alvin, can you expound a bit on what you’re having trouble with on Step 4?
Very nice tutorial. Thank you for sharing.
Really cool technique! How would you go about recreating step 11 in Illustrator? I tried blending 2 stars with rounded corners but unable to produce a similar look.
In step 11, I used the same technique. You can check this by downloading the source ai. file here http://vectorboom.com/Freebie/star_shape/star.ai
Thank you. I appreciate it.
Thank you for this great technique, I think if you would play around with this , it could lead to really great results.