

Create an adorable sun vector in Adobe Illustrator using the Ellipse Tool, Shape Builder, and Warp Tool. Stay warm and cool with this happy sun vector tutorial!
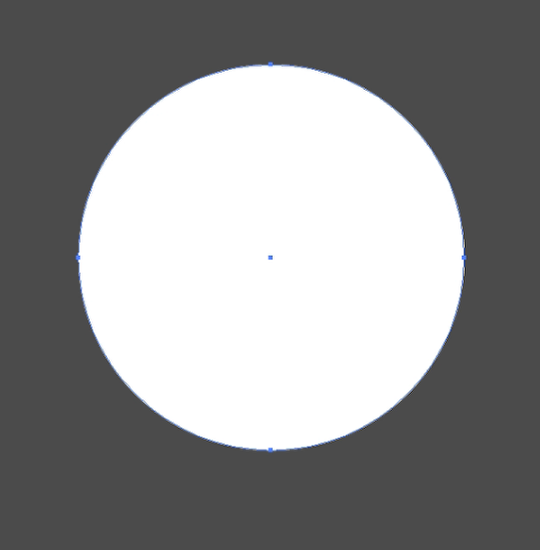
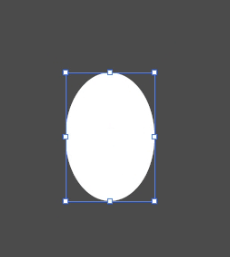
1.Create an ellipse
let’s go ahead and drawn ellipse with the Ellipse Tool (L). Don’t worry about adding any color yet.
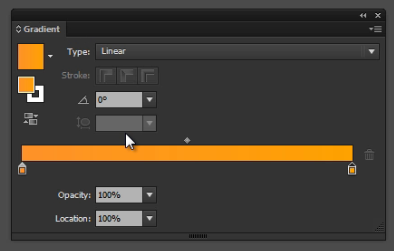
2. let’s move on to the gradient palette
Now we’re going to go ahead and add a linear gradient with subtle differences between the yellow and the orange. It’s good to keep these colors very close in harmony to reduce contrast.
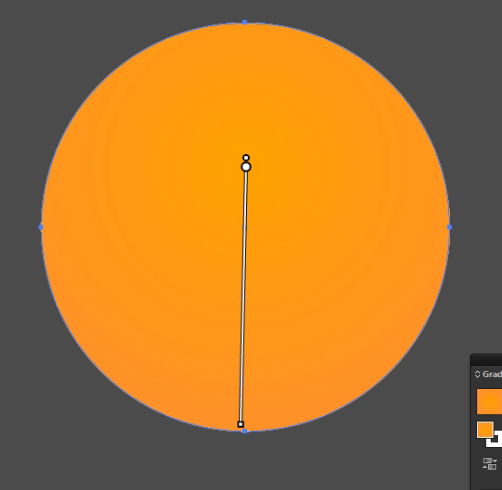
3. Refining the gradient
let’s go ahead and make the gradient radial in type. Keep the center of the gradient slightly above the center of the circle.
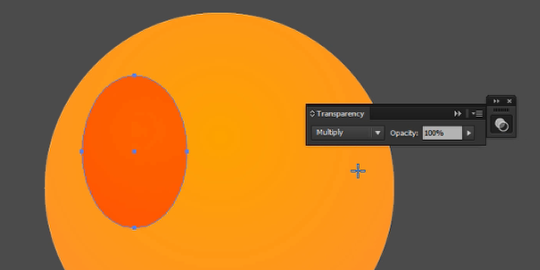
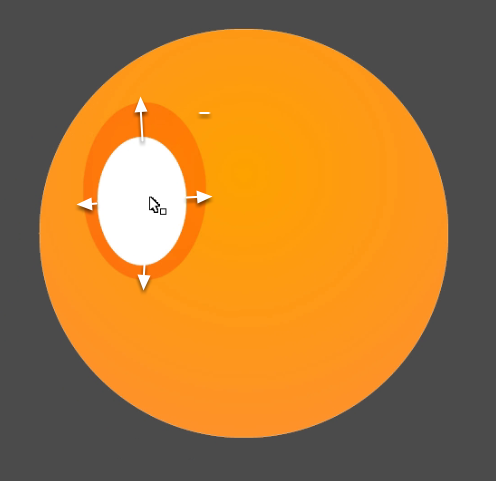
4. Now lets begin working on the eye.
Okay, now we are going to create another oval shape like shown. We will change the shape to the multiply layer mode so it can become a darker shade of orange. The multiply color mode is great for creating a darker color without having to change each individual shade.
5. Now let’s begin working on the white of the eye.
This go ahead and begin duplicating the previous step shape (Ctrl + Alt + Drag). Let’s make sure this shape is a little smaller than the previous eye shape.
6. Placing the white of the eye
Go ahead and put the white of the eye in place as shown. You should have a good amount of room between the eye itself and the indentation of the eye (the dark orange part). Make sure your have more space above the white of the eye to give the appearance of the eye is sunken into the head.
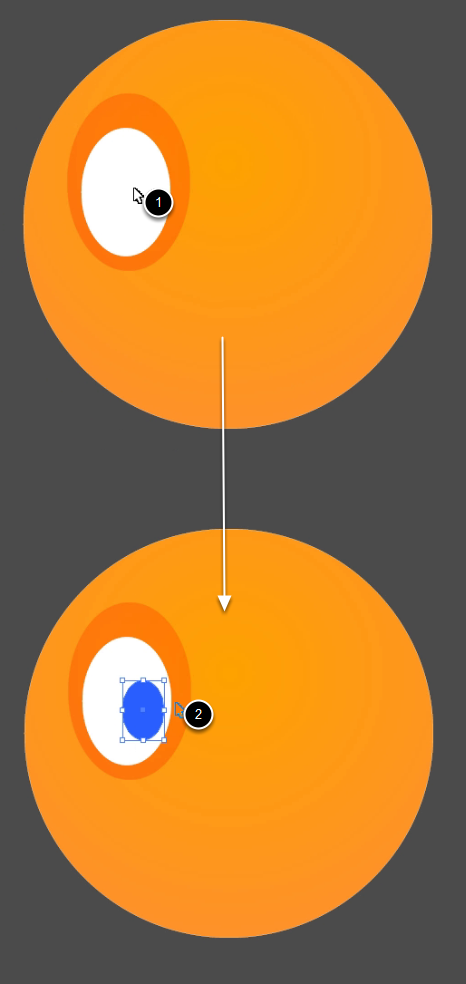
7. Duplicating the previous eye shape
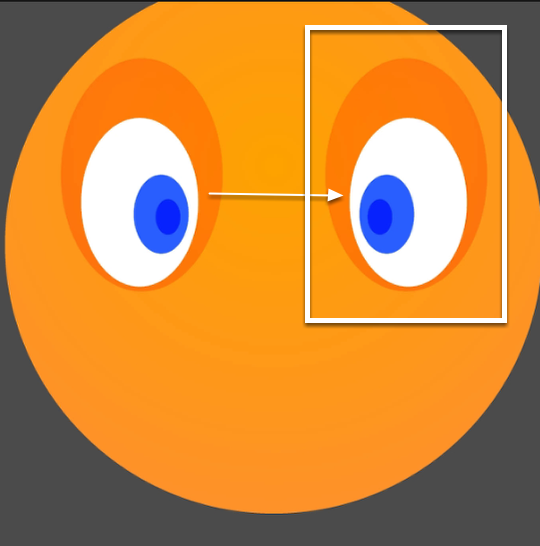
(1) Now let’s duplicate the previous eye shape (Ctrl + Alt + Drag) to create the iris of the eye. Make sure you place to shape as shown. (2) Change the color of the eye to something that you like. I chose a nice blue because it is a complementary color and goes well with the sun.
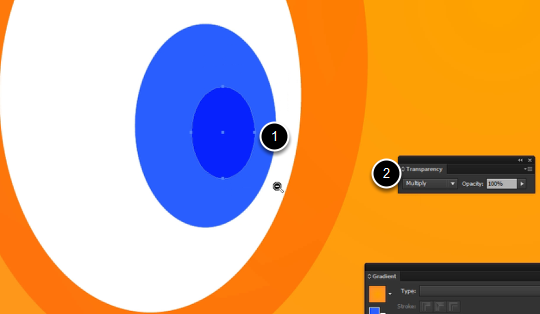
8. Creating the pupil
(1) Duplicate the shape once more (Ctrl + Alt + Drag) to create the pupil of the eye. (2) Set it’s layer mode to multiply to create a darker version of the shapes.
9. Duplicating the eye
Now lets make a copy of the previous eye (Ctrl + Alt + Drag). Now we will use to Reflect Tool (O) to flip the eye in the right position.
10. Creating the mouth
Now let’s create an oval with a darkish red tone like shown.

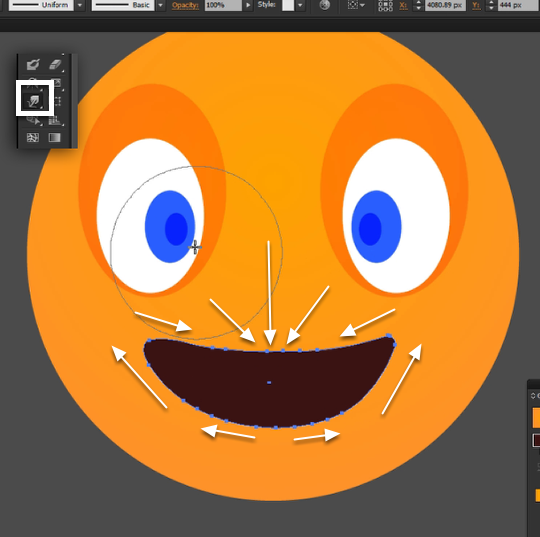
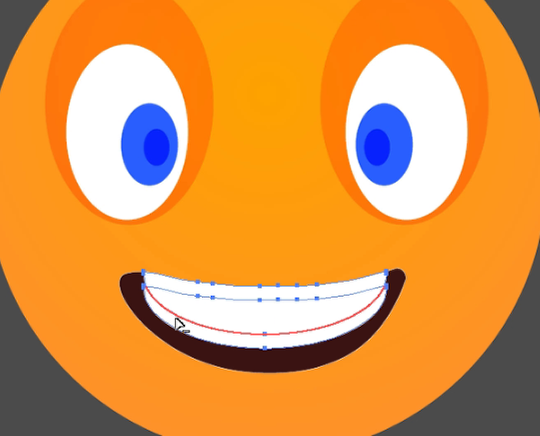
11. Refine the shape with the Warp Tool (Shift + R)
Now we going to use the Warp Tool (Shift + R) to shape the mouth into more of a smile. Make sure you keep your default settings as they are.
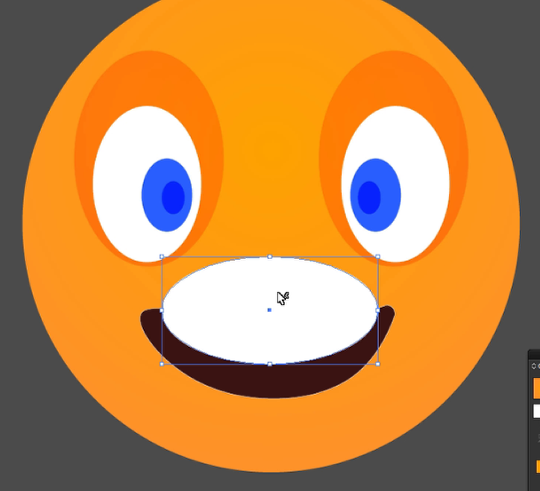
12. Creating the teeth
Now draw an oval around the size of the shape as shown.
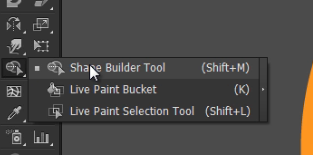
13. Using the Shape Builder Tool ( Shift+M)
Now go ahead and grab the Shape Builder Tool ( Shift+M) and use it with the default settings
14. Deleting the excess
Delete the excess shapes as shown. We only want the area of the oval that sits inside of the smile.
15. Subdivided shapes
Now you see we have two subdivided shapes, we going to use the topmost shape to create a drop shadow.

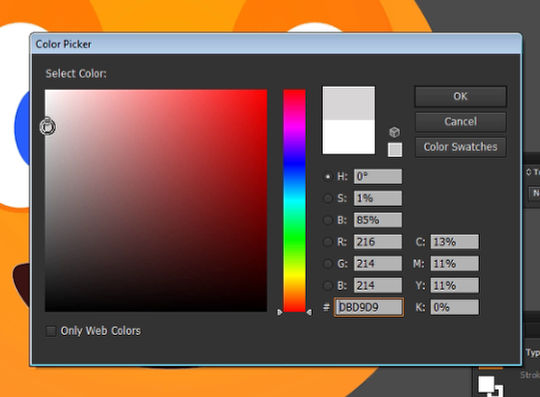
16. Coloring the drop shadow
Now we are going to color the drop shadow. Use a neutral gray as shown so we can have a subtle and low contrast shadow. Make sure this shape does not have too much contrast or will stand out more than it should.
18. The shadow applied
Now we have a nice shadow applied to the teeth. Next we are going to create the shape for the tongue.
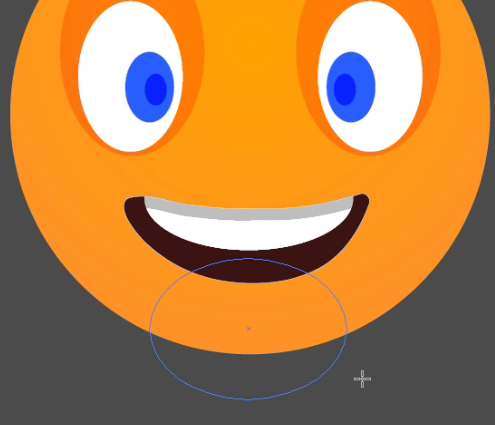
19. Let’s create the tongue
Now we are going to create the shape of the tongue.
(1) We are going to start off by creating a basic oval like shown and position it as shown.
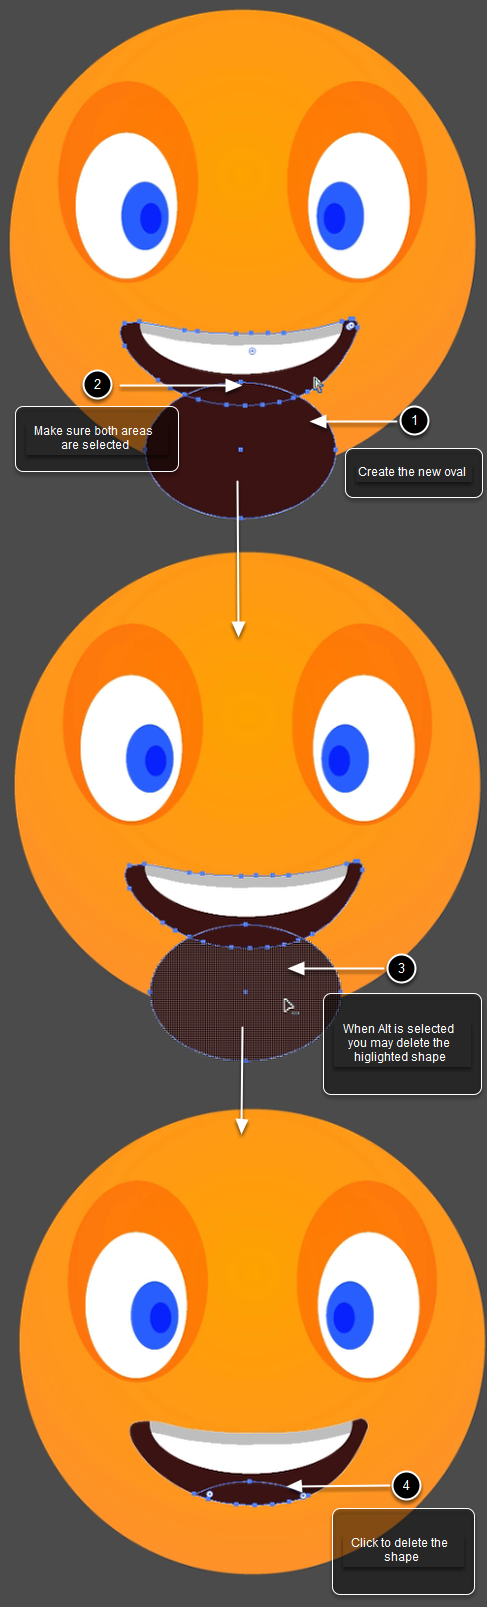
(2) Now we are going to select the mouth area and the newly created oval and prepare to edit the shape. Now we can move on to the Shape Builder Tool ( Shift+M).
(3)With both the mouth area and the tongue shape selected, we will now move on to deleting the basic shape. While both shapes are selected, click the largest part of the newly created oval while holding alt which will give you a minus sign.
(4) Select the outermost shape to delete it.
20. let’s select the color for the tongue
Now we going select the color for the tongue. Choose a nice neutral pink to complement the rest of the character.
21. Lets check to make sure the tongue color matches
Now let’s make sure that the tongue color matches the rest of the character. Make sure it is very visible inside the mouth.

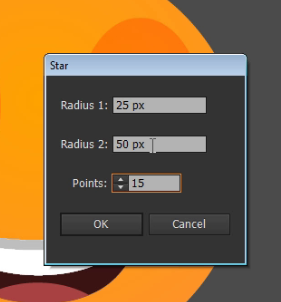
22. Now let’s create the star shape for the sun.
Now I’m going to create a star using Star Tool with these settings. You don’t want too many points or the sun will appear way pointy and jagged. 15 points should do just fine.
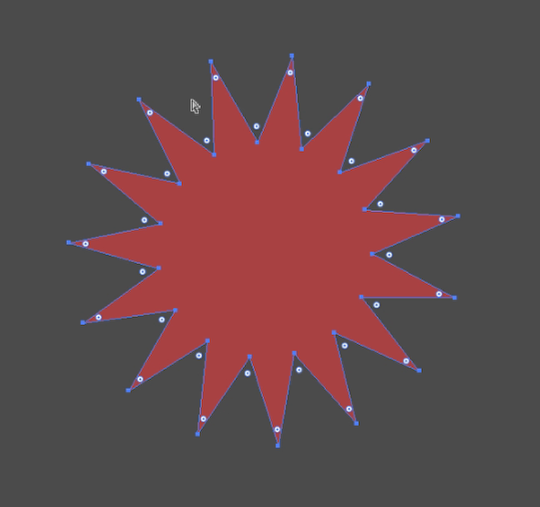
23. Refining our star shape
Now let’s go ahead and refine our star shape. While holding the ctrl key, go ahead and match the settings as shown.
24. Applying the star shape to the sun
Now let’s go ahead and at the star shape to the sun. With the Eyedropper Tool (I) select the same color as the original sun.
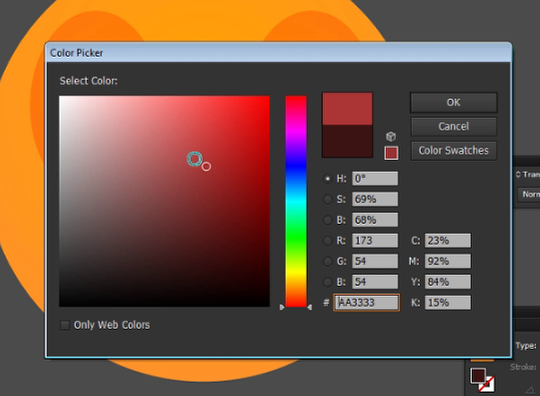
25. Let’s choose a darker color
Go ahead and choose a darker color for the star shapes. Keep the star shapes very close to the original hue of the eye enclosures. This color seems to work very well, so let’s go ahead and choose the color.

25. Duplicating the sun shape
Now we are going to make a copy (Ctrl + Alt+ Drag) of the original sun shape to create its shadow. Choose a slightly darker color orange to make this shape appear as a shadow.
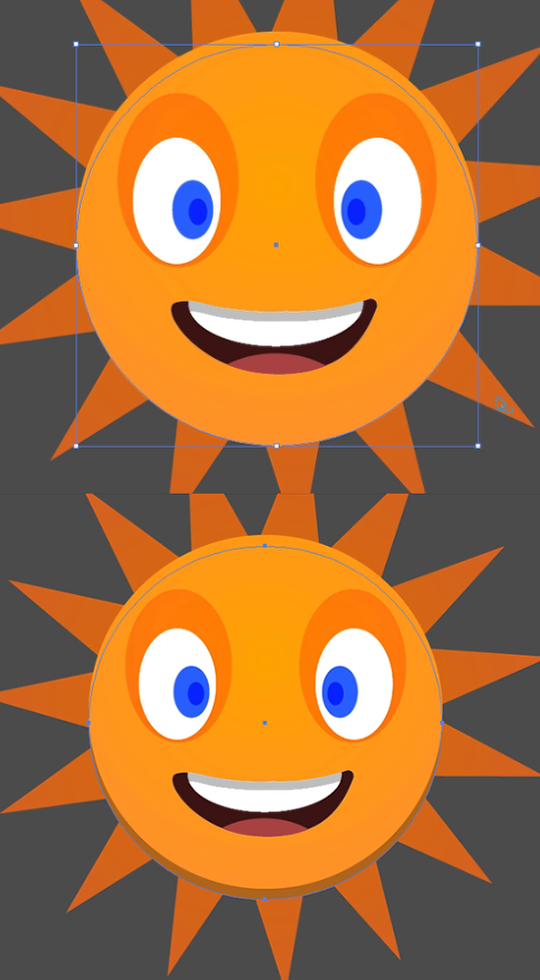
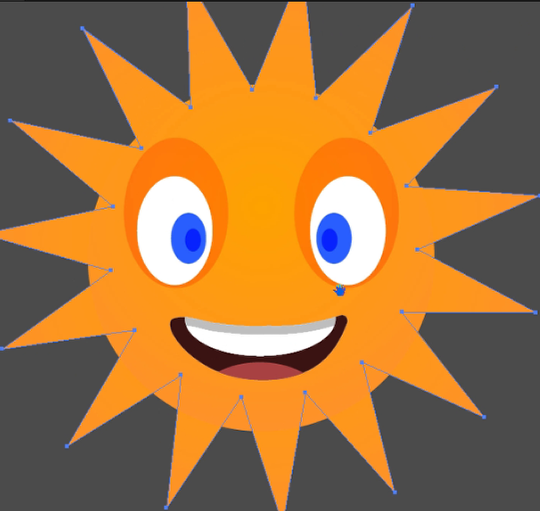
26. All Finished!
Now we have the finished image. You can add background elements, or whatever you like.


