 In this tutorial, we will learn how to create vector glass objects that can be used as elements of infographics. Here we will use Gradient Tool, Transparency panel, Shape Builder Tool and Transform effect that will save us some time. Have fun learning our new Adobe Illustrator tutorial!
Tutorial Details
- Program: Adobe Illustrator CS5
- Difficulty: Beginner-Intermediate
- Topics Covered: Basic Tools and Effects, Transform & Masking techniques and the Appearance panel
- Estimated Completion Time: 45 minutes
Final Image
As always, this is the final image that we’ll be creating:

Step 1
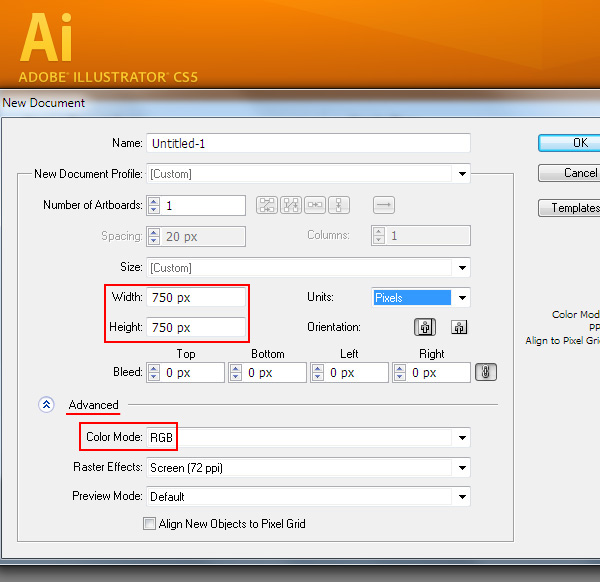
Go to File > New… or use Command/Ctrl + N shortcuts to create a new document. Select Pixels from the Units drop-down menu, enter 750 in the width and height boxes then click on the Advanced button. Select RGB color mode and then click OK.
Step 2
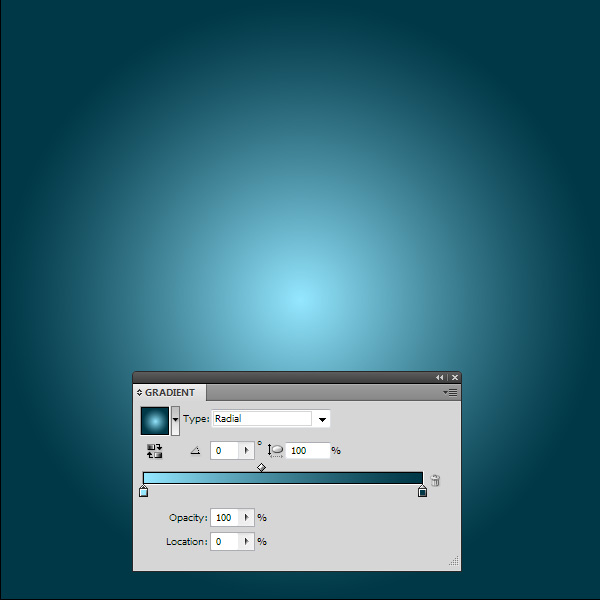
Draw a 750×750 pixel rectangle using the Rectangle Tool (M). Fill Rectangle with radial gradient from blue (R = 148; G = 231; B = 255) to a dark blue color (R = 0; G = 56; B = 71). Of course, you can use colors other than those.
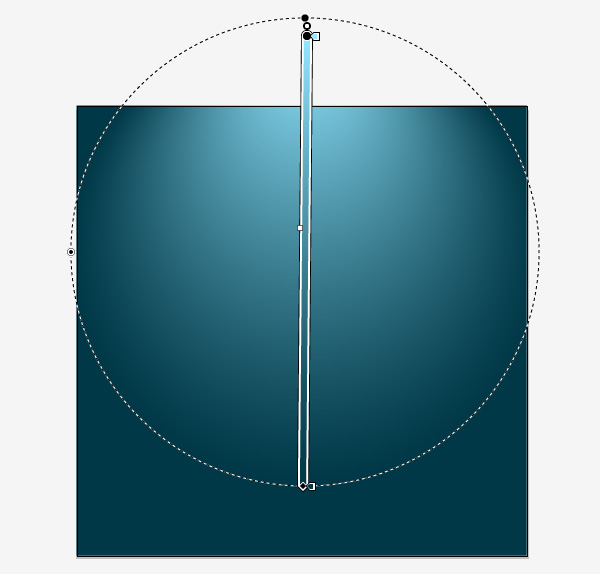
Take the Gradient Tool (G) and click on the top, outside the artboard, transforming the radial gradient into the eccentric one.
Step 3
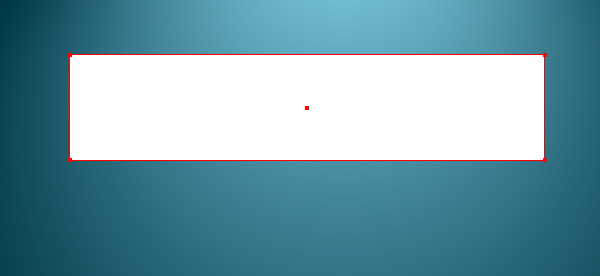
Now let’s proceed to the creation of the glass elements. Draw a 450 x 100 pixel rectangle with a fill of any color.
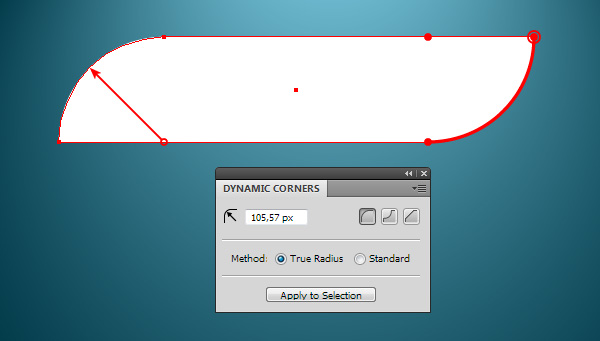
Now, round two of its opposite corners. I use the Dynamic Corners Tool for this purpose (VectorScribe plug-in). You can also do selective rounding of the corners of the object, using the standard tools of Adobe Illustrator. How you do this is described in detail in my article How to Apply Different Rounding Radiuses to the Corners.
Step 4
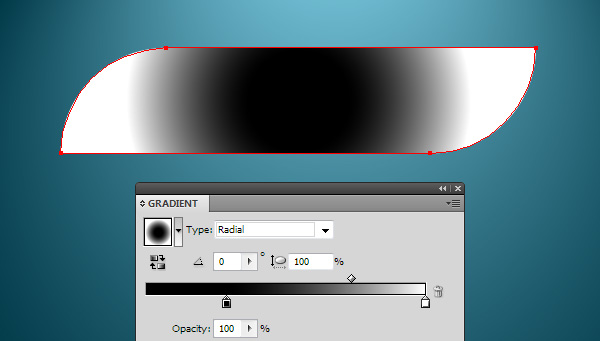
Fill the object with radial gradient from black to white as it is shown in the picture below.
Take the Gradient Tool (G) and move the black handle of the Gradient Annotator down. This action leads to the transformation of a radial gradient into an elliptical one.
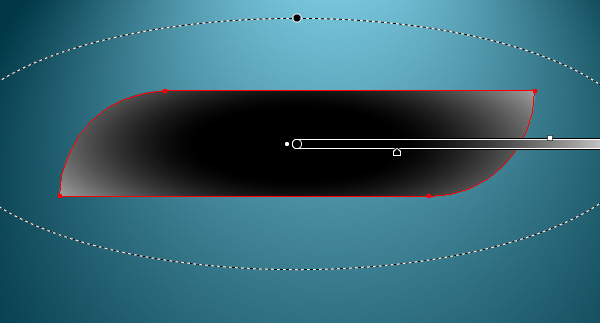
If after you choose a Gradient Tool (G), you cannot see the Gradient Annotator, you must disable it. To do this, go to View > Show > Gradient Annotator or use the Option/Alt + Command/Ctrl + G shortcuts. I would not recommend you move the center of an elliptical gradient. This may lead to issues when saving it as EPS format. If you want to know more about this, read my article How to avoid elliptical gradient problem when saving in 8 EPS and 10 EPS format.
Step 5
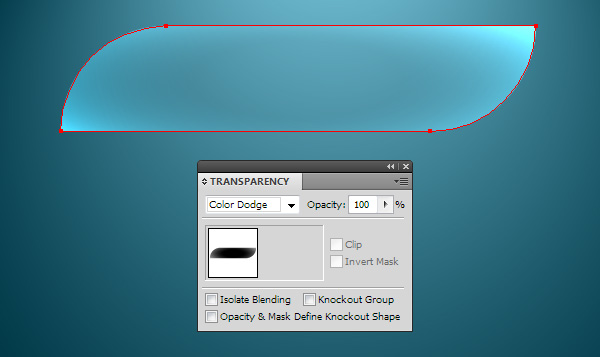
Apply the Color Dodge blending mode to our object in the Transparency panel. It already looks like glass, isn’t it? We only need to add some details.
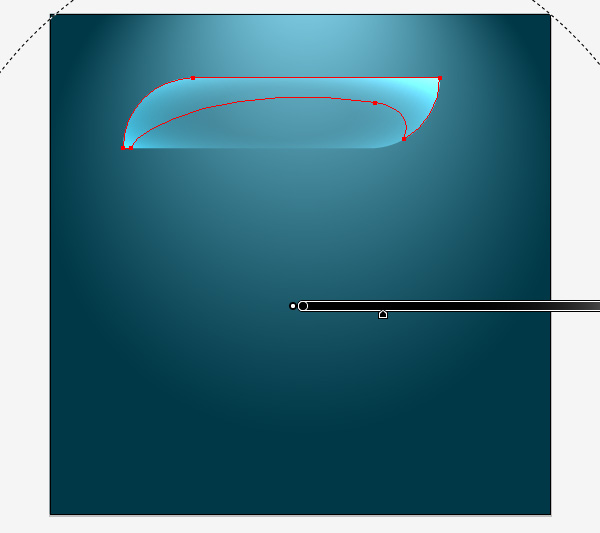
Using the Pen Tool (P) create a shape like the one shown in the picture below. Usually I reduce the opacity of the object being created in order to properly evaluate its shape on the background of an already existing object.
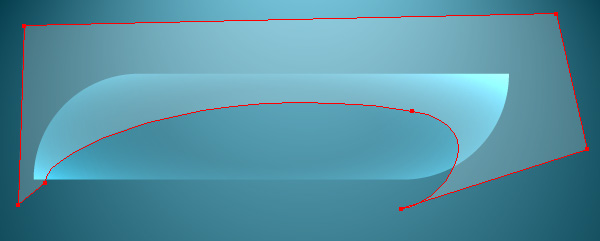
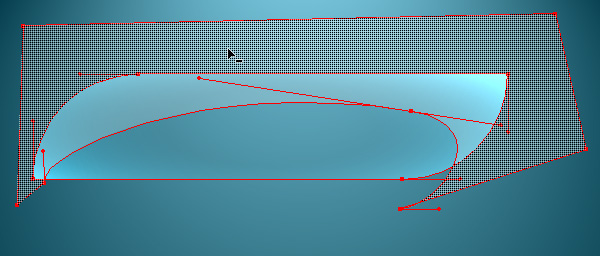
Select both shapes, take the Shape Builder Tool, then click on the part of the upper shape, which is located outside of the lower shape while holding down Option/Alt key. This action will lead to the removal of this part.
Step 6
Restore the opacity of the upper shape up to 100 % in the Transparency panel. Fill the upper object with radial gradient from black to white, then apply the Color Dodge blending mode.
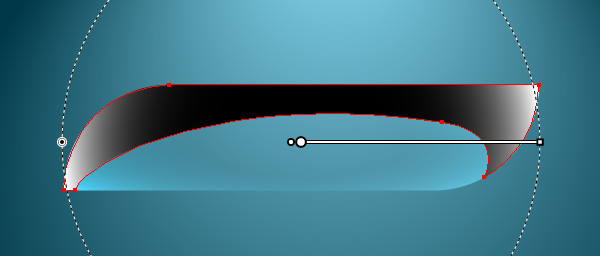
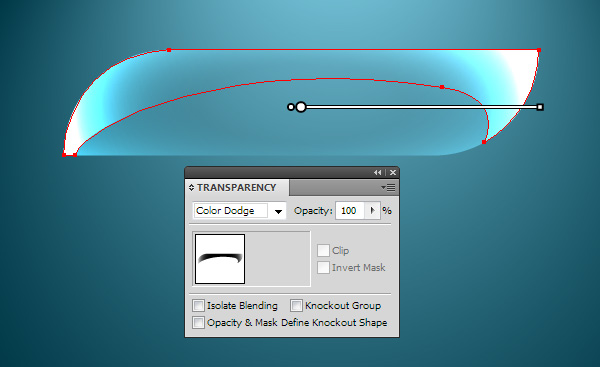
Now using the Gradient Tool (G), shift the center of the radial gradient by clicking and dragging off center. If you want to get the desired result quickly, when working with blending modes, always follow these steps: first, apply blending mode, then adjust gradient or solid fill.
Step 7
Create a circle with the help of the Ellipse Tool (L) and fill it with a radial gradient from white to black.

Apply the Color Dodge blending mode to the circle.
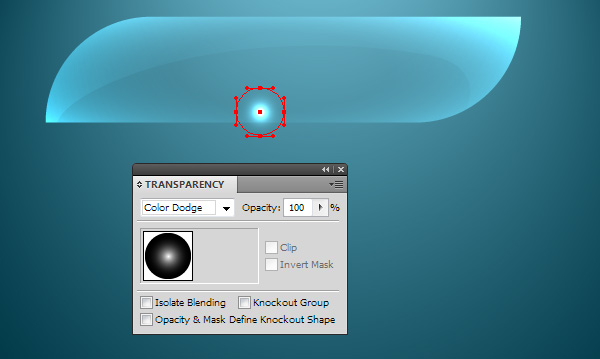
Now, with the help of the Selection Tool (V) transform the circle into an ellipse; at the same time the radial gradient will also be transformed into an elliptical one. Thus, we have created a highlight in the lower part of the glass shape.
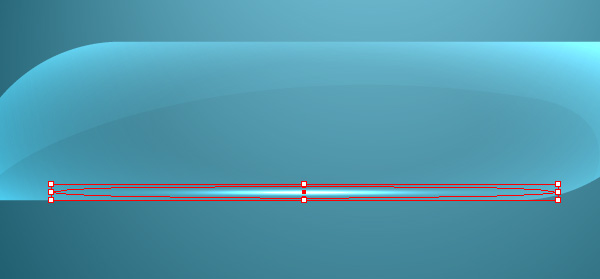
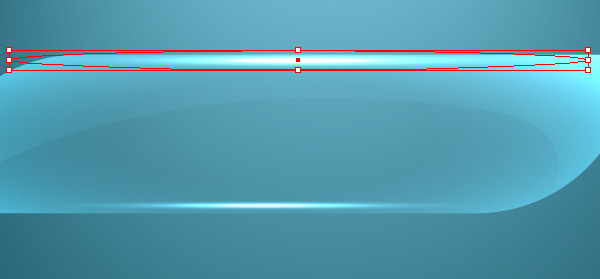
Using this technique, create a highlight in the upper part of the shape.
Select and group up all the created objects (Command/Ctrl + G), except the background, of course.
Step 8
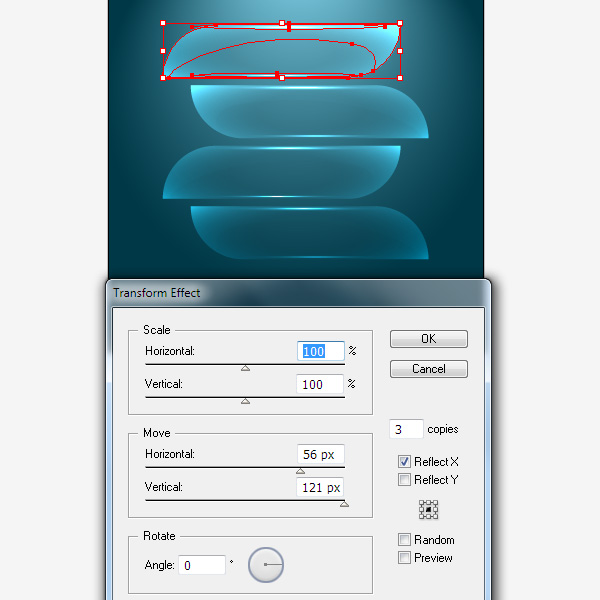
Keeping the group selected, go to Effect > Transform > Transform & Distort, and in the opened dialog box set the parameters shown in the picture below. Of course, the horizontal and vertical offset values depend on the size of your shape and should be chosen by eye, in order to reproduce my result.
Now go to Object > Expand Appearance.
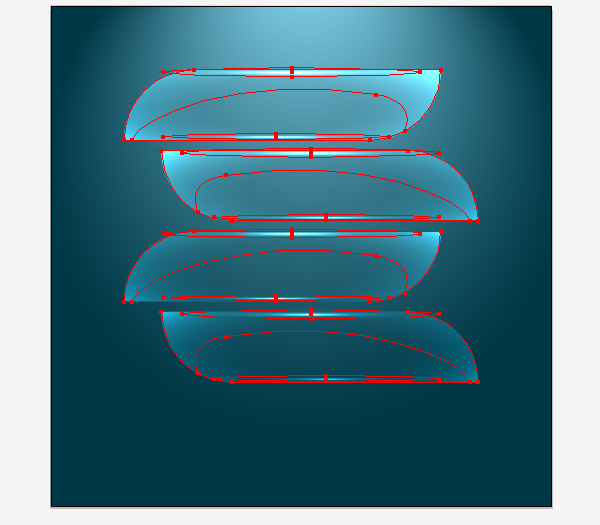
As you can see, the usage of Transform effect saved us some time.
Step 9
Let’s create highlights on the curved area of the glass shapes. Unfortunately, the radial gradient cannot be linearly deformed comparing to the linear gradient. So we have to create a custom brush. Create a white and a black circle. Select both objects, then go to Object > Blend > Make. Set the required number of steps; to do this, go to Object > Blend > Blend Options …. I think twenty steps will be enough in our case.
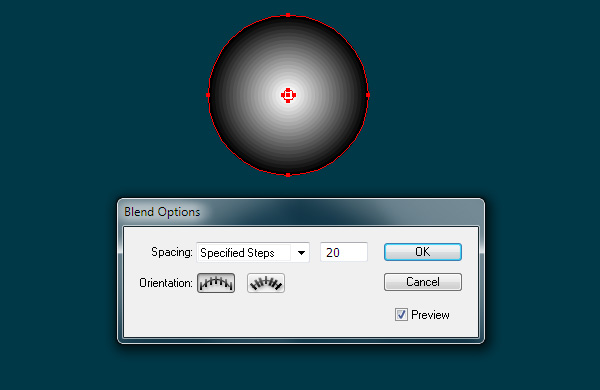
Blend object has to be sufficiently small. The picture below shows the ratio of the illustration elements.
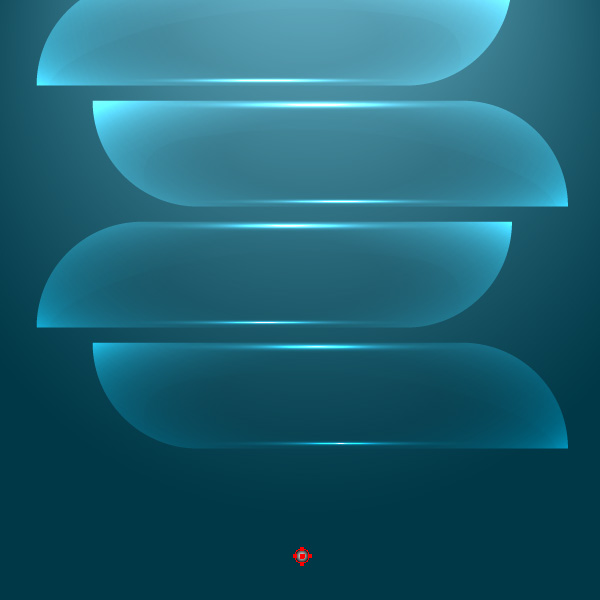
Set the Color Dodge blending mode for the blend object.

Step 10
Drag the blend object to the Brushes panel, and without changing the default settings, save the new brush as an Art Brush.
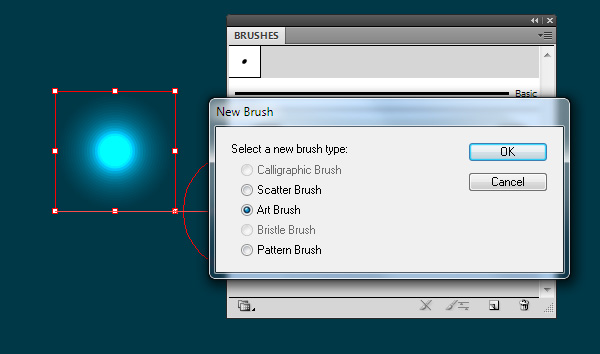
Create a curved segment on the edge of one of the glass shapes and then apply the created brush to the path.
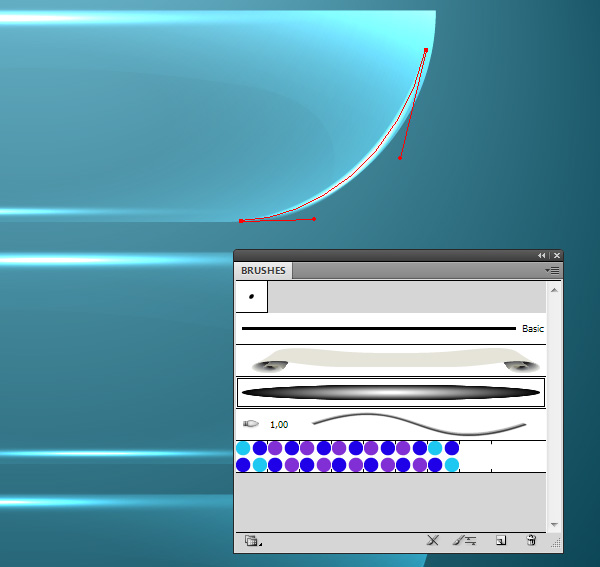
You can always adjust the width of the highlight by changing the Weight parameter in the Stroke panel.
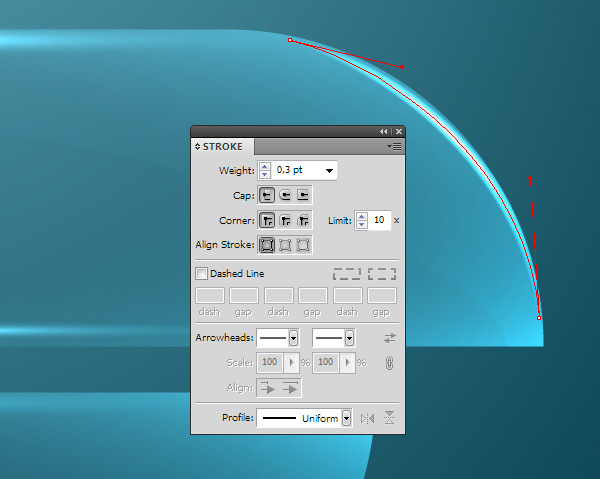
Create similar reflections on other glass shapes.

If you paint for microstock agencies like Shutterstock that require vector files be submitted without open paths, then you need to select all the curved segments and go to Object > Expand Appearance to close the paths. Otherwise, you may skip this step. Next, group up the created elements, and then turn to the group at an angle of 45 degrees using the Selection Tool (V) and holding down the Shift key.

Step 11
We have created the elements of infographics, so let’s put some conditional lettering on it. Take the Type Tool (T) and type the numbers from 1 to 4, and then place them on glass elements as I did.
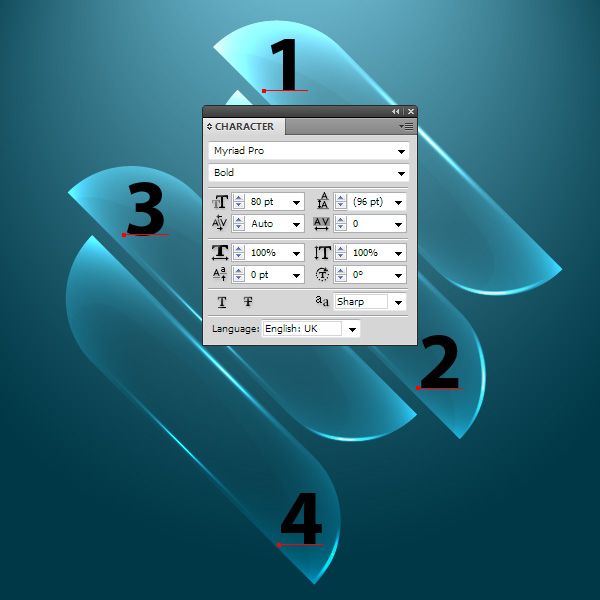
Transform text objects into regular paths. To do this, select them and go to Type > Create Outlines.
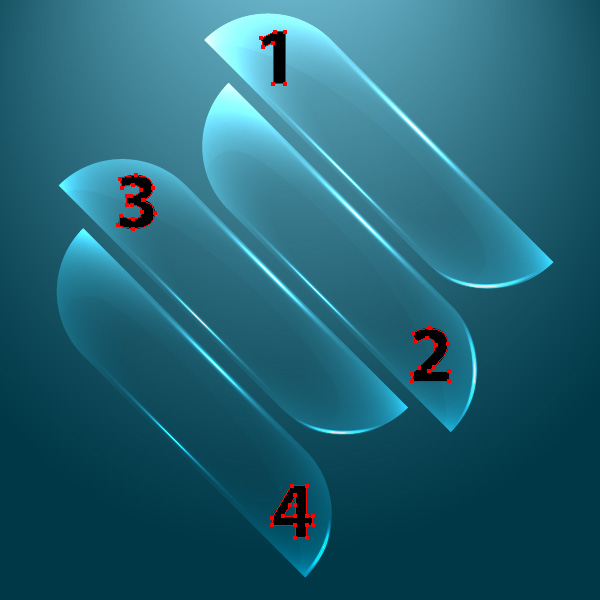
Step 12
Copy all the numbers and paste them in front (Command/Ctrl + C; Command/Ctrl + F) (for clarity purposes, I will select a different color fill for the new objects).
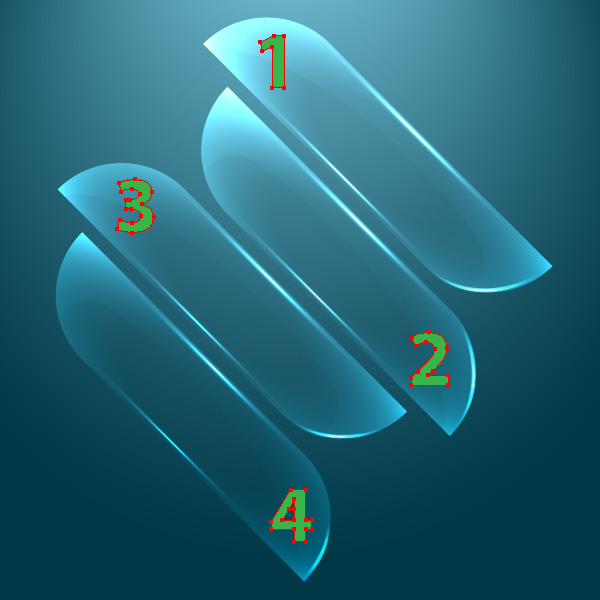
Select all the green numbers, then go to Object > Compound Path > Make or use Command / Ctrl + 8 shortcuts.
Step 13
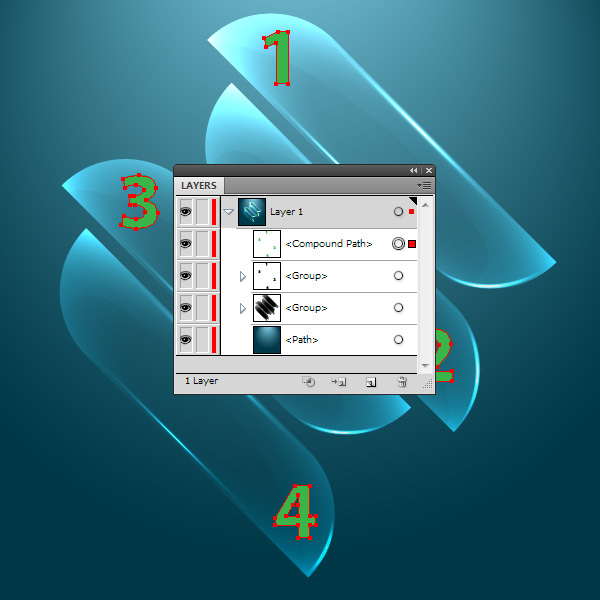
Copy the Compound Path and paste it in front. Shift the new compound path a few pixels up and to the right by using the arrow keys.
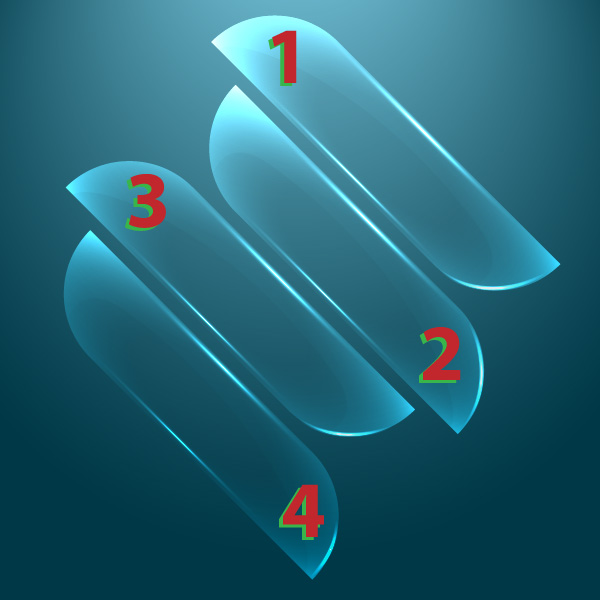
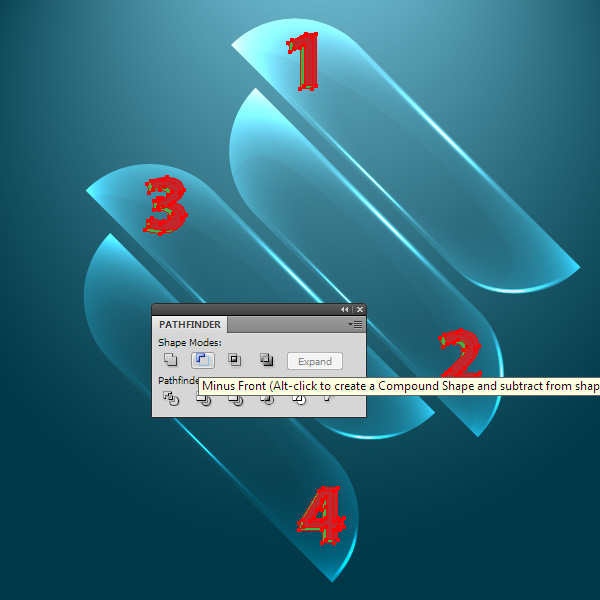
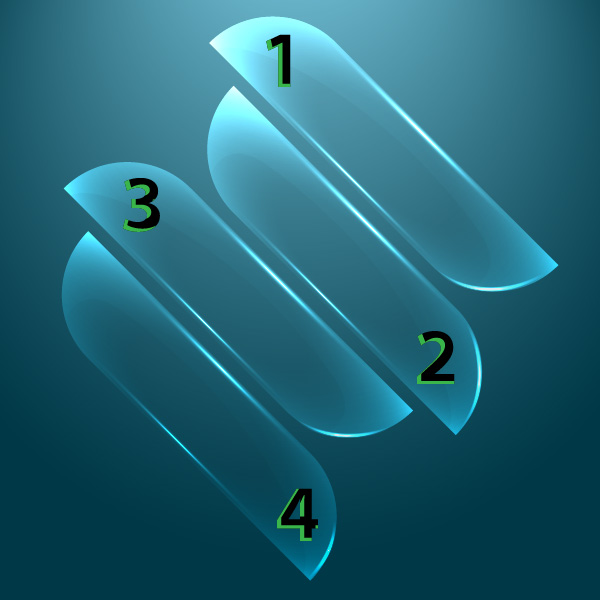
Select both compound paths, then click on the Minus Front button in the Pathfinder panel.
Step 14
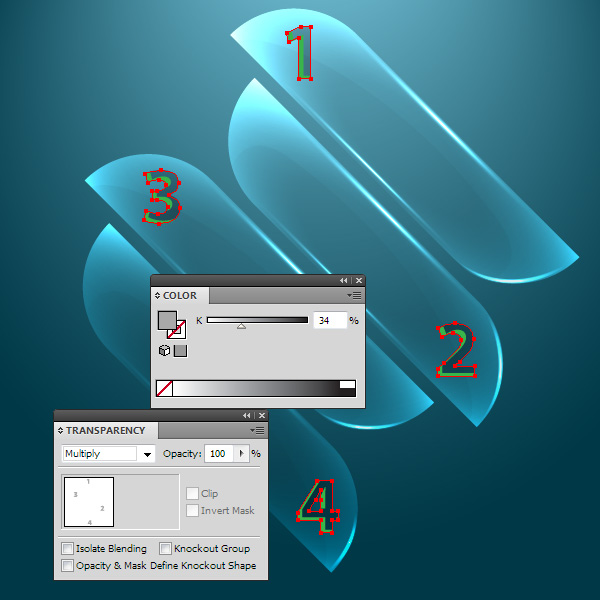
Fill it with black numbers with gray color, then apply the Multiply blending mode to them in the Transparency panel.
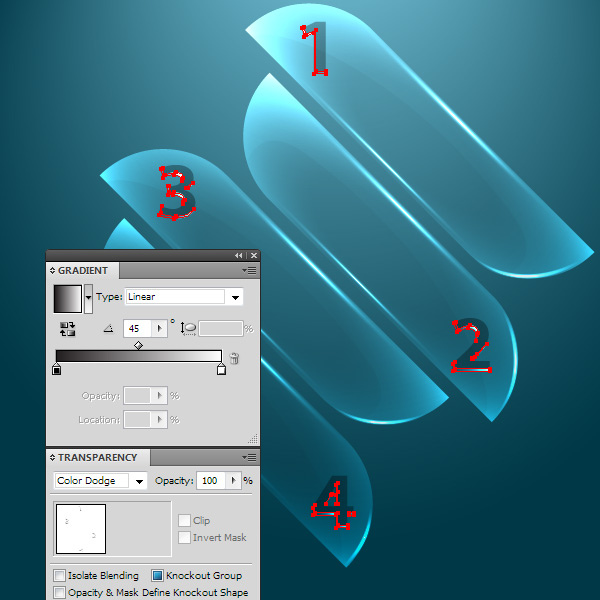
Fill all the green objects with a linear gradient from white to black, which is located at an angle of 45 degrees, and then apply the Color Dodge blending mode to them.

I have also added Lorem Ipsum text on the glass objects, which you can be obtained through on-line generator.

Step 15
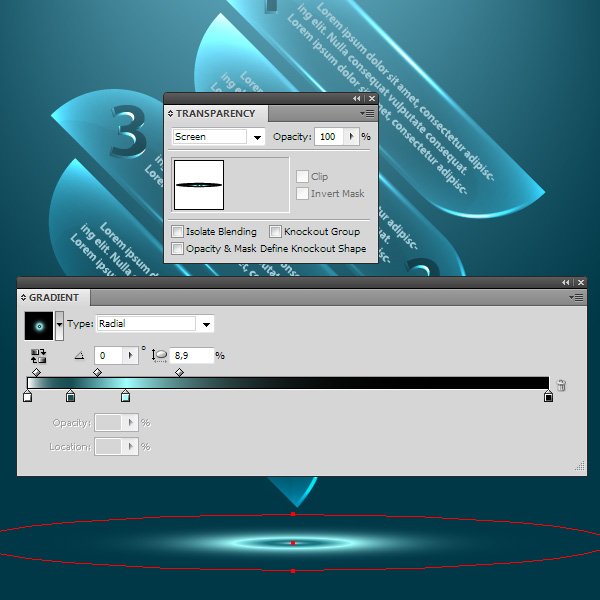
Finally, create a highlight on the surface of which the glass elements of the infographics are located. Create a circle and fill it with a radial gradient which consists of four colors (numerical designation of each color can be found in the picture below). Deform the circle into an ellipse, using the Selection Tool (V), then apply the Screen blending mode to the object in the Transparency panel.
At the same time our tutorial on creating elements of infographics is over. There is still going to be a lot of interesting things.

![]()
Author: Iaroslav Lazunov
My name is Iaroslav Lazunov, I am a graphic designer from Ukraine. I am glad that I finally found the job in my life that I can share my knowledge and experiments with you in my tutorials. Follow me on Twitter or visit my blog Vectorboom.com.


THANK YOU Sir. Godspeed for all the trouble you need to go through all this. You’re an angel!
I wonder what’s wrong. When I use the “color dodge” transparency mode, the first black to white gradient over the blue gradient makes the shape look completely white… what could it be?
Change CMYK to RGB
File > Document Color Mode > RGB Color
( I know this is OLD but to help others – I had same problem )
THANKS FOR SHARING..
Thank you on this. I have always yearned to know. I will come for more.
Thanks heaps Laroslav! It is an amazing tutorial , thanks you for sharing.
This tutorial saved my ass!
Excellent tutorial, and very realistic result! Thanks for sharing!!
Such a great tutorial! So helpful!! Thank you!
You really have amazing tutorials, keep up the great work!!
Beautiful tutorial as usual. Keep up the great Illustrator tutorials! Illustrator is truly my favorite adobe program.