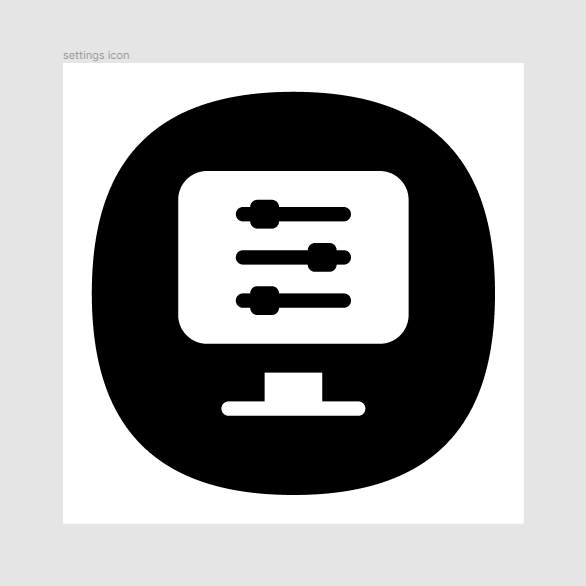
Welcome back to another icon dedicated tutorial, in which we’re going to learn how to quickly create a computer settings icon inside of Figma, using nothing more than a couple of basic geometric shapes. So, assuming you already have the software up and running let’s jump straight into it!
Tutorial Details: Computer Settings Icon
- Program: Figma
- Difficulty: Beginner
- Topics Covered: Compositional Construction, Shape Alignment, Shape Adjustment
- Estimated Completion Time: 16 Minutes
Final Image: Computer Settings Icon

Step 1
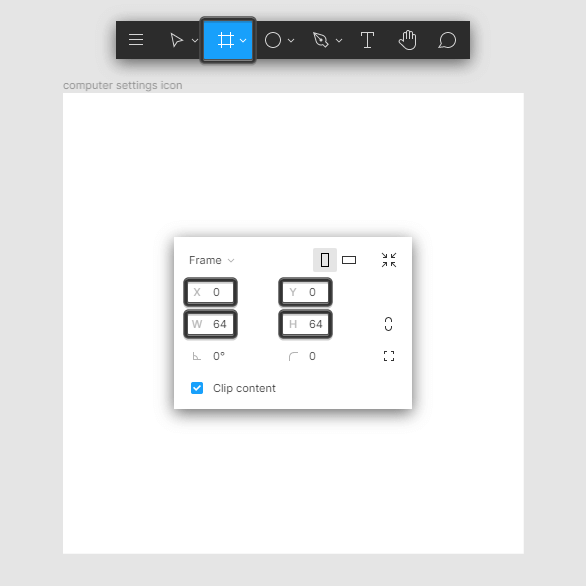
As with every new project, we’re going to kick things off by creating a new Draft, and then setting up a 64 x 64 px frame using the Frame tool (F), naming both the draft and frame in order to have a clear, steady workflow.
Step 2
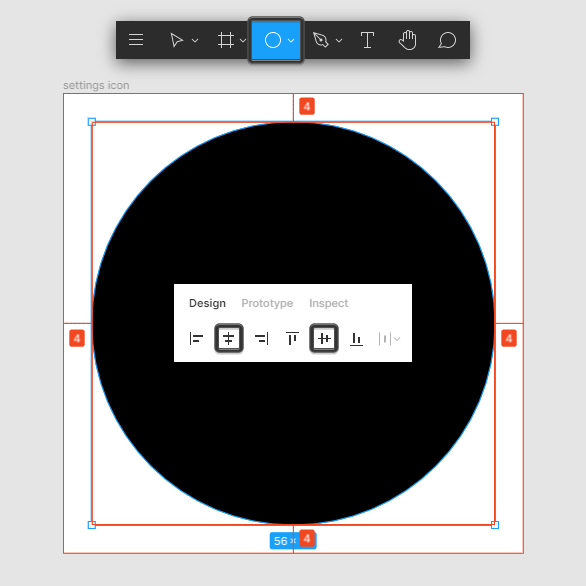
Start working on the actual icon by creating the main shape for the background, using a 56 x 56 px circle, which we will color using black (#000000), and then position to the center of the frame using the Align horizontal centers (Alt-H) and Align vertical centers (Alt-V) options.
Step 3
Turn the circle that we’ve just created into a squircle, by first hitting Enter in order to go into vector edit mode, and then individually select its top and bottomanchor points, and reposition their handle’s end points so that you have a distance of 6 px between them and the outer edges of the shape. Take your time, and once you’re done hit Enter again in order to exit vector edit mode.
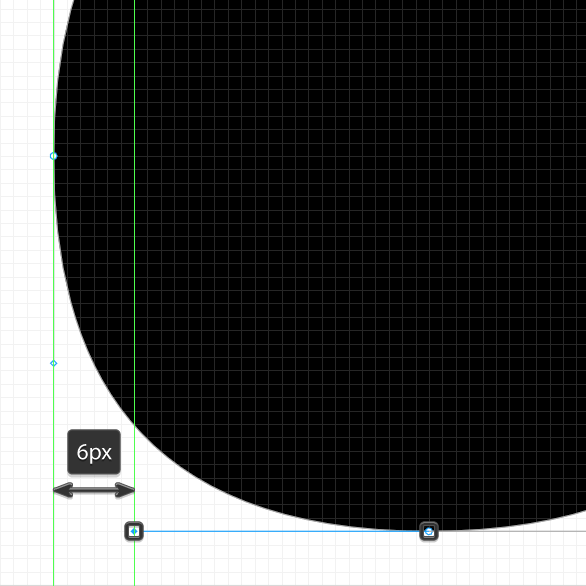
Quick tip: as you can see, if you zoom in close enough, you’ll be able to take advantage of Figma’s pixel grid, which allows you to make fine adjustments as the ones above.
Step 4
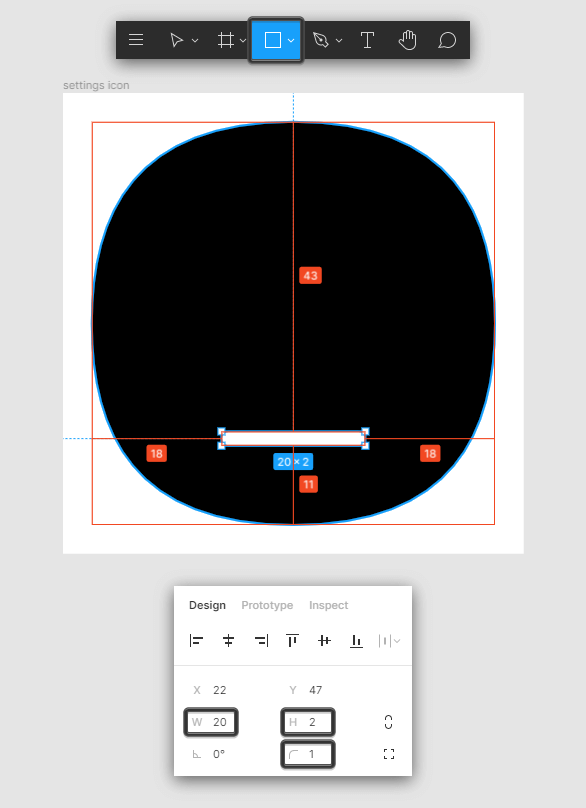
As soon as we have our squircle, we can create the lower section of the monitor stand using a 20 x 2 px rectangle with a 1 px Corner Radius, which we will color using white (#FFFFFF) and then horizontally align to the frame (Alt-H), positioning it at a distance of 11 px from the background’s bottom anchor.
Step 5
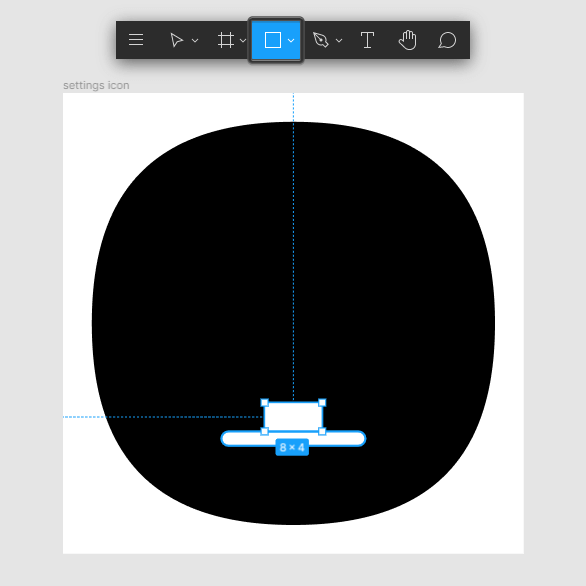
Add the stand’s leg segment using an 8 x 4 px rectangle, which we will color using white (#FFFFFF) making sure to position it on top of the previous shape as seen in the reference image. Once you’re done, select and group both of the stand’s composing shapes and group them together using the Control-G keyboard shortcut.
Step 6
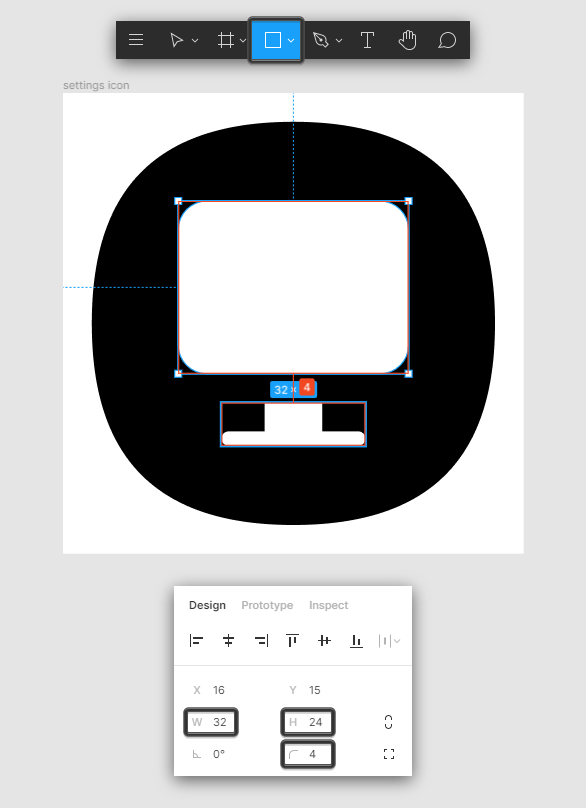
Create the main shape for the screen using a 32 x 24 px rectangle (#FFFFFF) with a 4 px Corner Radius, which we will position at a distance of 4 px from the shapes that we’ve just grouped.
Step 7
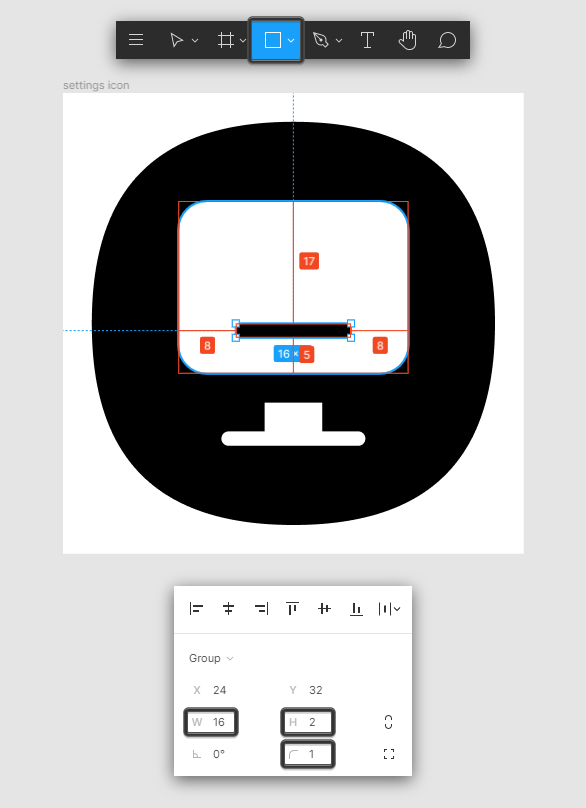
Create the main shape for the bottom slider using a 16 x 2 px rectangle (#000000) with a 1 px Corner Radius, which we will position at a distance of 5 px from the screen’s bottom edge.
Step 8
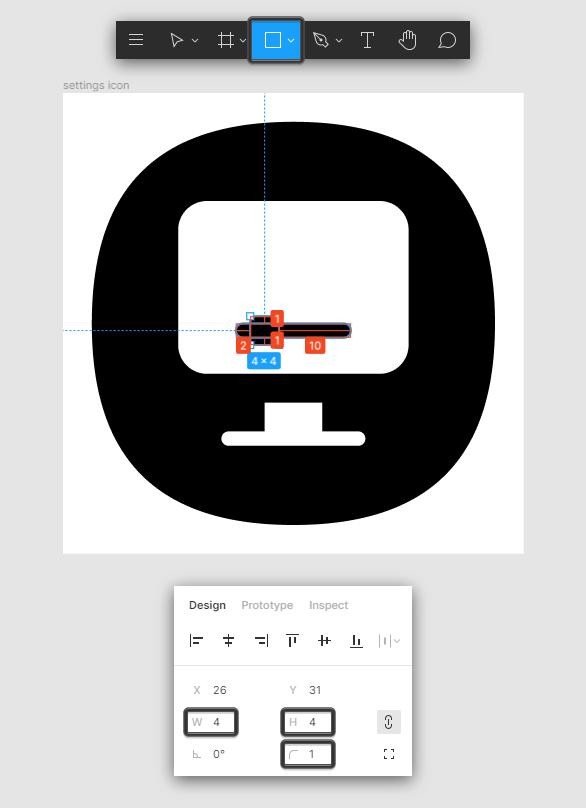
Quickly add the knob using a 4 x 4 px square with a 1 px Corner Radius, which we will color using black (#000000), and then position at a distance of 2 px from the previous shape’s left edge, making sure to group them afterwards using the Control-G keyboard shortcut.
Step 9
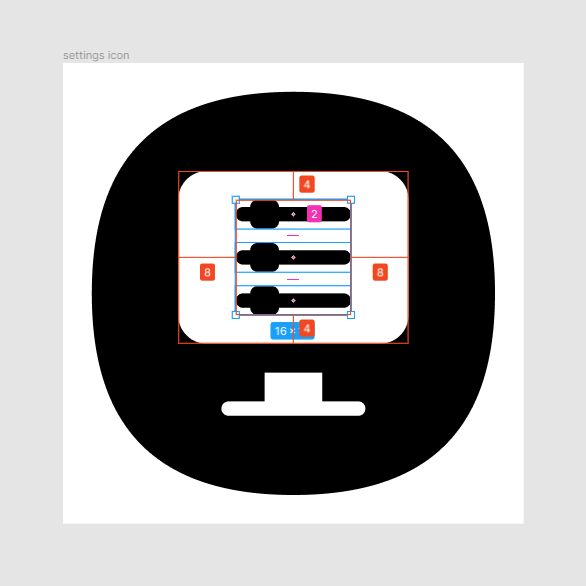
Add the remaining sliders using two copies of the one that we’ve just finished working on, by simply holding down the Alt key and then dragging an instance at the time, making sure to position them at a distance of 2 px from one another.
Step 10
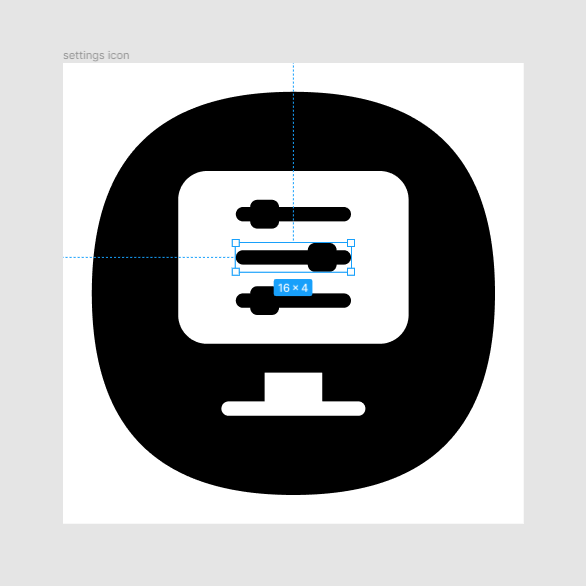
Finish off the computer settings icon, and with it the project itself by horizontally flipping the middle slider by either right clicking > Flip horizontal or by using the Shift-H keyboard shortcut. Once you’re done, don’t forget to select and group all of the icon’s composing shapes using the Control-G keyboard shortcut.
Awesome Work!
As always, I hope you had fun working on the project, and managed to learn something new and useful during the process.
That being said, we’re going to continue our Figma series with new projects, so stick around since things are about to get interesting!
