 Why are we buzzing about this tutorial? This how-to will give you the tools you need to create a honey bee logo, with fancy thin lines and bits of honeycomb. (Sweet, right?) We’ll use simple geometric shapes, applying strokes and modifying our objects with the Live Corners feature and the Direct Selection Tool. Then we’ll finish up by adding a simple sunny background. Let’s get started!
Tutorial Details: How to Create a Honey Bee Logo
- Program: Adobe Illustrator CC
- Difficulty: Beginner
- Topics Covered: Shape Building, Stroke, Live Corners, Direct Selection Tool
- Estimated Completion Time: 20 Minutes
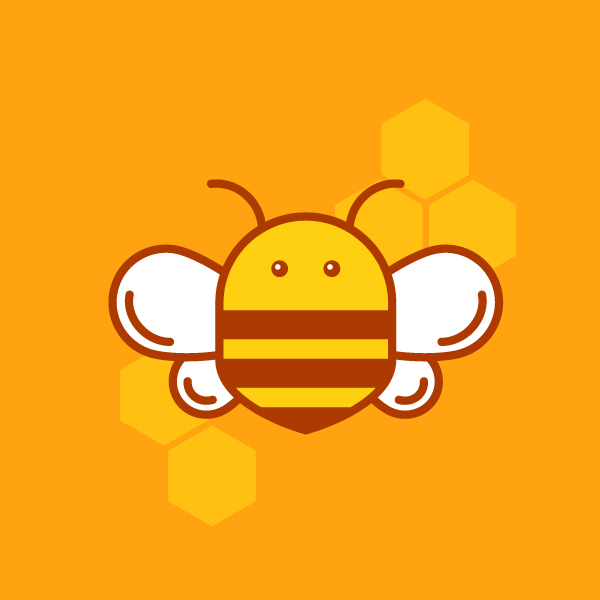
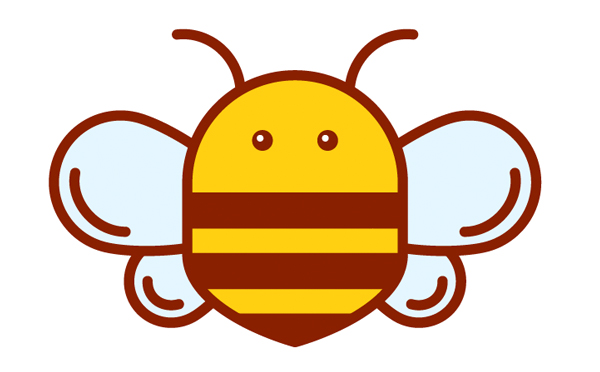
Final Image: Sunny Honey Bee Logo in Adobe Illustrator
Step 1
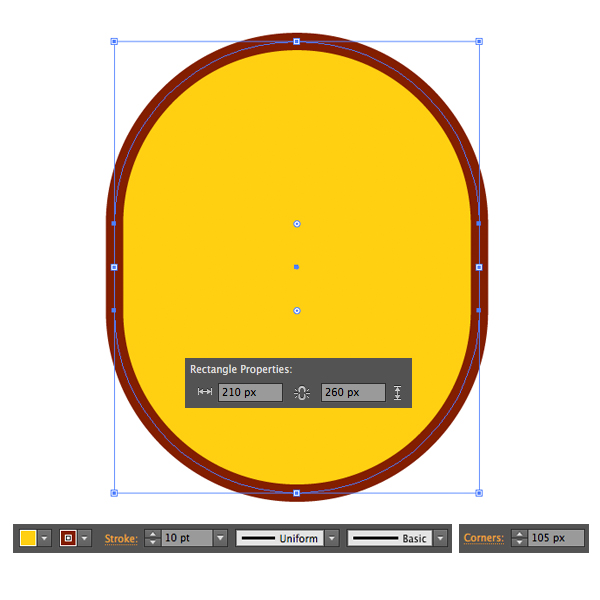
Use the Rounded Rectangle Tool to make a 210×260 px shape with bright-yellow Fill and brown Stroke.
Set the Stroke Weight to 10 pt either in the control panel on top or in the Stroke panel (Window > Stroke).
You can adjust the Corner Radius from the top control panel, if you switch to the Direct Selection Tool (A). You can also use the Live Corners feature by just dragging the circle markers at the corners of the shape to its center. Finally, the same can be done from the Transform panel (Window > Transform). Make the corners fully rounded, setting the Corners to 105 px.
Step 2
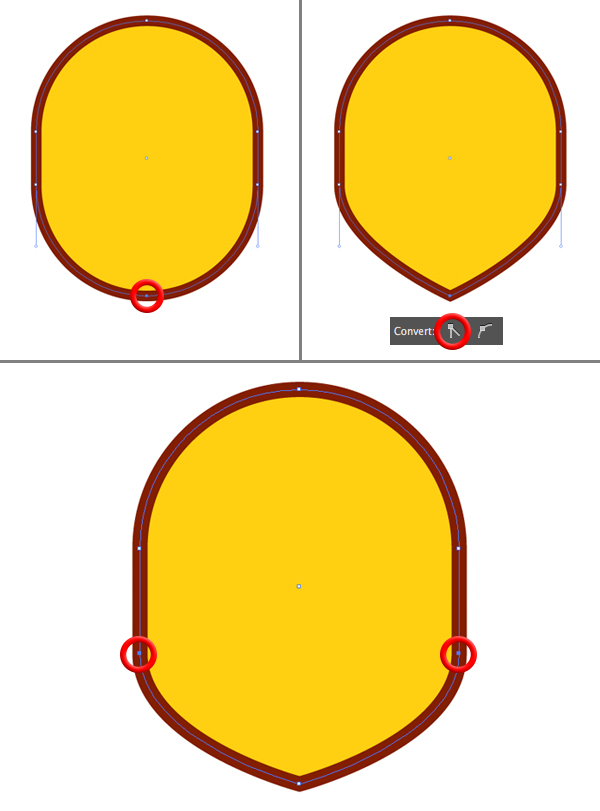
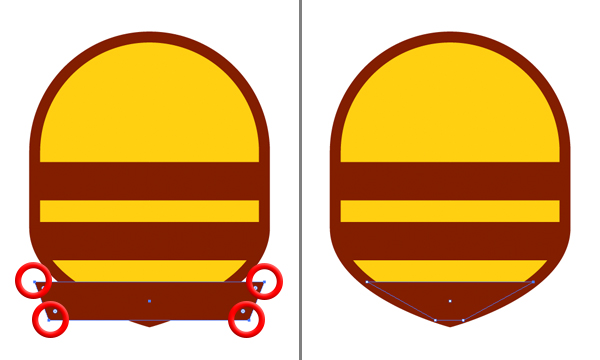
Keep using the Direct Selection Tool (A) to select the bottom anchor point. Convert selected anchor point to corner from the control panel on top, making the bottom of the shape pointed.
Select both side anchor points as marked in the screenshot below and move them down a bit, using the down arrow key while holding Shift.
Step 3
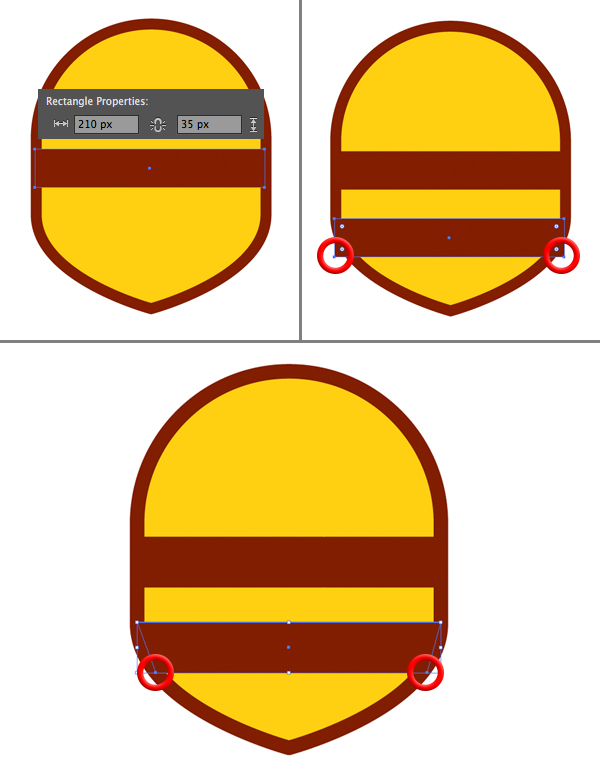
Let’s add some stripes to our bee. Use the Rectangle Tool (M) to make a 210×35 px shape of the same dark-brown color as our outline.
Hold Alt-Shift and drag the stripe down, creating a copy. And let’s make it fit the edges of the body. Use the Direct Selection Tool (A) to move the marked anchor points closer to each other, hiding them over the outline of the bee’s body.
Step 4
Make another copy at the very bottom of the body and move the marked anchor points to make the shapes fit each other perfectly.
Step 5
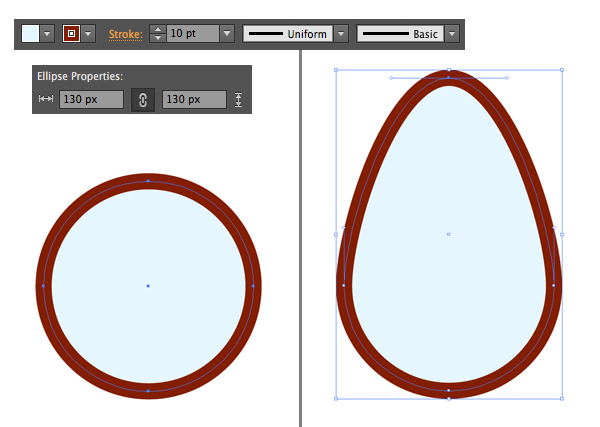
Now we’ll form the wing. Use the Ellipse Tool (L) while holding Shift to make a 130×130 px circle with light-blue Fill and dark-brown Stroke of 10 pt.
Select the top anchor point with the Direct Selection Tool (A) and drag it up, making a drop-like shape.
Step 6
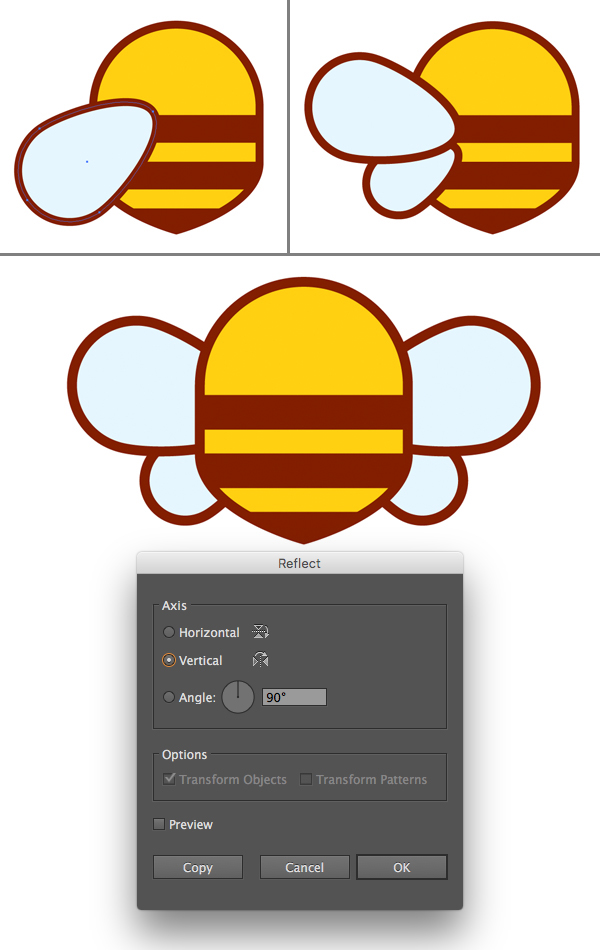
Rotate and attach the wing to the body of the bee. Copy the wing and Paste in Back (Control-C > Control-B), making a copy much smaller.
Group (Control-G) the wings and Send to Back (Shift-Control-[), beneath the body of the bee.
Double-Click the Reflect Tool (O) and flip the shapes over the Vertical Axis, clicking Copy to create a mirrored group at the opposite side of the body.
Step 7
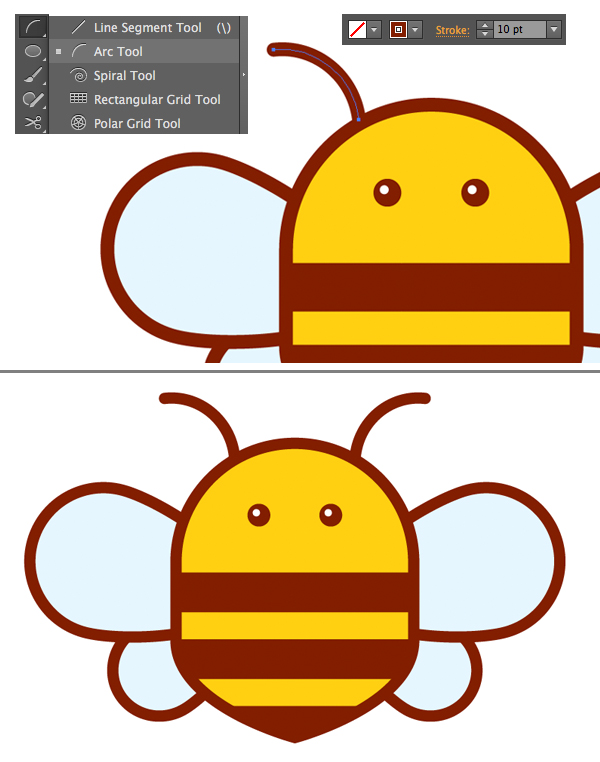
Let’s add the eyes to your honey bee logo illustration! Use the Ellipse Tool (L) to make a 15×15 px dark-brown circle and place a tiny white highlight on top of it.
Hold Alt-Shift and drag the eye to the right, creating a copy.
Step 8
Use the Arc Tool to make an arched stroke for the cornicle. You can find the Arc Tool in the same drop-down menu as the Line Segment Tool (\).
Step 9
We can also use the Arc Tool to add details to the wings.
Step 10
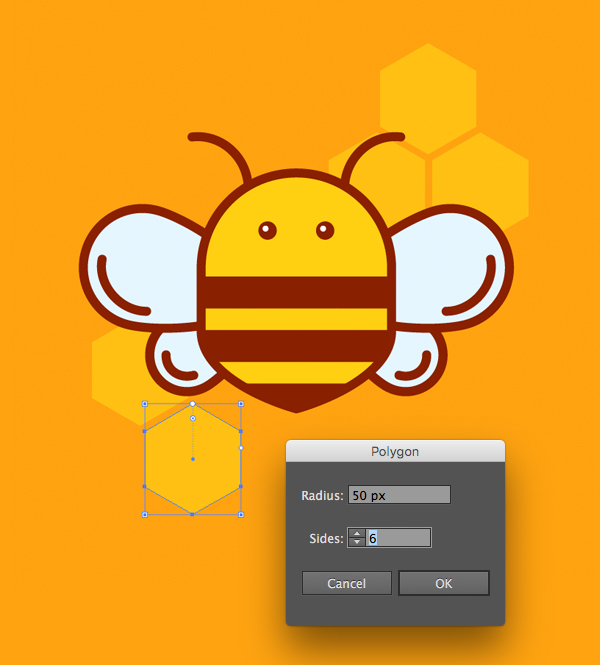
Add a bright orange rectangle for the background and let’s use the Polygon Tool to add a few hexagons beneath our bee, thus forming some combs to make the composition look completed.
There You Have It… Our Sunny Honey Bee Logo is Ready!
Great job, worker bees! We’ve learned how to create a honey bee logo, and we did it using the simple shapes and functions of Adobe Illustrator. Best of all, you can use this tutorial to design bee illustrations for invitations, art pieces, and more.
I hope you’ll use this tutorial any time you need a honey bee logo or summertime illustration. Remember to take your time, and simply bee yourself!
Author: Yulia Sokolova
2D/3D artist and tutorial instructor, focusing on character creation, icons, lettering design, and illustrations.




I intended to draft you one little observation just to say thanks a lot once again for your personal pleasing secrets you have contributed in this article. It’s really shockingly generous with people like you to grant without restraint just what a lot of people would’ve sold for an e book to help with making some dough for themselves, particularly considering the fact that you could have done it in the event you wanted. Those creative ideas additionally worked to be the great way to realize that the rest have the identical fervor similar to my own to realize a good deal more with regards to this condition. I am certain there are millions of more enjoyable instances ahead for individuals that discover your website.
Great! Thank you!
thanks, nice tut here…useful for newbie like me..