
Starting with this project, we’re launching a new series of Figma based tutorials, in which we’re going to explore how to create designs using a completely different tool than what we’ve used so far. So, if you’re as excited as I am, grab a hot cup of coffee and let’s jump straight into it!
Tutorial Details:
- Program: Figma
- Difficulty: Beginner
- Topics Covered: Design Theory, Compositional Construction, Shape Alignment, Grid Positioning
- Estimated Completion Time: 10 Minutes
Final Image: Recorder App Icon

Step 1
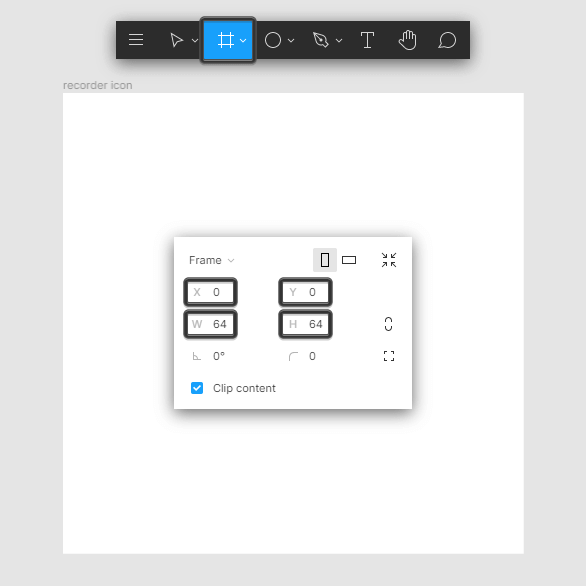
We’re going to kick things off by creating a new Draft, and then setting up a 64 x 64 px frame using the Frame tool (F), naming both the draft and frame in order to have a clear, steady workflow.
Step 2
Grab the Ellipse tool (O), and create the background using a 56 x 56 px circle, which we will color using #FF7539, making sure to position the shape to the center of the frame afterwards using either the click-and-drag method, or the Align Horizontal and Align Vertical Centers options from the right-sided toolbar.
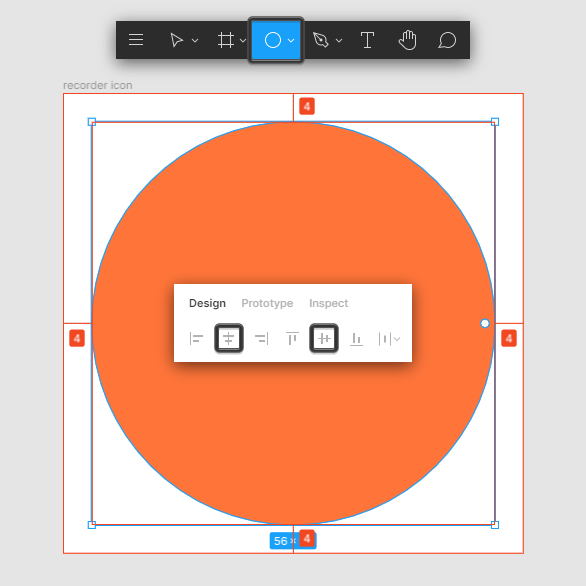
Quick tip: if you’re new to Figma, you should know that all the shape related settings can be found within the right-sided toolbar, while all the Layers, Pages, shapes and frames hierarchy is established from within the left-sided bar.
Step 3
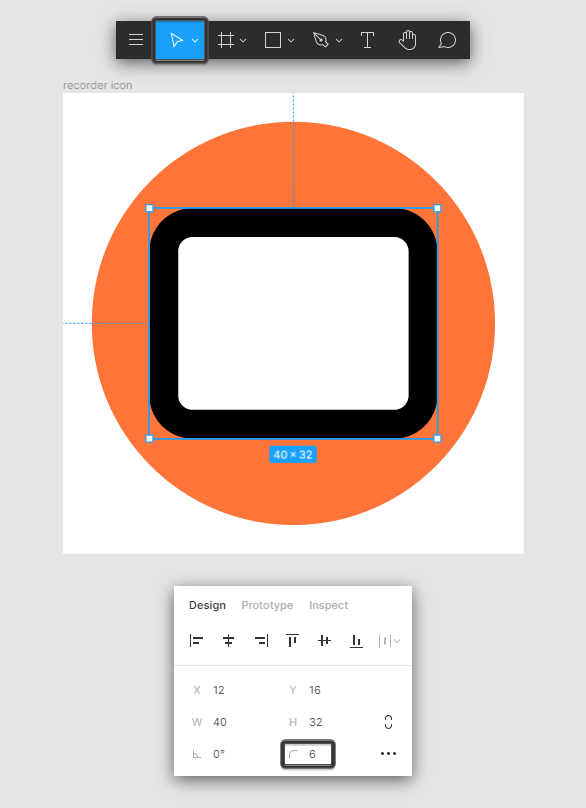
Create the main shape for the tape using a 40 x 32 px rectangle (#FFFFFF) with a 4 px thick Stroke (#000000), which we will position to the center of our underlying frame.

Step 4
Adjust the shape that we’ve just created by setting the value of its Corner Radius to 6 px from within the Design panel.
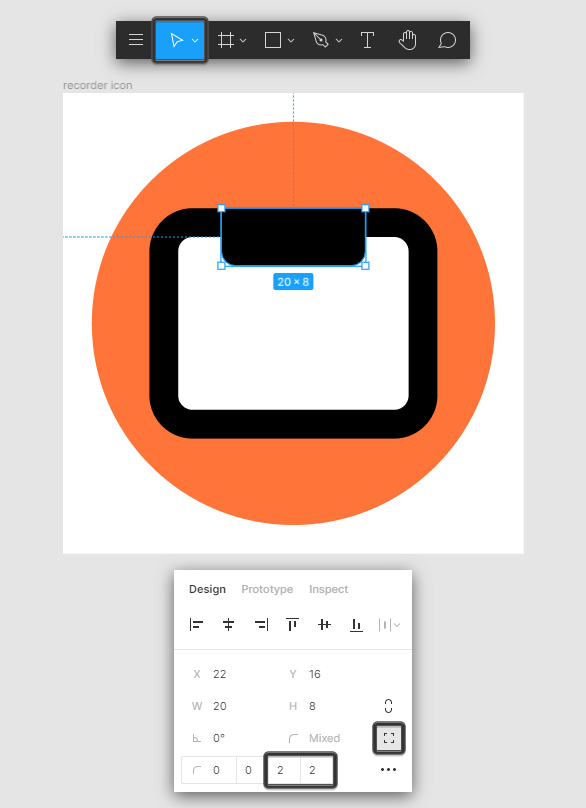
Step 5
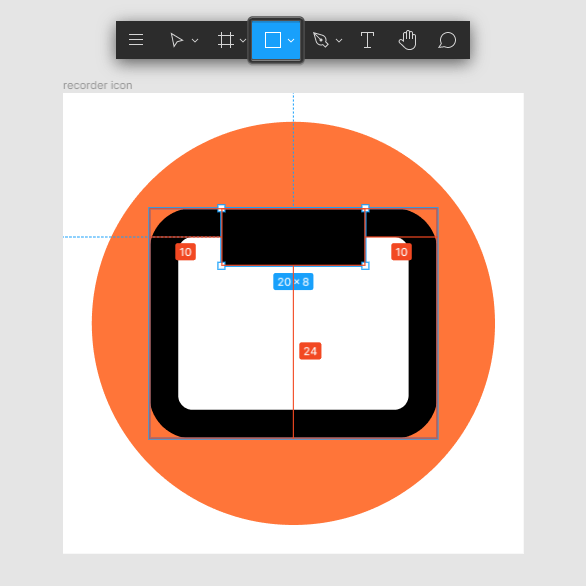
Add the main shape for the upper insertion using a 20 x 8 px rectangle, which we will color using #000000, and then center align to the larger body’s top edge.
Step 6
Quickly adjust the shape that we’ve just created by setting the Corner Radius of its bottom corners to 2 px, by first clicking on the Independent corners option, and then entering the indicated values within the Bottom right and Bottom left corner radius input fields.
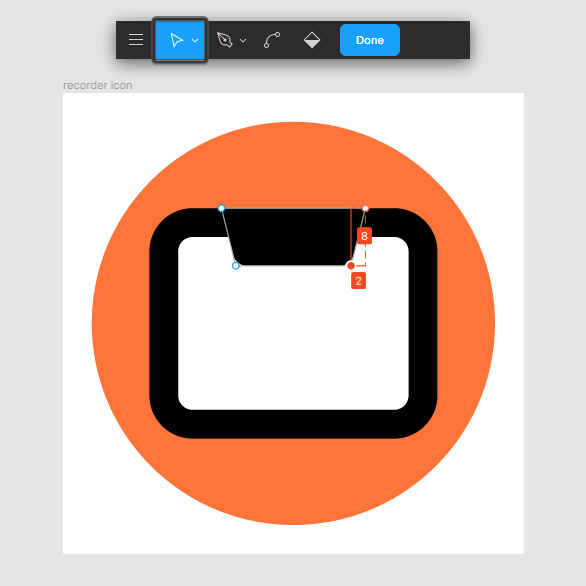
Step 7
Continue adjusting the current shape by hitting the Enter key in order to enter vector edit mode, and then individually select and push its bottom anchor points to the inside horizontally by a distance of 2 px using the directional arrow keys. Take your time, and once you’re done either hit the Enter key again to exit vector edit mode or click on Done.
Quick tip: as you’ve probably seen from the reference images, Figma comes with its own distance indicator system, which you can activate and use in real time by holding down the Alt key while performing basic actions such as shape creation and shape/ anchor point positioning.
Step 8
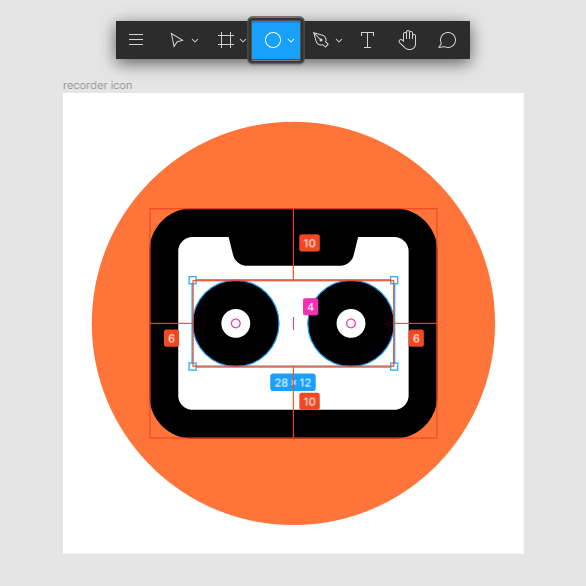
Create the reel wheels using two 12 x 12 px circles with a 4 px thick Stroke (#000000), which we will horizontally distance at 4 px from one another, making sure to position them as seen in the reference image.
Finalize Recorder App Icon
Finish off the icon and with it the project itself, by grabbing the Pen tool (P)and then quickly drawing the little tape segment, using a 16 px wide path, making sure to position its start and end points as seen in the reference image. Once you’re done, don’t forget to select and group all of the icon’s composing shapes using the Control-G keyboard shortcut.
Awesome Work!
As always, I hope you had fun creating your recorder app icon, and managed to learn something new and useful during the process. That being said, we’re going to continue our Figma series with new projects, so stick around since things are about to get interesting!