Look around your desk for inspiration and let’s create a trendy, flat desk mockup vector design comprised mostly of rectangles with manipulated Live Corners in under 20 minutes!
Tutorial Details: Trendy Flat Desk Mockup Vector
- Program: Adobe Illustrator CS6 – CC 2015
- Difficulty: Beginner
- Topics Covered: Live Corners, Transparency, Shape Building
- Estimated Completion Time: 20 Minutes
Final Image: Trendy Flat Desk Mockup Vector
Step 1: Trendy Flat Desk Mockup Vector
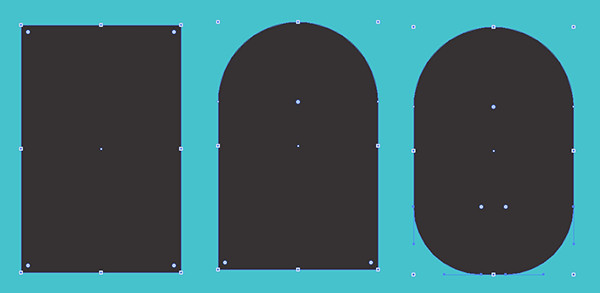
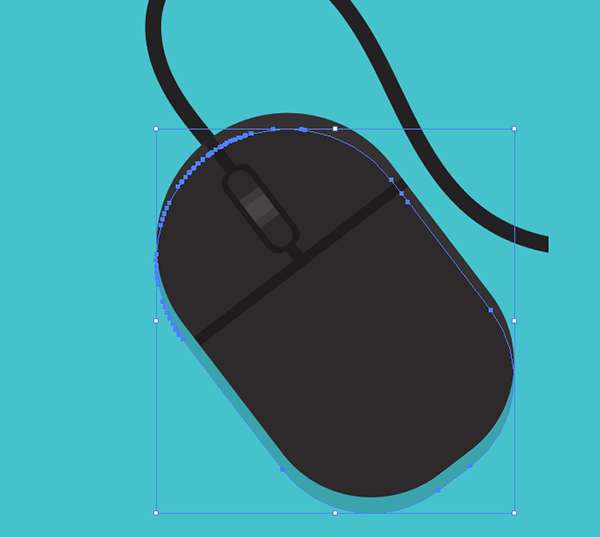
Let’s start with a simple mouse for our flat desk mockup vector! Draw a dark gray rectangle with the Rectangle Tool. Use the Direct Selection Tool to select the top two corners of the rectangle and pull its Live Corners inward to round out the top edge of the mouse completely. Then round out the bottom two corners about half way. You can also do this in the Transform panel or, if you’re not working in version CS6 or higher, you can combine rounded rectangles together in the Pathfinder panel.
Step 2
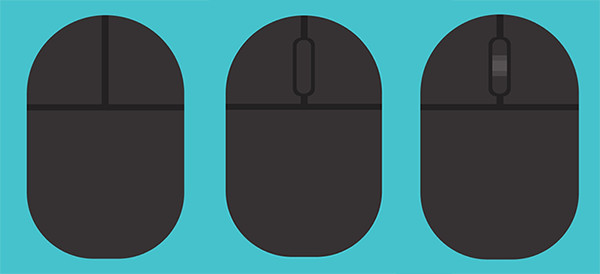
Draw two rectangles in black, one horizontal and one vertical, across the top half of the mouse. For the mouse’s wheel, draw two rounded rectangles, one black and one dark gray, inside of each other in the center of the top of the mouse. With two light and lighter gray rectangles, give the mouse wheel a simple highlight. Group all of these components together.
Step 3
Copy and Paste the base mouse shape and place it beneath the entire mouse design. Rotate both to the left a bit and place in the upper right corner of your Artboard. The copied shape should be slightly offset below the mouse itself with Blend Mode set to Multiply and Opacity set to 50% or so in the Transparency panel. Really the opacity of your shadows are up to you, and you may choose to make them lighter or darker (along with more dramatic highlights) as you see fit.
Step 4
With the Pen Tool, or your favorite curve drawing tool, draw the mouse’s wire (unless you’re rockin’ a wireless mouse and aren’t stuck in the past like I clearly am). Expand your stroke (which should be thick, by the way) under Object and don’t forget to add a shadow that matches the mouse’s shadow.

Step 5
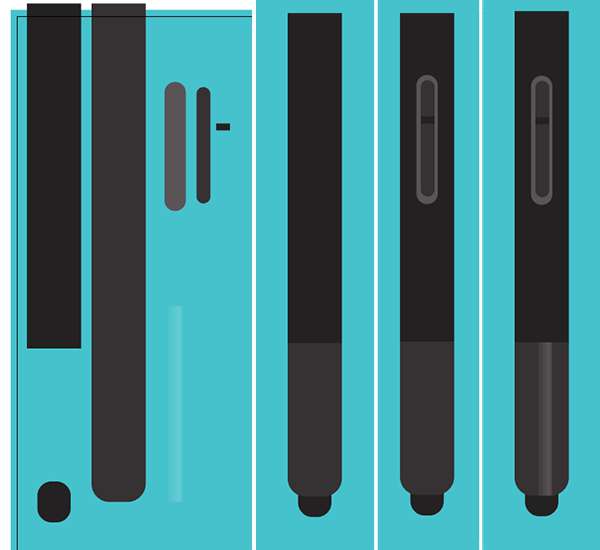
The next element is quick now that we’ve built the mouse (since it’s the same ideas: rectangles and Live Corners): the tablet stylus! Start with two shapes: a narrow dark gray rectangle and a small rounded rectangle. To bridge these two objects, draw a medium gray rectangle whose lower two corners will be rounded slightly. For the stylus’s buttons, draw two rounded rectangles (gray and medium gray, lighter than the mouse’s wheel) with a small black rectangle to separate them. Use light gray or white rectangles for highlights on the lower half of the stylus.
Step 6
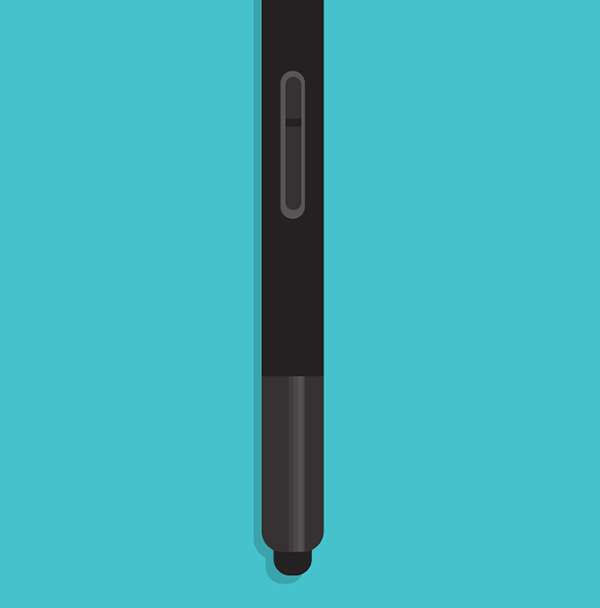
Group together your stylus components and once again add a shadow shape below your stylus. I Copied and Pasted the entire stylus, United it in the Pathfinder panel and placed it beneath the original group with the fill color set to dark gray and Opacity to 50%.
Step 7
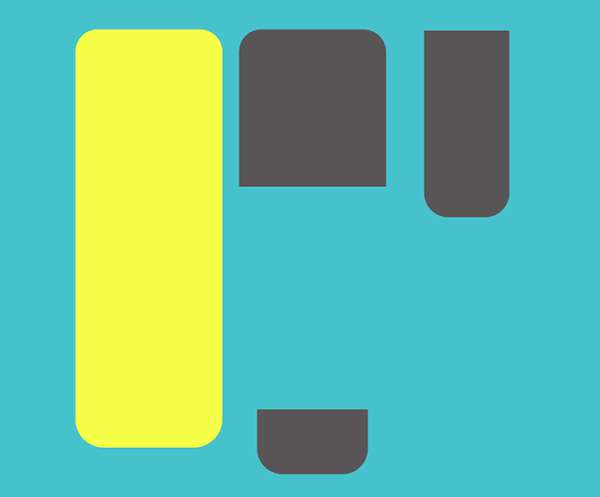
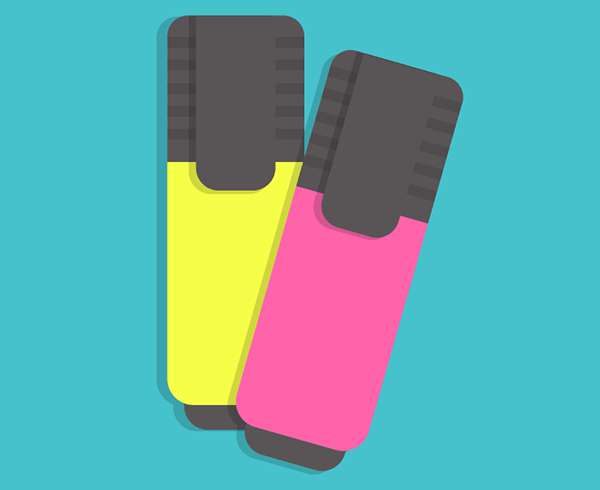
Next up are a couple of highlighters. Start with a simple rounded rectangle in a bright neon color. For the bottom bit, use a gray rectangle with the bottom edge rounded a bit. The cap is another rectangle with the top edge rounded and the cap’s clip is a third rectangle with the bottom edge rounded. Quick and easy to create. Check out the image below for the general sizes.
Step 8
Let’s focus on the cap. Place the clip shape over the cap and center it. Add a shadow shape below the clip, above the cap itself. The stripes are five gray rectangles place above the cap but below the clip and clip shadow. Group all of these components together.

Step 9
Put the highlighter components together as seen below and give the entire highlighter a shadow, just like we’ve done previously.

Step 10
Copy and Paste the highlighter and change the base color to another super bright color (in this case from yellow to pink).
Step 11
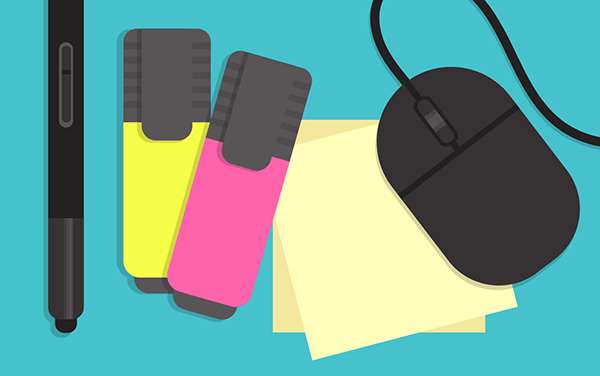
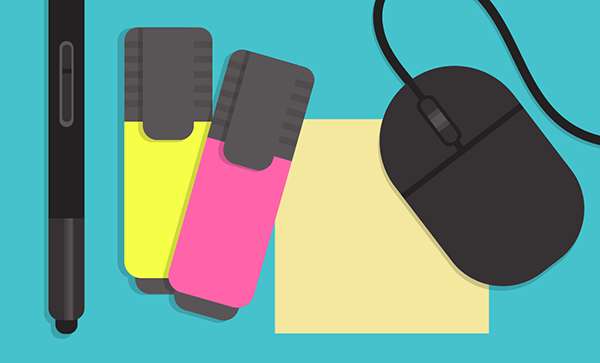
Arrange your items as you see fit in your Artboard. Underneath the other items, draw a simple dark yellow square for a post-it note and feel free to draw a lighter yellow one over it, or maybe other assorted colors around your composition.
Conclusion: Trendy Flat Desk Mockup Vector
Give your design a fitting background. I chose a colorful background purely on account of the amount of gray within this design. Recreate your desk items with assorted polygons and simple shadows, and share them with us in the comment section below!

Author: Mary Winkler
Mary works under the brand Acrylicana® designing apparel, jewelry, and illustrating for companies like Disney, Jakks Pacific, Envato, and more. Check out Acrylicana.com for more artwork, tutorials, and more.


I meant Behance. Posted the designs on Behance…not enhance. Dumb auto correct.
Nice. I did the same thing about two months ago and posted it on enhance. I created desktop stationary mockup vectors…still working on the details. These look nice. I eventually turned some of mine into stationary icons.