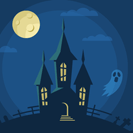
In today’s tutorial we will create a Haunted House Halloween Vector poster in flat design style. This style is characterized by minimalism, the lack of gradient fills, textures, and use of elementary forms for the construction of all objects. So let’s get started!
Tutorial Details: Haunted House Halloween Vector
- Program: Adobe Illustrator CS4
- Difficulty: Beginner-Intermediate
- Topics Covered: Shape Tools, Pathfinder and the Transparency panels
- Estimated Completion Time: 45 minutes
Final Image: Haunted House Halloween Vector

Step 1: Haunted House Halloween Vector
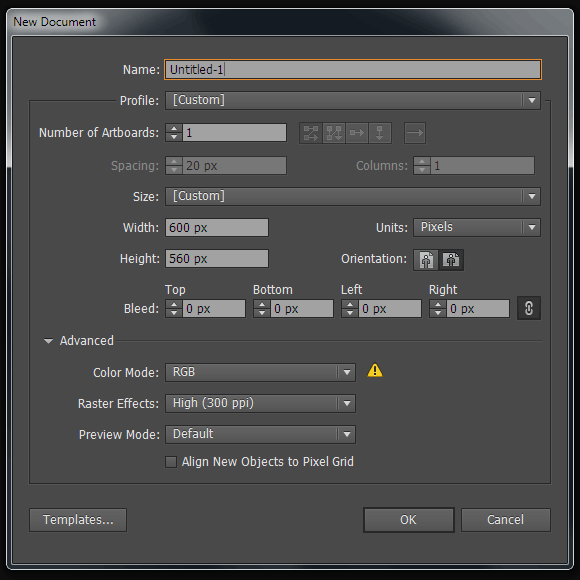
To begin creating our haunted house halloween vector poster, create a new document (File> New …). Set the size of our artboard – 600x560px. The Halloween night background that we’re creating will work equally well in the RGB and in the CMYK color modes.
Step 2
Using the Rectangle Tool (M) create a dark blue rectangle which size corresponds to the size of the artboard, and then using the Ellipse Tool (L) draw two circles with a lighter fill.

Step 3
Create a new dark blue large circle (this is the darkest color in our illustration). Its radius is located at the bottom, outside the artboard.
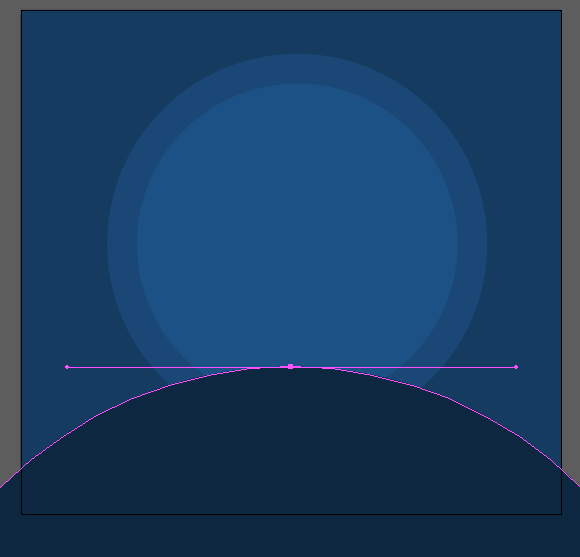
Select this circle and a rectangle, then delete part of the circle outside the artboard using the Shape Builder Tool (Shift + M) + Opt / Alt.
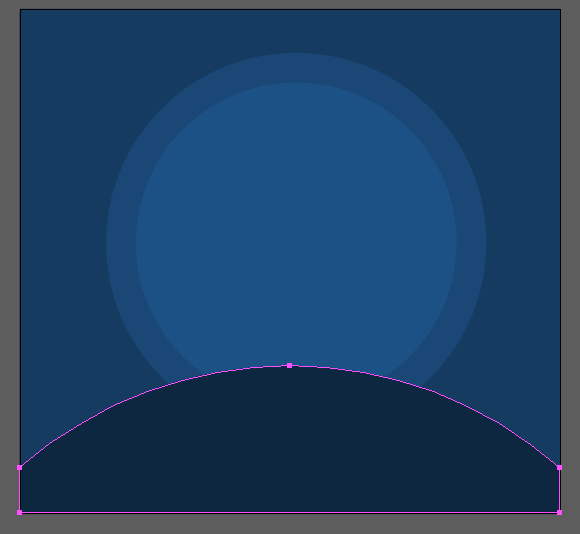
We’ve created the hill where we will construct the creepy castle.
Step 4
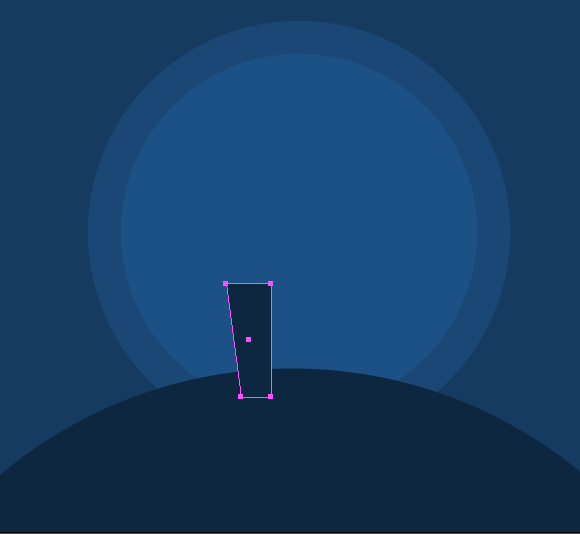
All of the objects of the castle, besides windows will have the same fill as the hill. Draw a rectangle, and then take the Direct Selection Tool (A) and displace the lower left point slightly to the right.
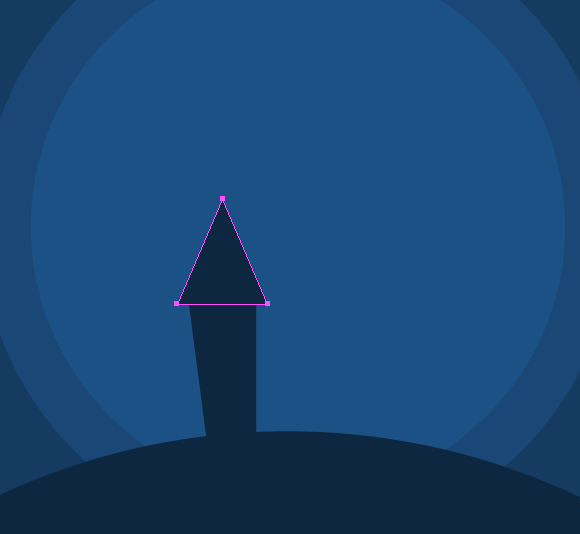
With the Polygon Tool create a triangle and place it on the top side of the rectangle. Then use the Direct Selection Tool (A) move up its top.
Step 5
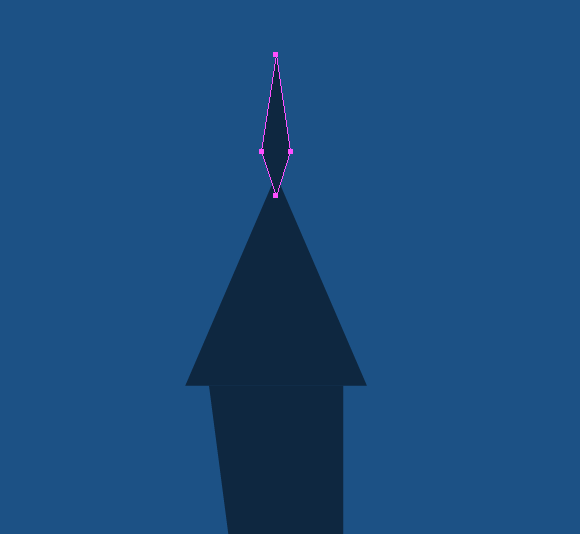
With the help of the Pen Tool (P) create a diamond shape form and place it above the triangle.
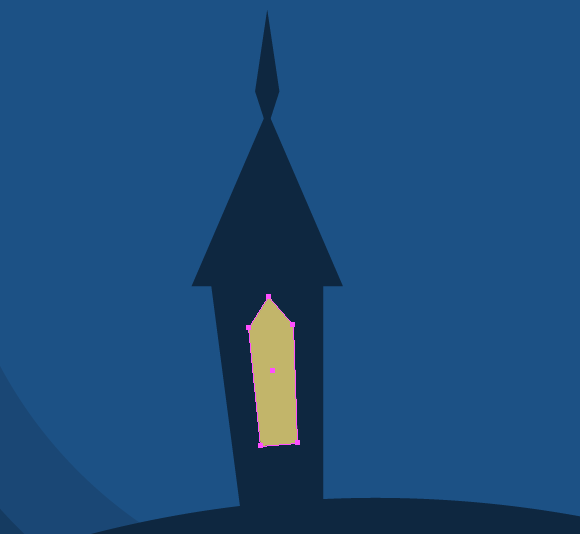
Now draw the shape of the window and fill it with yellow.
Step 6
Take the Line Segment Tool (\) and set the width of stroke 4px in the Stroke panel (Window> Stroke), and choose the same color as for the castle. Cross the shape of the window with several straight line segments creating a frame, as shown in the following figure.
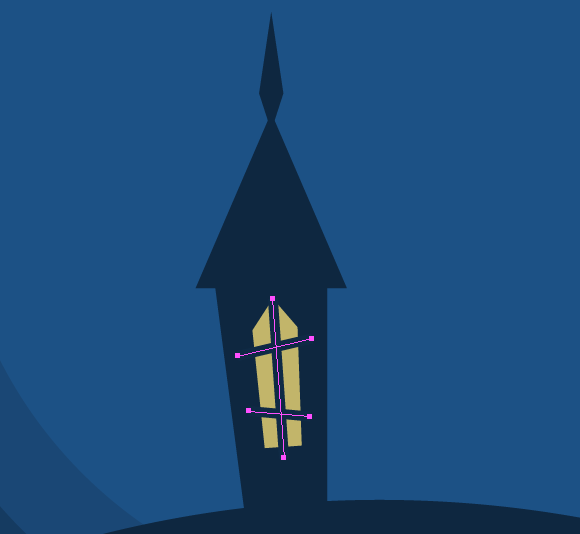
Group all objects of the castle tower.
Step 7
Combining several triangles and a trapeze, create a central tower of the haunted house Halloween vector.
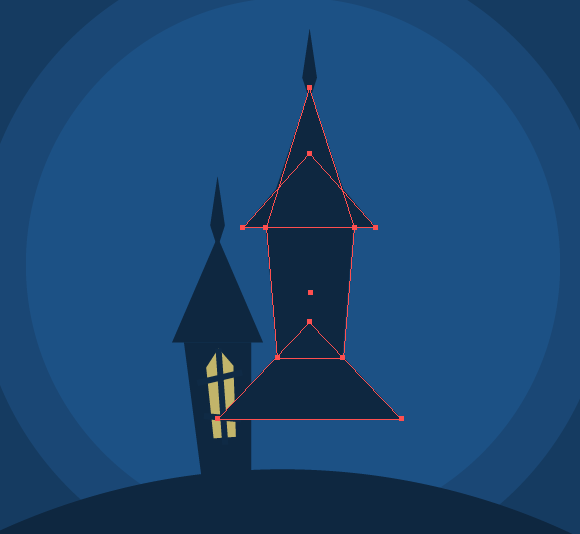
Duplicate the left window of the tower and put a copy on the central tower.
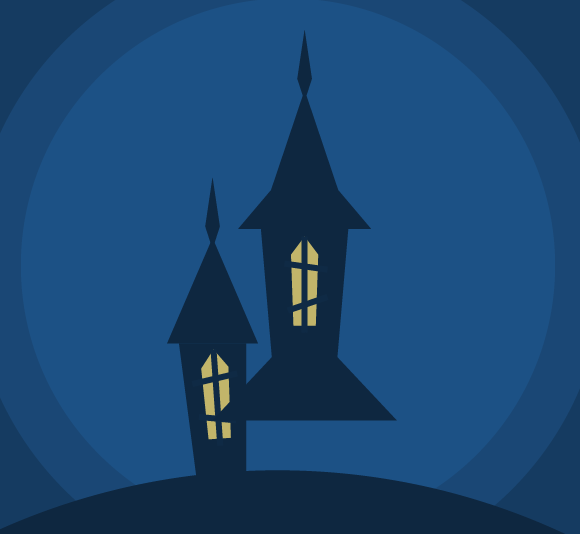
Step 8
Select the left tower, take the Reflect Tool (O) and click on the top of the central tower while holding the Opt / Alt key. In the opened dialog box, select the Vertical option and click Copy button.
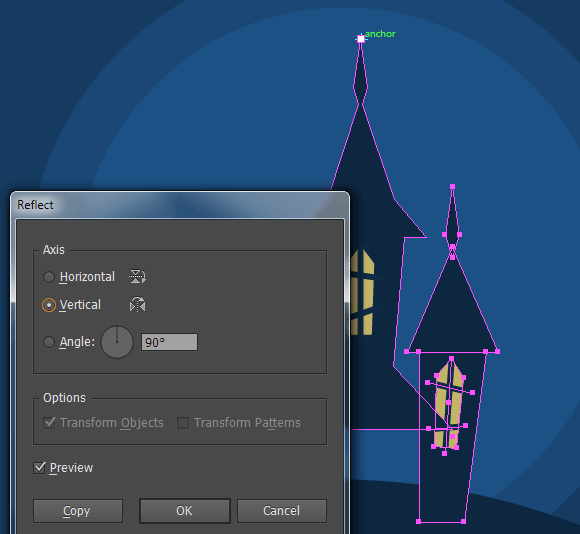
Now create a rectangle that will close the hole between the towers, so place it underneath the castle objects.
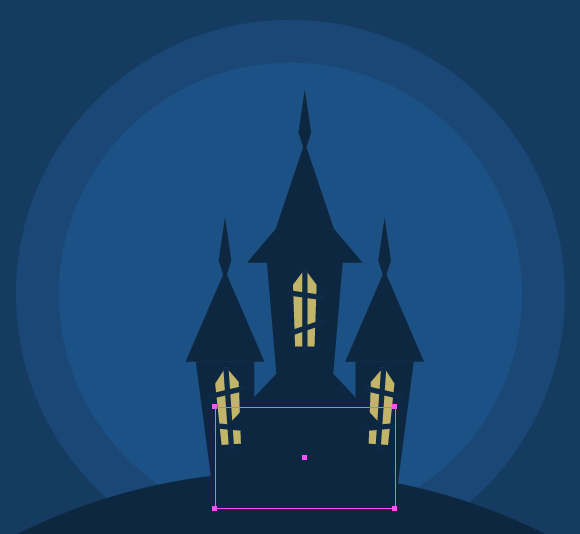
Step 9
Create a rectangle in place where the doors should be. Round upper corners of the rectangle by selecting the Direct Selection Tool (A) and using the Corner Widgets (View> Show> Corner Widget).
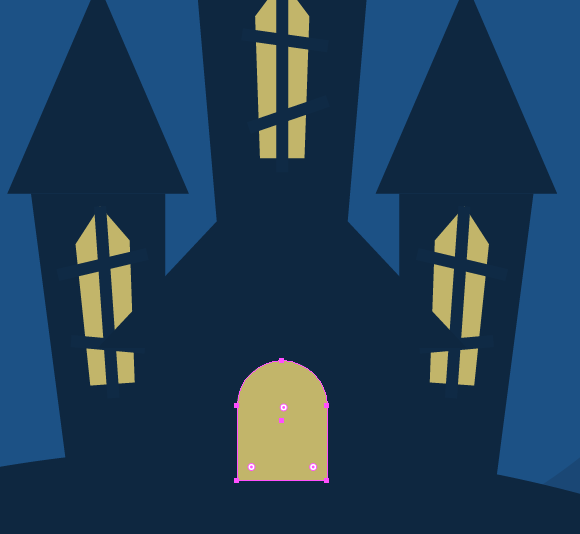
Duplicate the shape of the doors (Cmd / Ctrl + C; Cmd / Ctrl + F), repaint copy, and then move it slightly down and to the left. So we’ve created the illusion of the half-open door.
Step 10
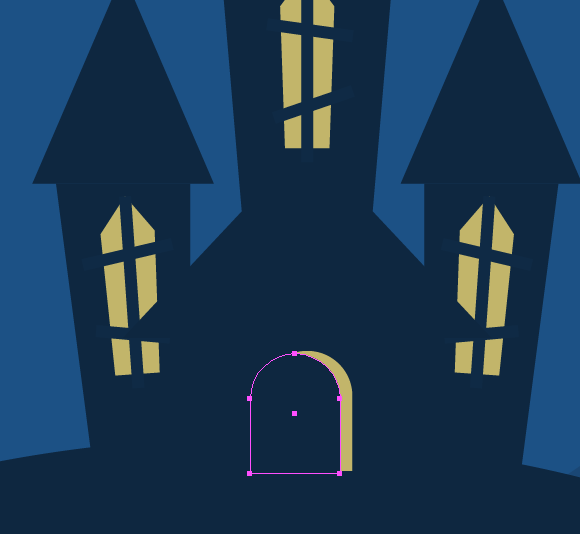
Using the Line Segment Tool (\) create two horizontal segments, as shown below.
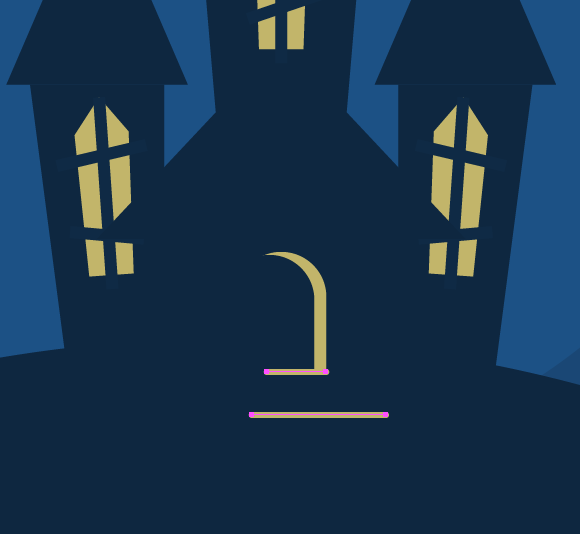
Select both segments and go to Object> Blend> Make, and then to Object> Blend> Blend Options … and set up two steps in the dialog box.
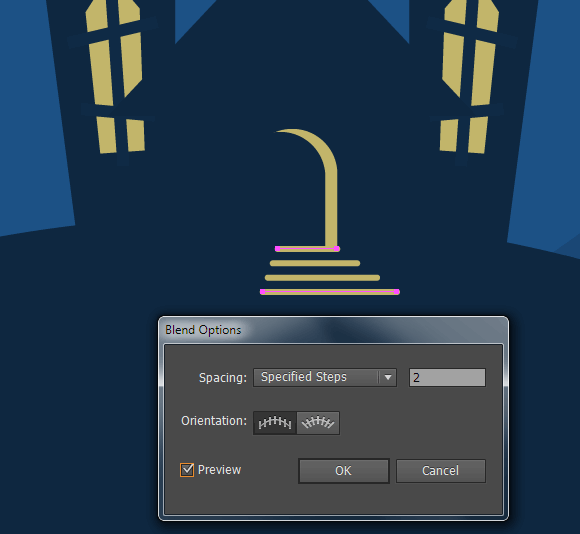
Now we’ve got lit stairs for our haunted house Halloween vector!
Step 11
Select the shape of the hill, then go to Object> Path> Offset Path … and set 10px in the dialog box.
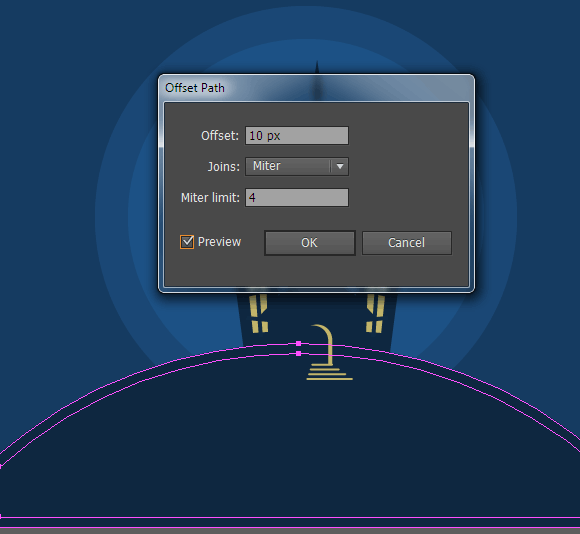
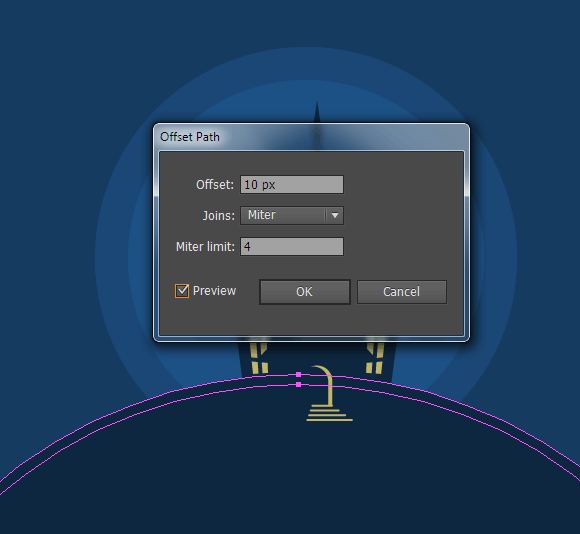
Repeat the last action again Object> Path> Offset Path …
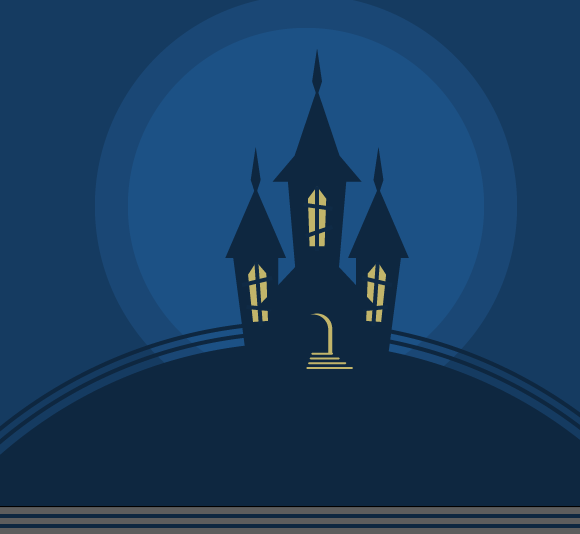
Now disable the fill in two new objects and enable a stroke of 4px wide.
Step 12
Take the Scissors Tool (C) and cut the path at points A, B, C and D, and then delete the unwanted parts of paths.
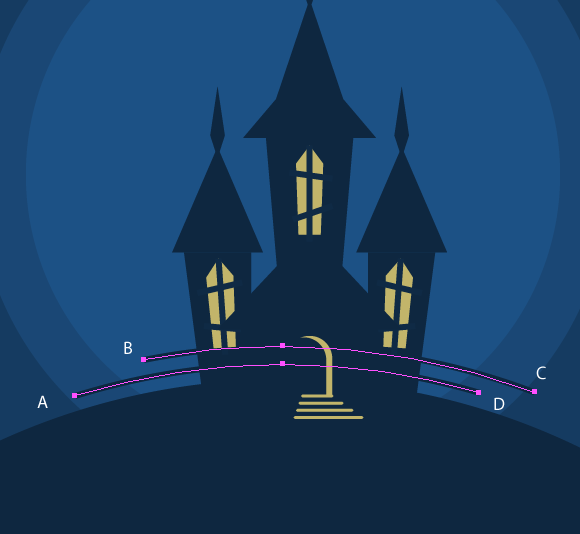
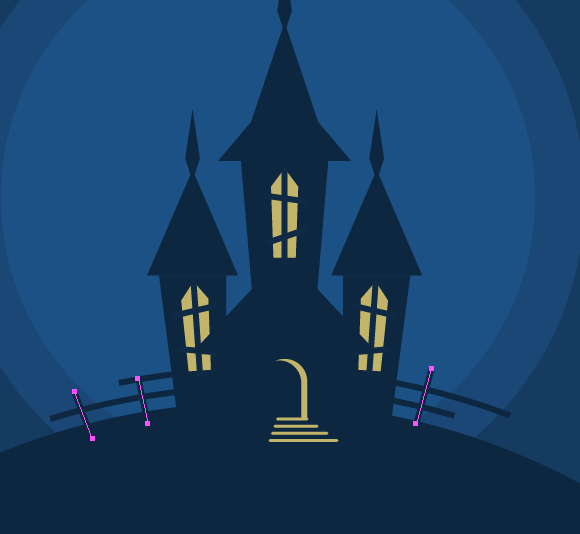
With the Line Segment Tool (\) create multiple columns of destroyed fence.
Step 13
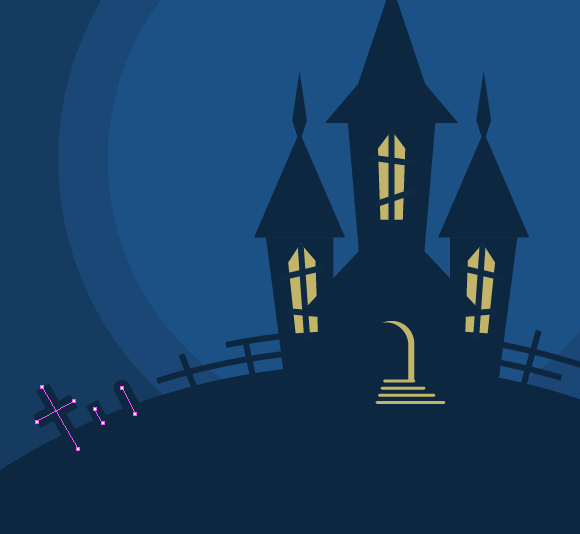
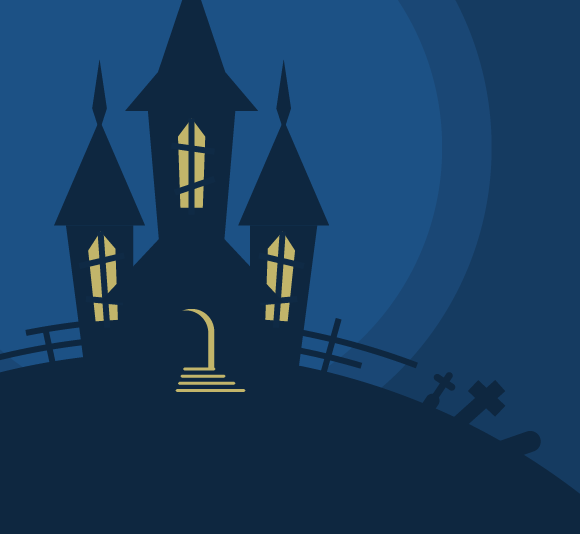
To the left and right of the castle create some crooked crosses and headstones. These elements are created with the help of the Line Segment Tool (\).
Step 14
We proceed to the creation of the moon. Create a circle with a yellow fill. Duplicate it and displace it slightly down and to the right while holding down Shift, the way it is shown in the following figure.
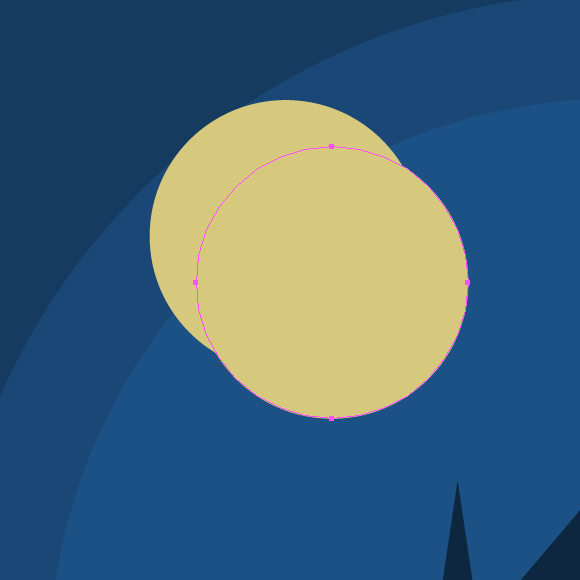
Repaint the upper circle into a lighter shade of yellow, and then delete the part that extends the lower circle with the help of the Shape Builder Tool + Opt / Alt.
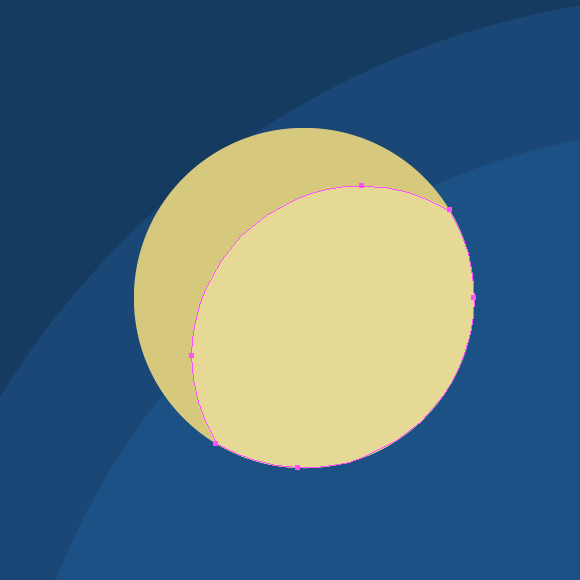
Step 15
Repeat our previous step, but this time move the copy of the circle farther and paint it in light shade of yellow.
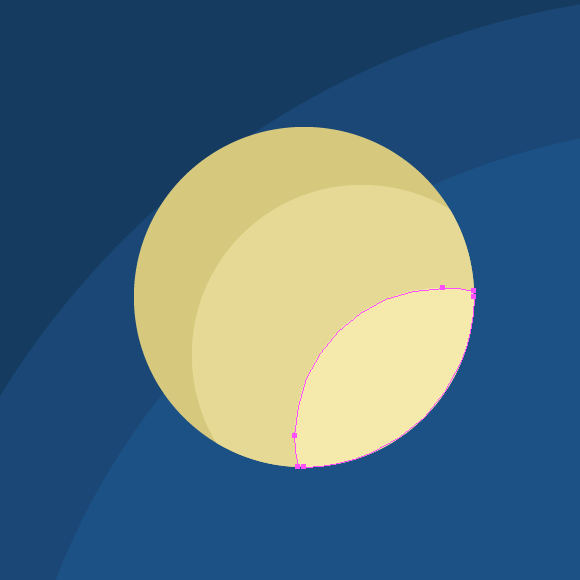
The light source – the sun- is located below the horizon during the night, so the moon is illuminated from below.
Step 16
Create a form of craters with the help of the Ellipse Tool.

Now illuminate the depth of each crater by duplicating ellipses and removing the excess part using the Shape Builder Tool + Opt / Alt. Color new forms on the moon into already existing shades of yellow.

Step 17
The moon is a source of light for our scenes. Therefore, create a glare of light on the left side of the castle. I created their shape with the help of the Pen Tool (P).
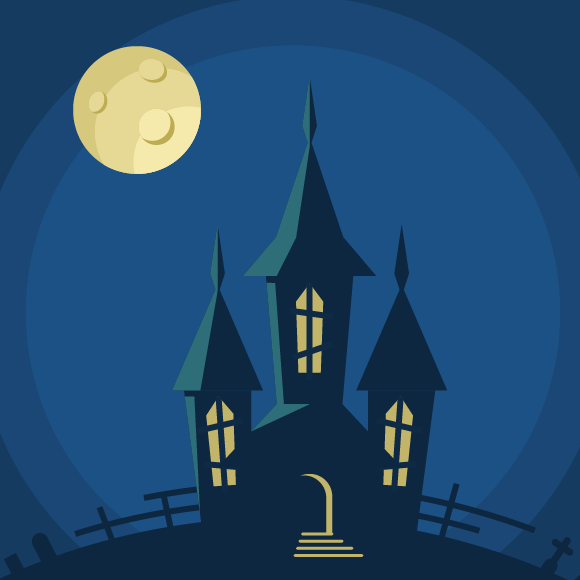
Step 18
We proceed to the creation of clouds. Draw several circles of different sizes. The centers of these circles are on the same horizontal.
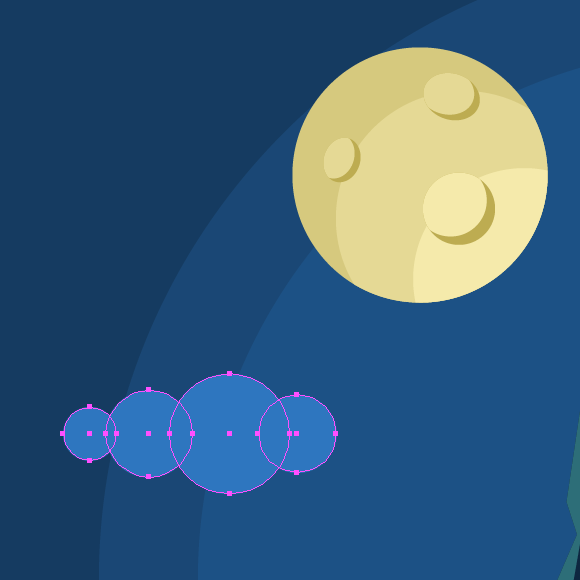
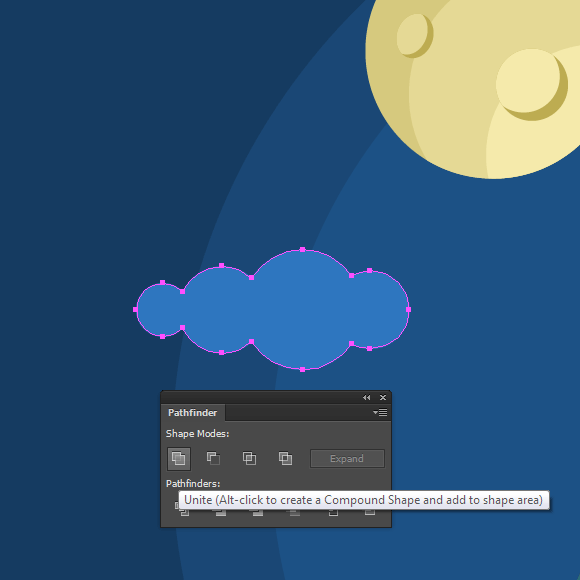
Select all the circles, then press the Unite button in the Pathfinder panel (Window> Pathfinder).
Step 19
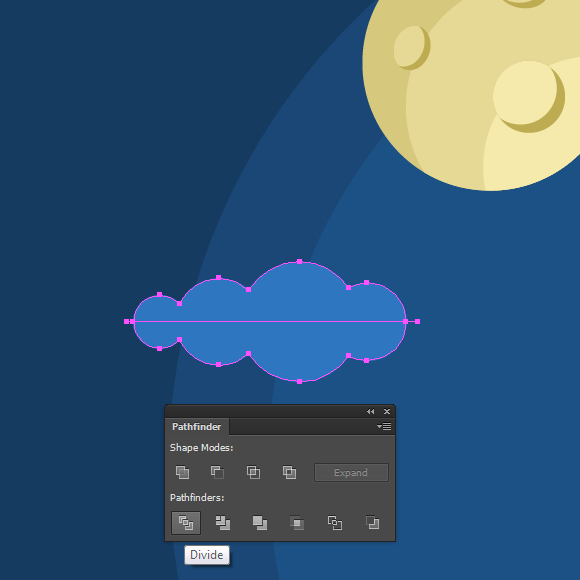
Create a horizontal line segment which passes through the outermost point of the cloud. Select the shape of the cloud and the straight-line segment, and then click on the Divide button in the Pathfinder panel.
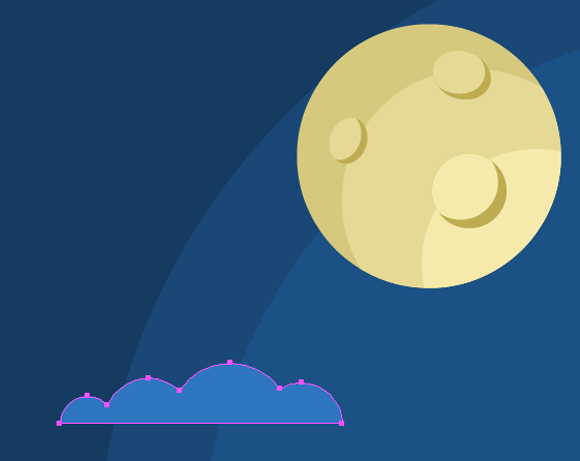
Remove the lower part of the cloud.
Step 20
Set 40% opacity to the form of clouds in the Transparency panel.
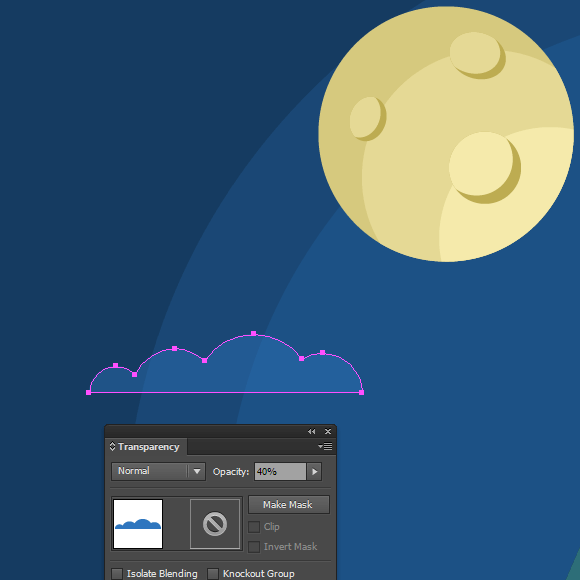
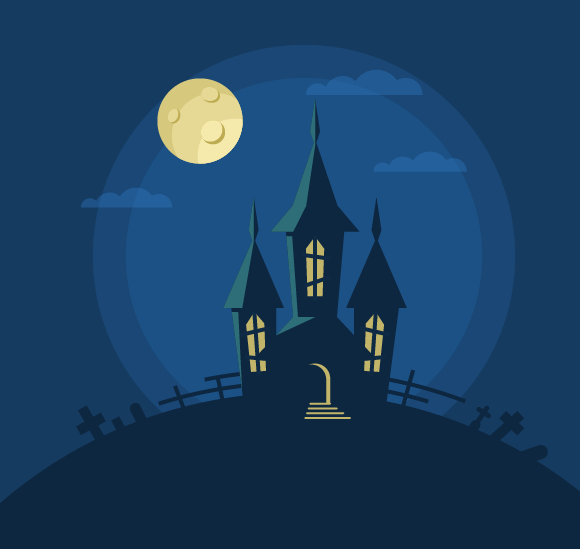
Place a copy of clouds in different parts of the sky above the castle.
Step 21
Let’s create a ghost for our haunted house Halloween vector. Draw a circle with no fill with a blue stroke 34px wide.
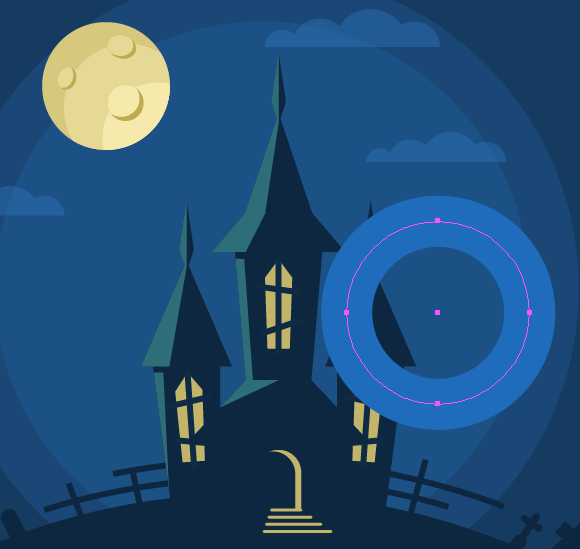
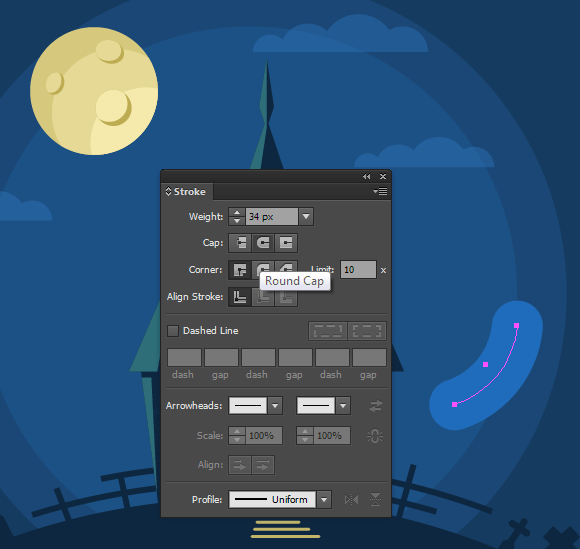
Cut the circle in two places using the Scissors Tool (C) and remove most of the segment. Select the Round Cap option in the Stroke panel for this segment.
Step 22
Keep the path selected and go to Object> Path> Outline Stroke.
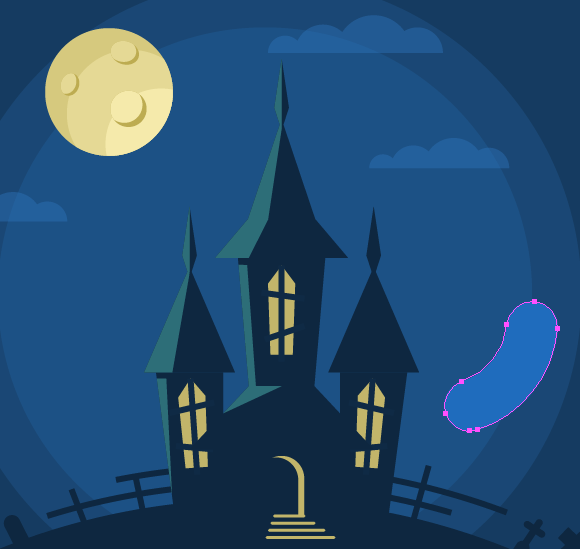
Cut the path at two points using the Scissors Tool (C), and then remove the bottom portion.
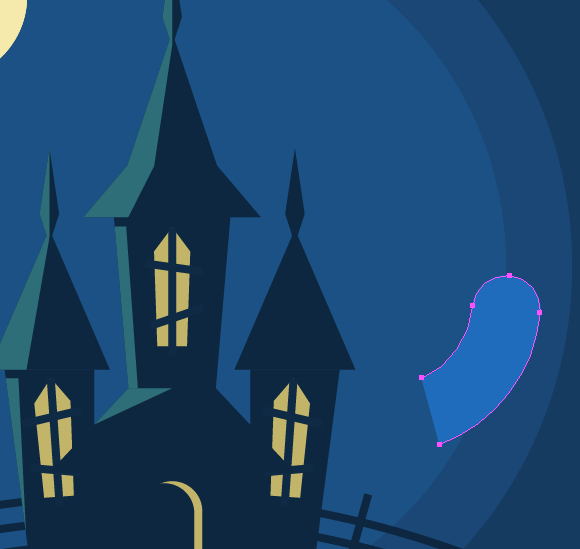
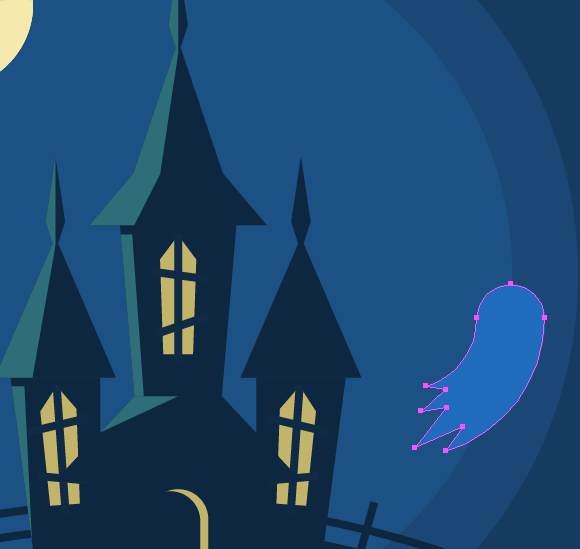
Step 23
Join the points in a zigzag line using the Pen Tool (P).
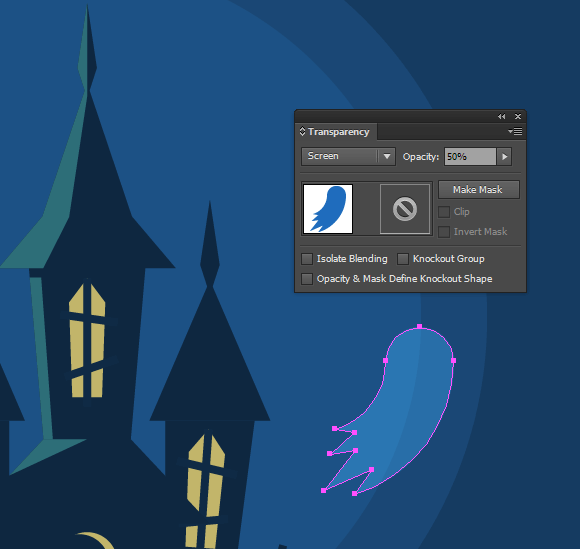
Apply to the form of a ghost the Screen Blending mode and 50% opacity in the Transparency panel.
Create eyes from slightly deformed ellipses and a mouth made of a rectangle with rounded corners.
That’s all, Happy Halloween! Hope you love your new bootiful Haunted House Halloween Vector!


Nice tutorial
Great tutorial
pretty ok
WOW!! I got so much out of that. Awe tutorial! Thank you so much.
so easyyyyy!!! LOL TTTYL 🙂
It’s great tutorial! thank you so much
Thank you so much for this tutorial. It looks perfect!!
always loved this tut, should be more of ’em !!!!!
Thanks !!!!!!!
thank you!!!!
Lots of fun…thank you!
Great tutorial!! Thank you
Love this tutorial it would be great if you can share some more background tutorials.
Soooo cute and really great tut’s!
I found Illustrator is really friendly for me to design vector pic. 🙂
U R Awesome Laroslav !!! Love your tut’s.
This one much fun also. Particularly liked your processs of creating the ghost .
Thanks again. …….u inspire me !!!!!