

In this Holiday Ornament Vector and Sketchy Festive Pattern tutorial we will learn how to create an original seamless holiday pattern using the Draw Inside mode and Pattern Maker feature. In the process of creating a holiday ornament vector we will be using gradient fills and Opacity Mask. Finally, to create light accents we will be applying the Color Dodge blending mode. Have some festive fun learning with our new Adobe Illustrator tutorial…
Tutorial Details: Holiday Ornament Vector & Sketchy Festive Pattern
- Program: Adobe Illustrator CS6 – CC2014
- Difficulty: Beginner
- Topics Covered: Pathfinder panel, Draw Inside mode and Pattern Maker feature
- Estimated Completion Time: 60 minutes
Final Image: Holiday Ornament Vector & Sketchy Festive Pattern

Step 1: Holiday Ornament Vector
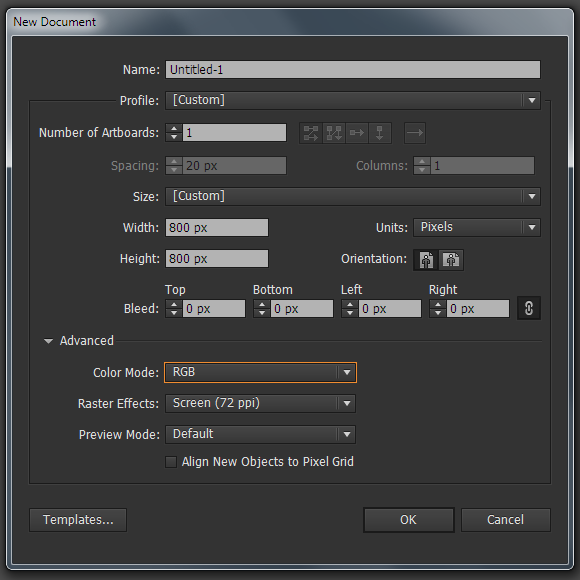
For this holiday ornament vector tutorial, we’ll start in Adobe Illustrator, then go to the File> New…. In the opened dialog box, set the necessary size of our artboard and choose the RGB color mode.
Step 2
Proceed to the creation of the festive pattern background. Draw a five-pointed and eight-pointed stars using Star Tool (to change the number of rays use the Up and Down Arrows at the time of the creation of shapes). Fill or stroke color is not important, just try to keep all the created objects at approximately the same size.

Step 3
Create two circles of the same size using the Ellipse Tool (L), and place them as shown in the picture below. Select both circles, then click on the Minus Front in the Pathfinder panel.
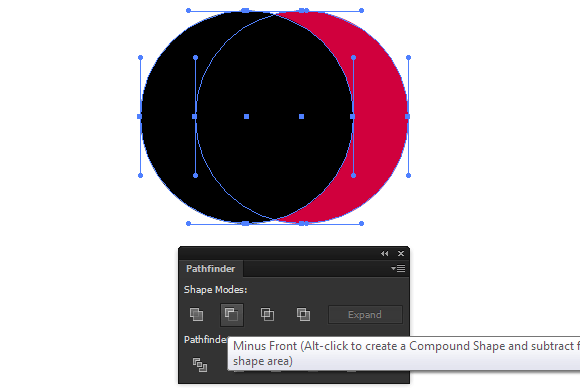
Thus we have created a shape of the moon.

Step 4
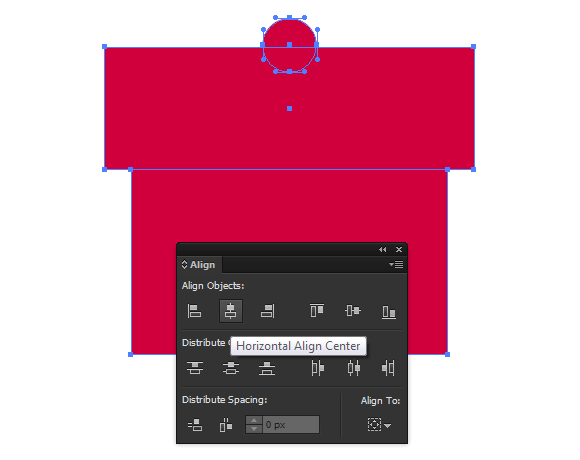
With the help of the Rectangle Tool (M) create two rectangles. Using the Ellipse Tool (L) create a circle. Place three of these objects, as shown in the picture below. You can align objects horizontally with the help of the Align panel.
Step 5
Draw a new ellipse, then move its right point to the side using the Direct Selection Tool (A).
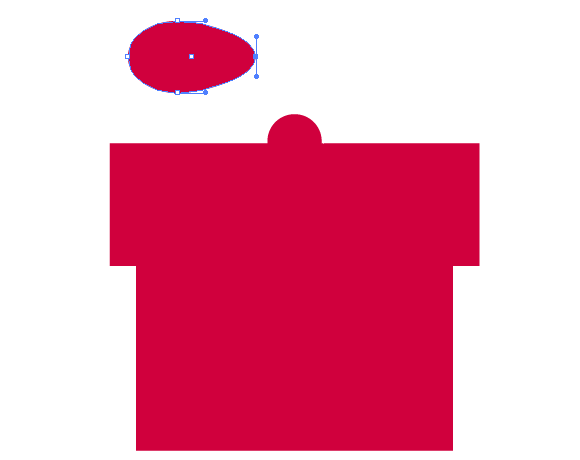
Rotate the object at certain angle and place it as it is shown below.
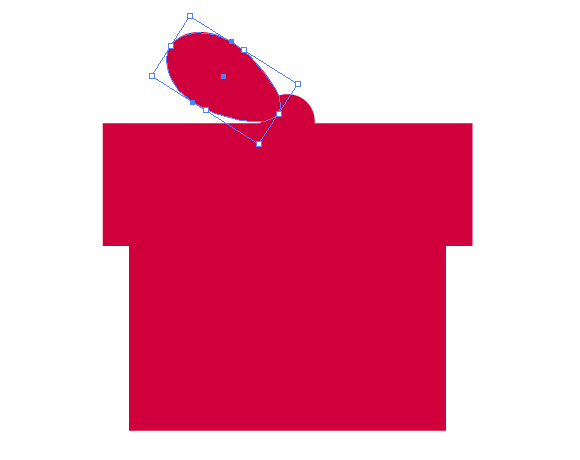
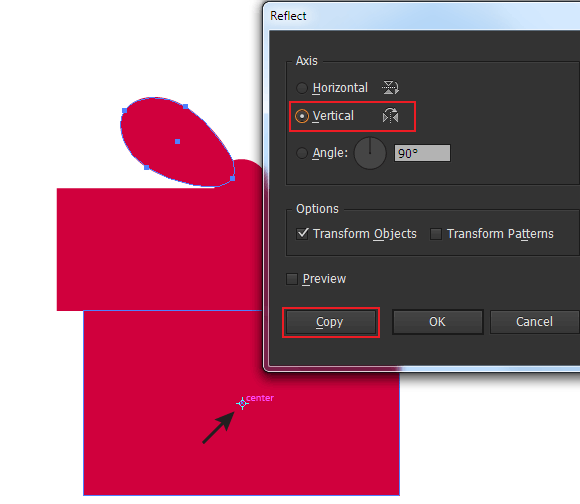
Keeping this object selected, take the Reflect Tool (O) and click in the center of one of the rectangles holding down the Opt / Alt key. In the open dialog box, choose the Vertical option, then press the Copy button.
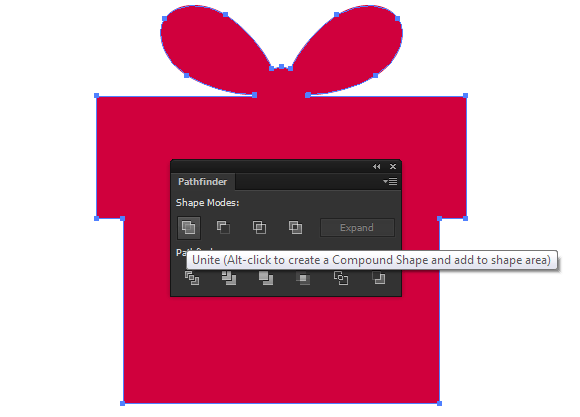
Select all the objects created in steps 4-5, then press the Unite in the Pathfinder panel. Gift box shape is ready.
Step 6
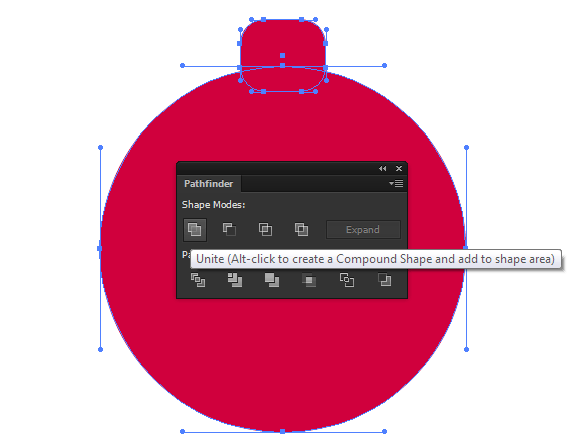
Create a circle and a rounded rectangle with the help of the Rounded Rectangle Tool. Align both objects horizontally. Now combine these objects into one shape by clicking on the Unite in the Pathfinder panel. We have created a shape of holiday ornament vector.
Step 7
Using the Pen Tool (P) create a path consisting of five straight-line segments as it is shown below.

Select the entire path, take the Reflect Tool (O) and click on the upper point of the path while holding down the Opt / Alt. In the open dialog box, select the Vertical option, then press the Copy button.
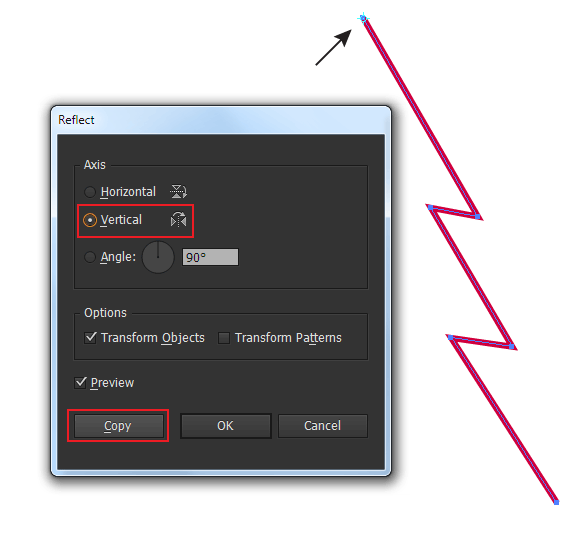
Select the upper points both paths and connect them using Cmd / Ctrl + J shortcuts. Connect the lower points of the paths using the Pen Tool (P). Shape of the Christmas tree is ready.

Step 8
Select one of the created shapes and click on the Draw Inside button in the Tools panel.
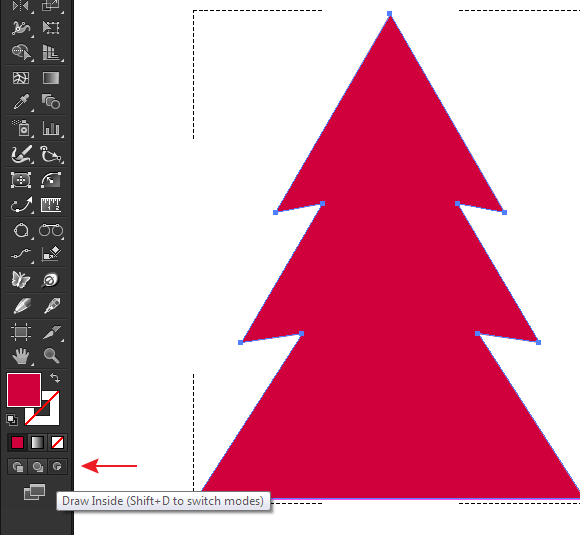
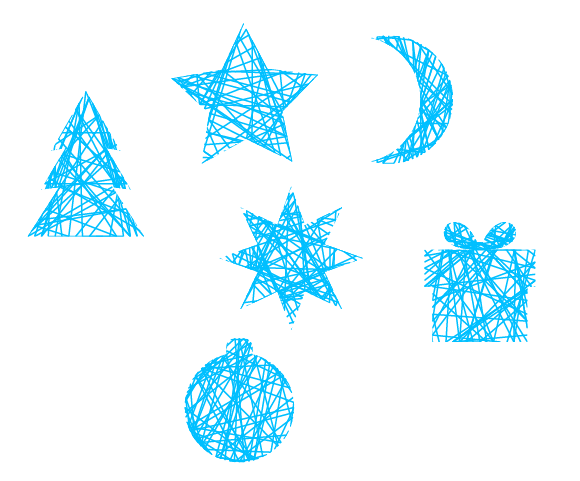
Now take the Line Tool (\) and create several straight-line segments, which will be visible only within the selected shape.
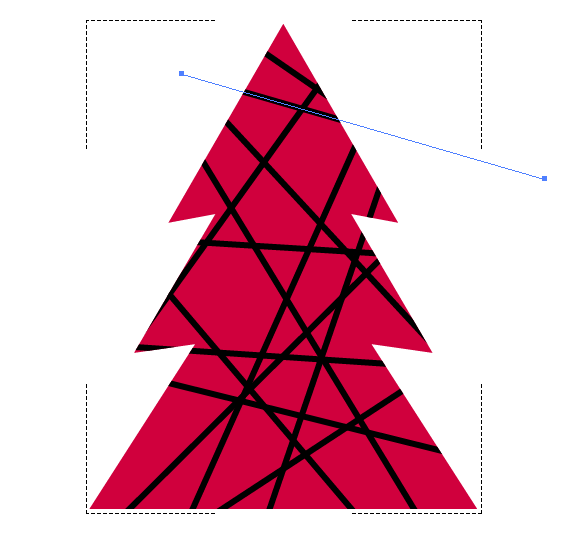
After the required number of lines is created, the object’s fill needs to be turned off.
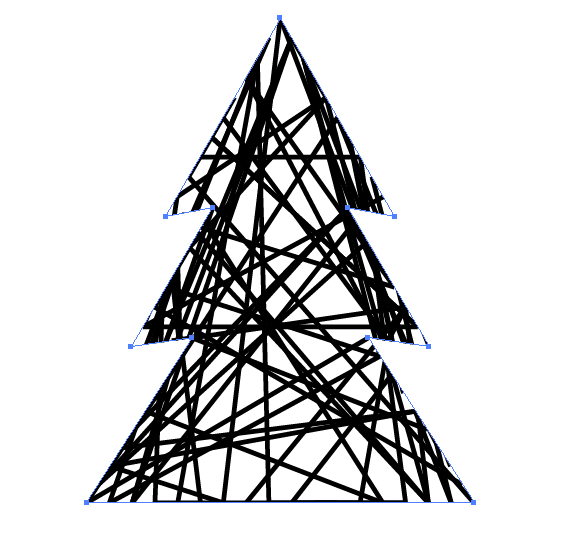
Similarly, create a set of lines within each object – the holiday ornament vector, moon and stars, and the Christmas gift. The width of the stroke is 1px. I used a blue color (R = 0; G = 191; B = 255).
Step 9
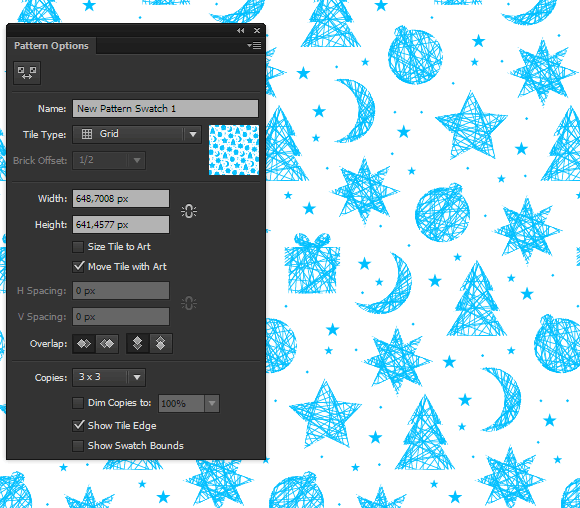
Select all the objects, then go to Object> Pattern> Make. Duplicate objects repeatedly while placing them at a certain distance from each other. Some of the objects can be rotated. Create some circles and small stars in between the holiday ornament vector and other Christmas pattern objects. After you get the seamless pattern you want, click on the Done button, which is located below the Control panel.
Step 10
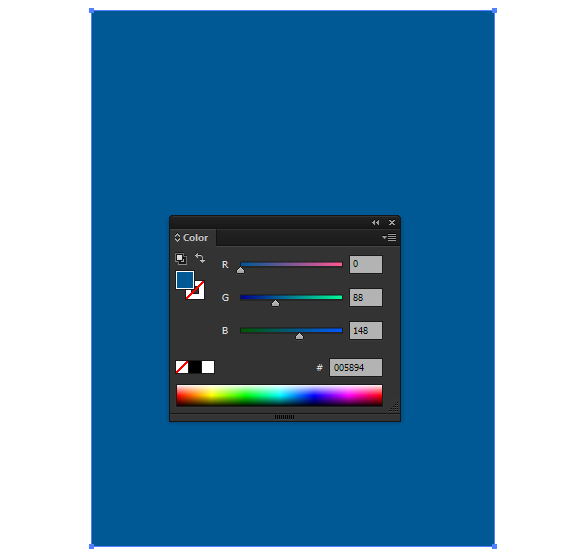
Create a rectangle which size corresponds to the size of your artboard. Fill Rectangle with blue color (R = 0; G = 88; B = 148).
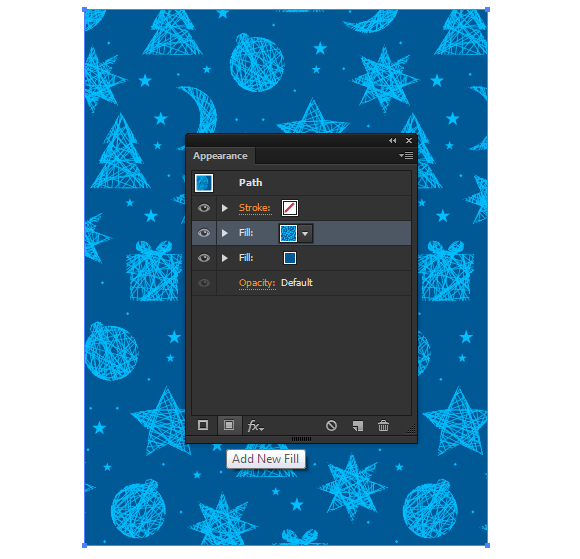
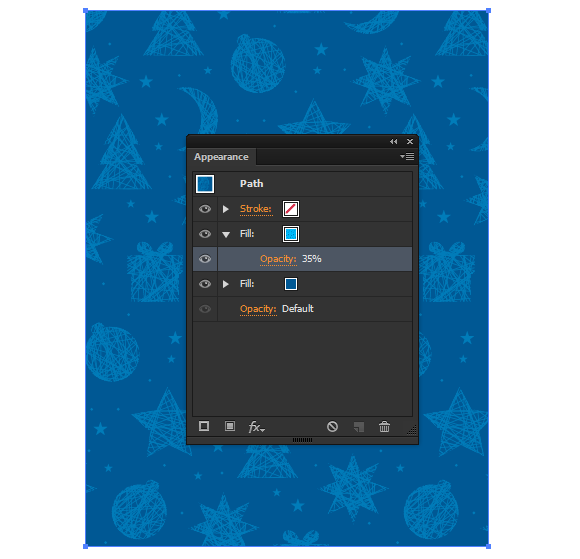
Add a new fill to the rectangle by clicking on the appropriate button in the Appearance panel (Window> Appearance). Apply the Christmas pattern created in the previous step to the new fill.
Step 11
Reduce the opacity of the upper fill down to 35% in the Appearance panel.
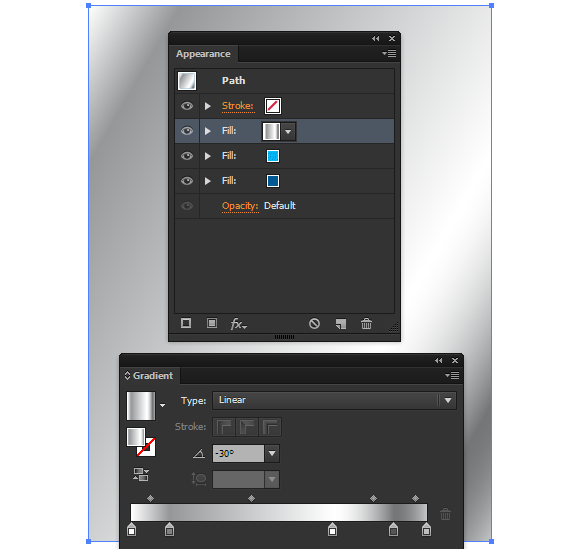
Create another fill of the rectangle in the Appearance panel and apply to it the linear gradient which contains several white and gray sliders. Set for the gradient angle of -30 degrees in the Gradient panel.
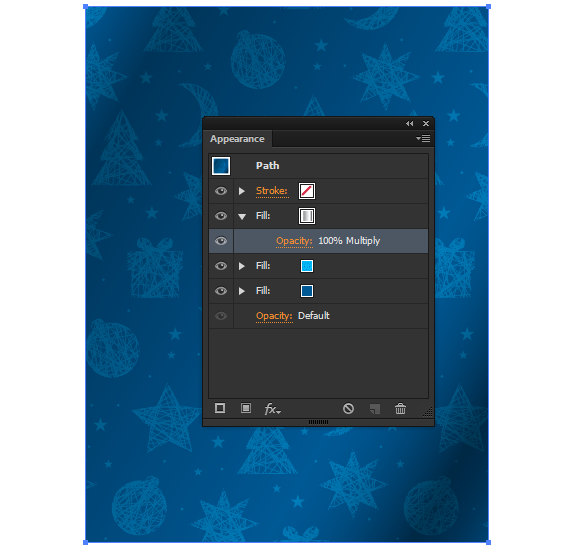
Apply the Multiply blending mode to the upper fill.
Step 12
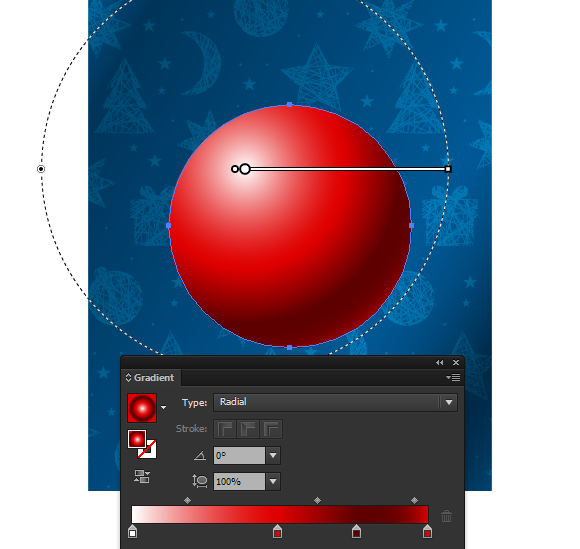
Now let’s proceed to the creation of the holiday ornament vector. Draw a circle, then apply to it a radial gradient that contains white and three shades of red color (1 (R = 223; G = 0; B = 0) 2 (R = 94; G = 0; B = 0), 3 (R = 223; G = 0; B = 0) from left to right).
Step 13
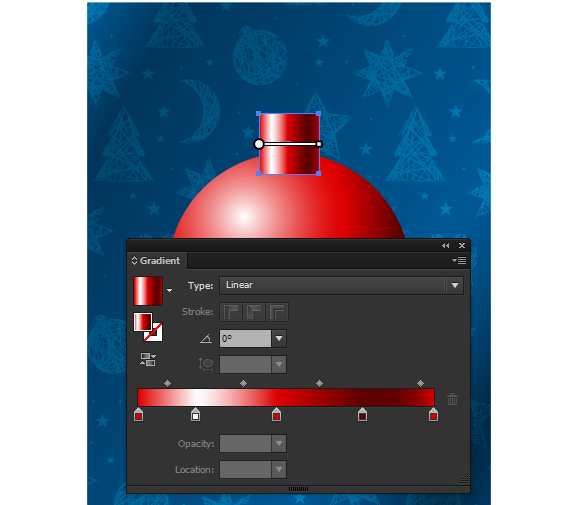
Create a rectangle filled with a linear gradient, which contains white and four shades of red color (1 (R = 223; G = 0; B = 0) 2 (R = 223; G = 0; B = 0), and 3 (R = 94; G = 0; B = 0), and 4 (R = 223; G = 0; B = 0) from left to right).
Step 14
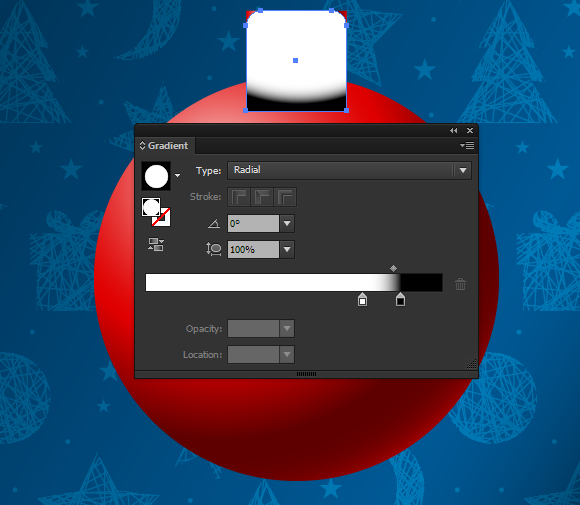
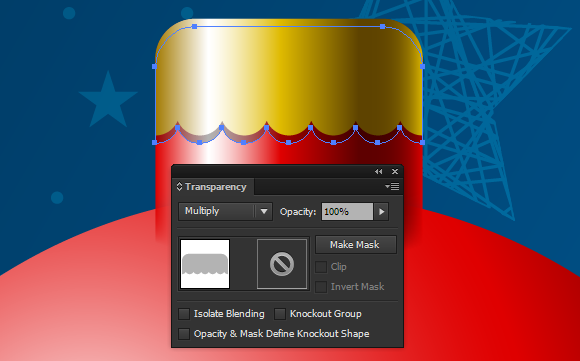
Create another rectangle above on the holiday ornament vector (Cmd / Ctrl + C; Cmd / Ctrl + F). Slightly round the upper corners of the object and fill it with black and white radial gradient as shown in the picture below.
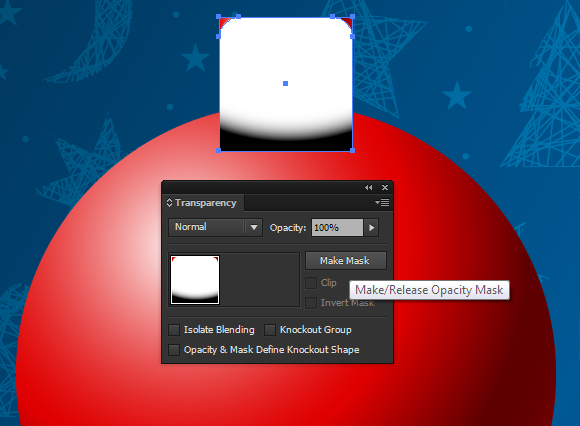
Select both rectangles and click Make Mask in the Transparency panel.
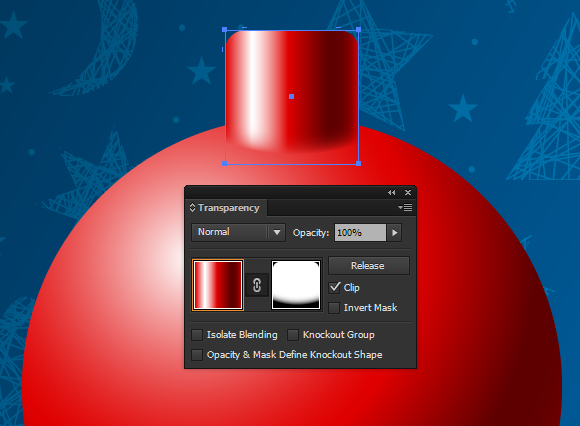
Opacity Mask has allowed us to create a smooth transition between the surfaces of the holiday ornament vector.
Step 15
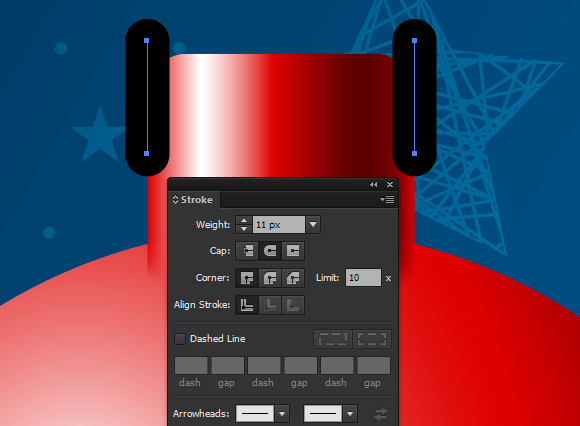
On both sides of the upper part of the holiday ornament vector ball create two vertical segments. Set the necessary width in the Stroke panel, and choose the Round Cap option.
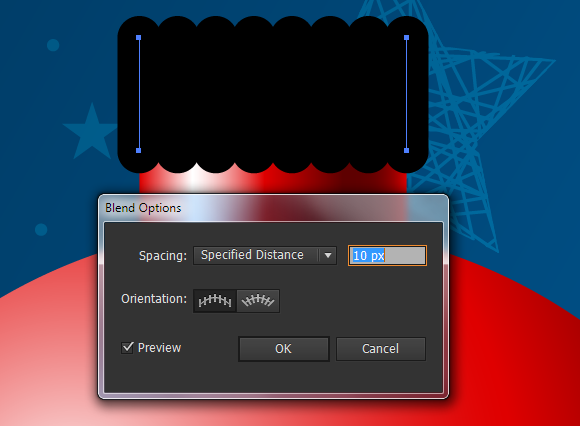
Select both segments, then go to Object> Blend> Make, then go to Object> Blend> Blend Options… select Specified Distance and select a value which in my case equals 10px.
Step 16
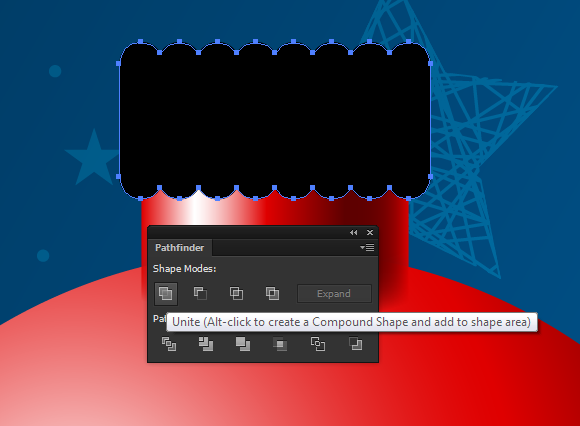
Go to Object> Blend> Expand, then go to Object> Path> Outline Stroke.

Click Unite in the Pathfinder panel.
Step 17
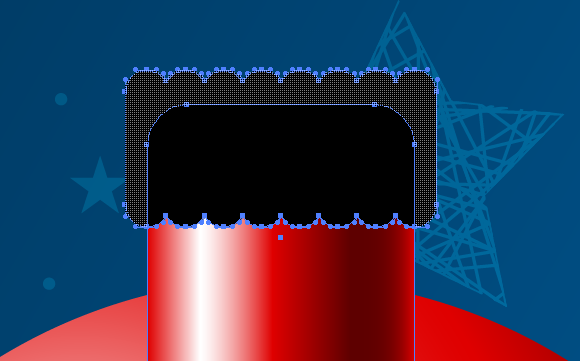
Select the upper part of the holiday ornament vector ball and black shape, then take the Shape Builder Tool and click on the part of the shape, which goes beyond the shape of the ball while holding Opt / Alt key. This action will remove the selected piece.
Fill the obtained shape with linear gradient which contains white and four shades of yellow color (1 (R = 163; G = 123; B = 2), 2 (R = 223; G = 186; B = 0) and 3 (R = 94; G = 67; B = 0), and 4 (R = 223; G = 186; B = 0) from left to right).

Step 18
Copy the shape of the mounting and paste it back (Cmd / Ctrl + C; Cmd / Ctrl + B). Move the new object a little bit down. Fill it with gray color and apply Multiply blending mode in the Transparency panel.
Thus we have created a drop shadow of the mounting of the ball.
Step 19
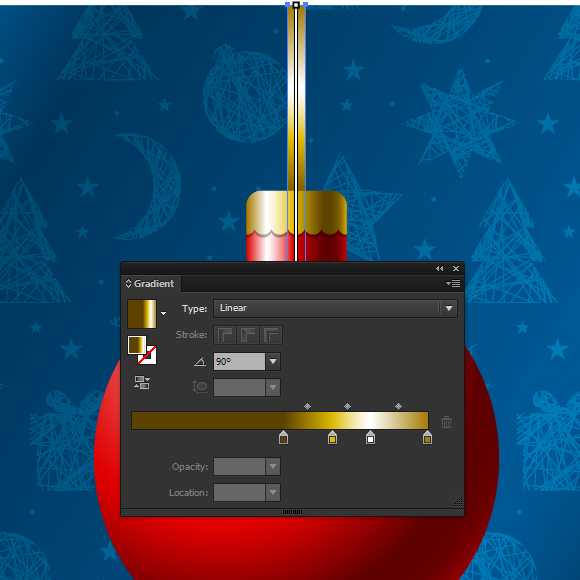
Create an elongated rectangle and place it below all the objects of the holiday ornament vector ball. Fill it with vertical linear gradient. Here you can use the same color as for the gradient of the mounting.
Step 20
Create a circle with a radial gradient fill from white to black. Apply the Color Dodge blending mode to this circle.
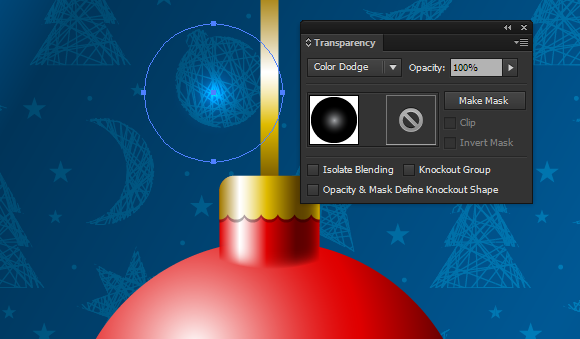
Using these objects, we can create glare in different places and backgrounds on the ball.

Step 21
Transform one of these objects into an ellipse, deform it using the Selection Tool (V).

Keeping the ellipse selected, go to Object> Transform> Rotate…. In the dialog box set the angle of 60 degrees, and click on the Copy button.
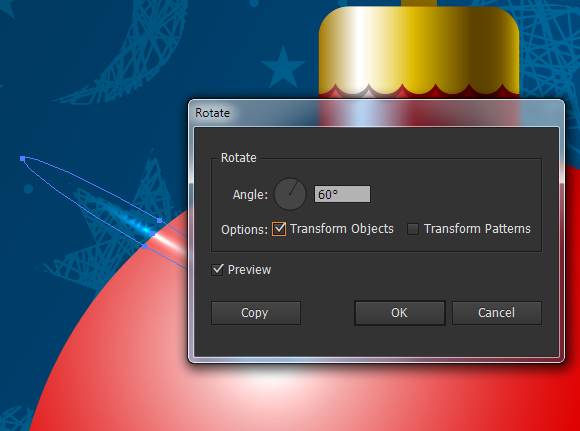
Now, repeat the last action use the Cmd / Ctrl + D shortcuts.

Thus, we have created a highlight in the shape of a star on the edge of the ball.
Step 22
We just need to create the inscription on the holiday ornament vector ball using the Type Tool (T). For these purposes I used Freehand521 BT font (http://ufonts.com/download/freehand-521-bt/27217.html).
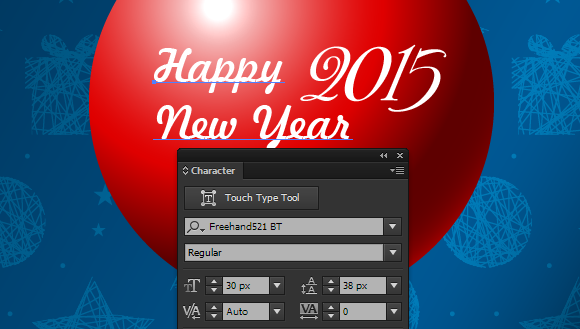
And there you have it! Not only have you created your own sketchy Christmas pattern, but you also have a holiday ornament vector background to wish all your friends and family and clients a Merry Christmas and Happy New Year!

Author: Iaroslav Lazunov
My name is Iaroslav Lazunov, I am a graphic designer from Ukraine. I am glad that I finally found a job in my life that I can share my knowledge and experiments with you in my tutorials. Follow me on Twitter or visit my blog Vectorboom.com


2 thoughts on “Ho Ho Holiday Ornament Vector and Sketchy Festive Pattern!”