
In today’s tutorial, we’ll learn how to create a polygonal vector mosaic from raster images with the help of a free Triangulator web-based tool and Adobe Illustrator. To strengthen the visual affect, we’ll also create a reflection with the help of the Opacity Mask and a dropping shadow by using the radiant gradient and the Transparency panel. Let’s begin!
Tutorial Details
- Program: Adobe Illustrator CS5 – CC, Triangulator
- Difficulty: Intermediate
- Topics Covered: Polygonal mosaic
- Estimated Completion Time: 45 minutes
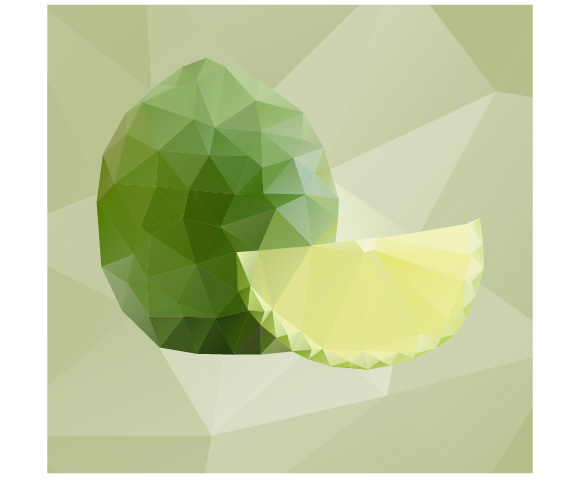
Final Image
Step 1
For this tutorial, we need a web-based tool, which is called Triangulator that lets us convert bitmap images to vector art. Follow the link above, scroll to the bottom left, and click on the text link to download the tool on your computer.

Unzip the file, find the index.html file and open it in your browser.


I recommend you to use Google Chrome for these purposes. Triangulator works only with the File API support browsers.
Step 2
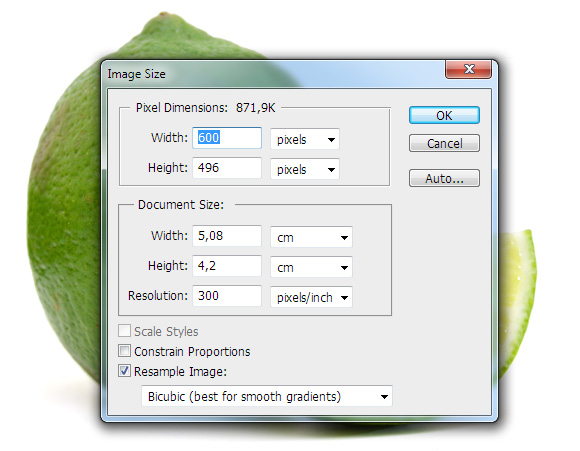
Now we need a raster image that we’ll convert into vector. Triangulator works with all widely-spread image formats (GIF, JPG, PNG8 and PNG24). I’ll use the Fresh ripe lime from Shutterstock. Of course, you can use any other image. Reduce the size of the image in any raster editor, for example, in Photoshop if its size is too big. I think for convenient operation, the width of the image should be between 600-800px. The quality of the image is not significant.
Step 3
Drag your image to the drop zone as indicated in the picture below.
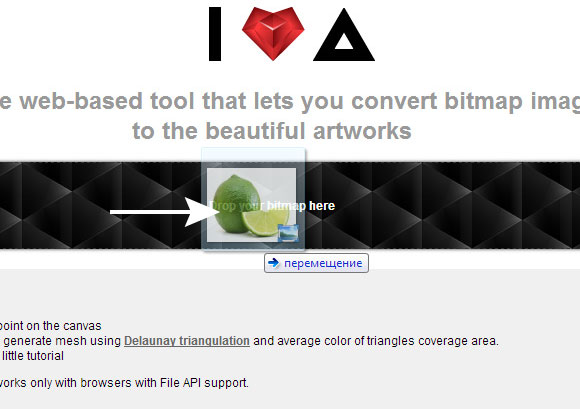
I want to draw your attention that you should have your browser in a full screen mode for Triangulator to work successfully.

Step 4
To create polygons, click on different places of our image. Sometimes, for reasons unknown to me, this cannot be done from the first time. In this case, click on Randomly in the upper panel.

Then delete formed polygons by clicking on Delete all vertices.
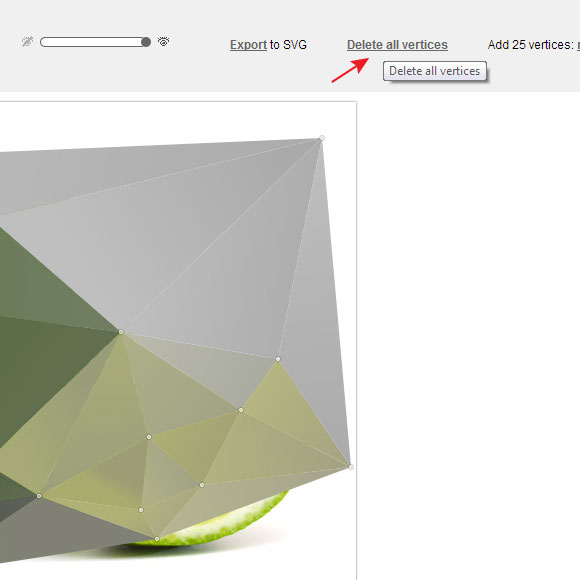
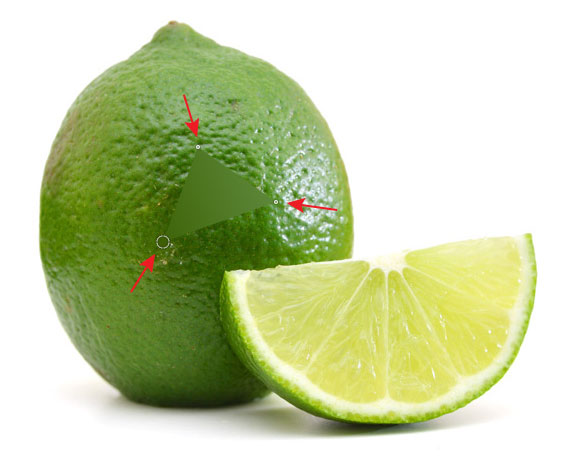
Now create the first polygon by clicking three times on the image where vertices should be placed.
Step 5
The click on a new point creates a new polygon or separates the existent one if the click was done inside it.
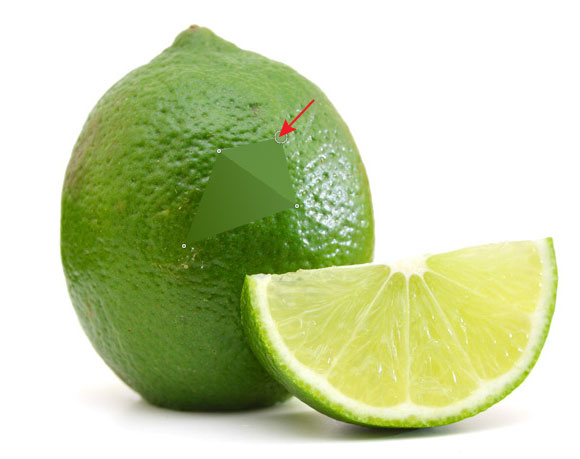

You can move the vertices of the created polygons.
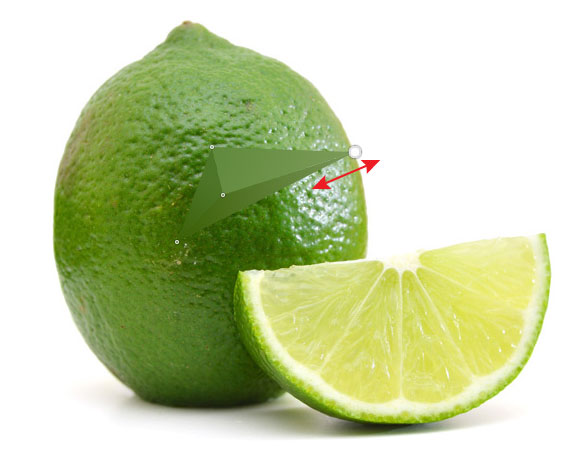
Step 6
I think that vertices of polygons should be placed on the borders of the object forms and on the borders of color. Try to emphasize the structure using the forms of the polygons themselves. I cannot say that it is an easy task, but with a little experimentation, you’ll learn how to do it.


Step 7
Soon the most part of the image will be hidden by the mosaic, and it will be difficult to understand where to put the next point. In this case, we can reduce the opacity of all polygons by shifting the left slider on the upper panel.

As you can see, some polygons are located outside the objects. Don’t pay any attention to it–they will be deleted later.
Step 8
Once mosaics from polygons have been created, click Export.
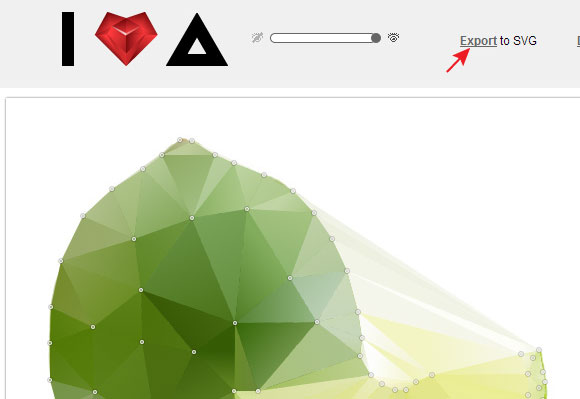
Now click on Save this link as file.
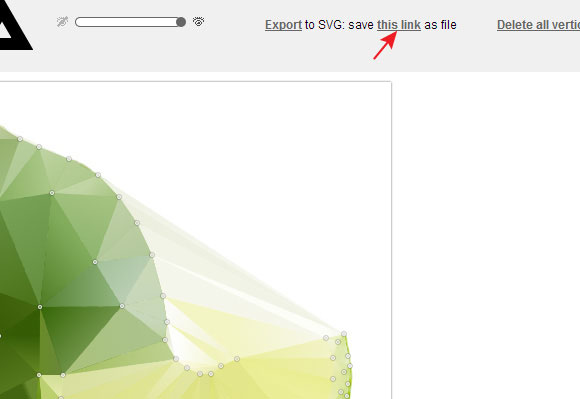
As a result of these actions, the mosaics will be opened in a new window.
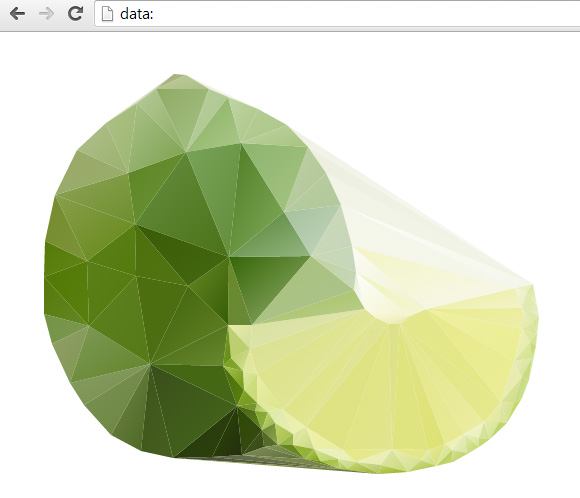
Step 9
Click on the mosaic with the right mouse button, then choose Save as… in the opened context menu.
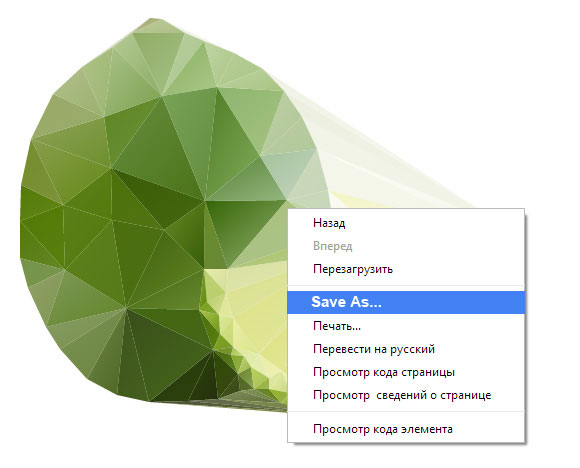
Save the file on the hard drive. As you can see, this file has the SVG extension and can be opened in any vector editor.
Step 10
Open the file in Adobe Illustrator. As you can see, the mosaic represents regular vector objects which are filled with linear gradients.
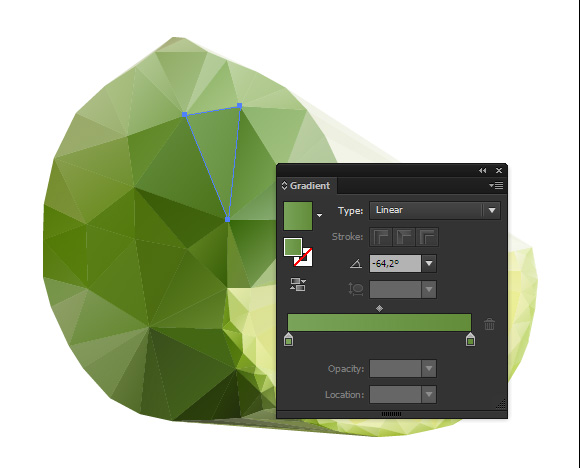
Select and delete polygons which are located outside the lime.
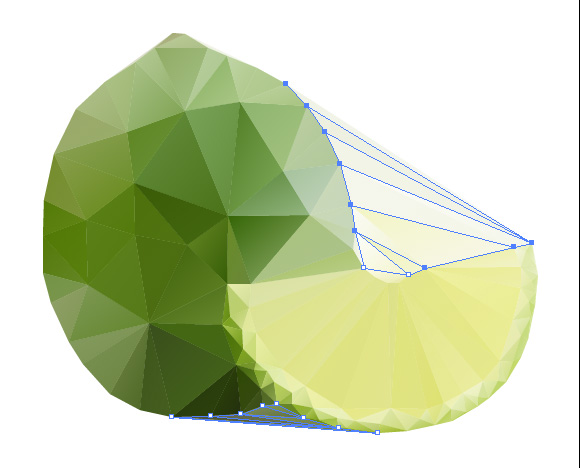
Step 11
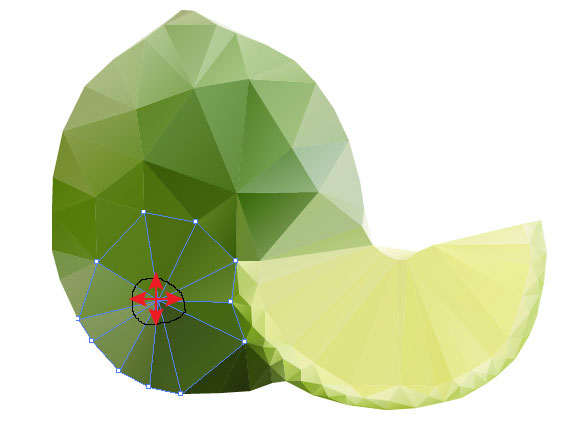
Because of the vector format of images, we can, if necessary, change the colors of the linear gradients a little and the location of vertices. To modify the color, click twice on the slider in the Gradient panel which opens the Color panel.

To move the vertices of the adjacent polygons, select them with the Lasso Tool (Q), then shift them with the Direct Selection Tool (A) or with the arrow keys.
Step 12
Let’s start creating the background. Draw a rectangle with the help of the Rectangle Tool (M). The size of the rectangle should correspond to the size of the artboard. Fill this object with a radiant gradient from white to light-green.
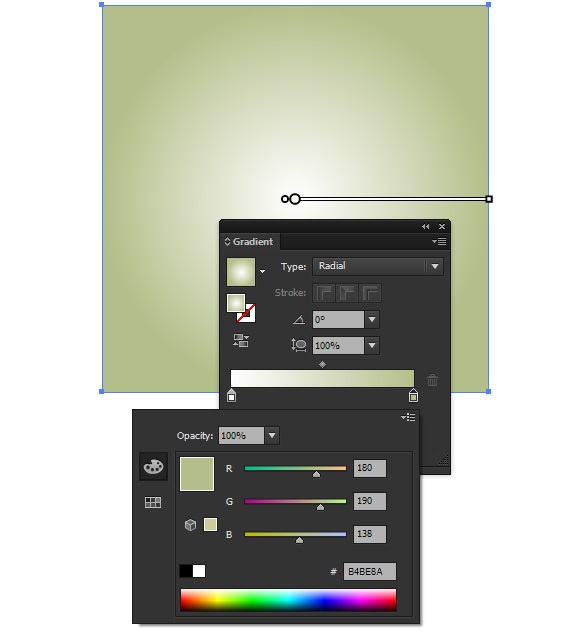
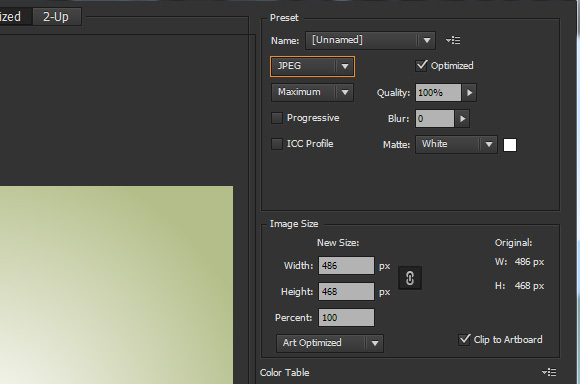
Turn off the visibility of all objects except the background in the Layers panel. Now go to the File > Save for Web… and save the file, for example, in the JPG format.
Step 13
Drag the file with the raster background into Triangulator, then create a mosaic the same way we did it with the lime.

Save the received polygons as the SVG file; then open it in Adobe Illustrator.
Step 14
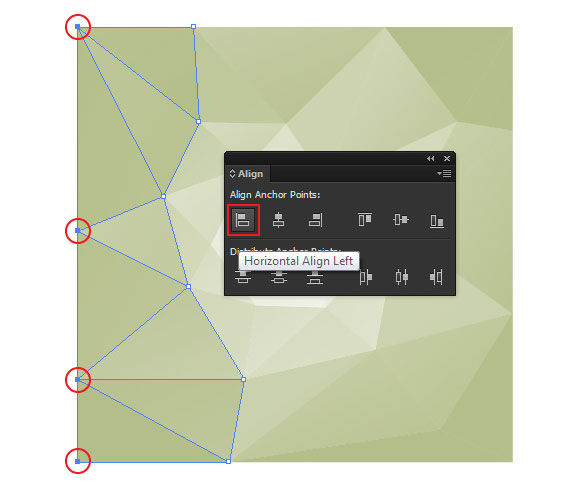
Easily align the uneven edges in the background with the help of Align panel, then group all its objects (Cmd/Ctrl + G).
Now copy the background, and paste it into the document where the lime is located. Place the background layer below the lime objects using the Layers palette.
Step 15
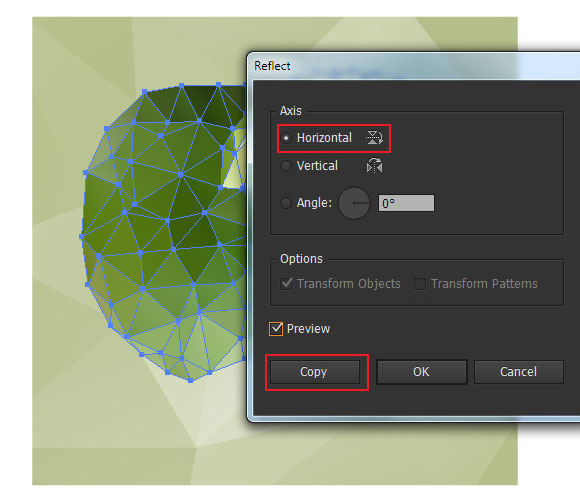
Let’s create a reflection. Select all the lime objects, then go to the Object > Transform > Reflect…. In the opened dialog box, choose the Horizontal Axis and click the Copy button.
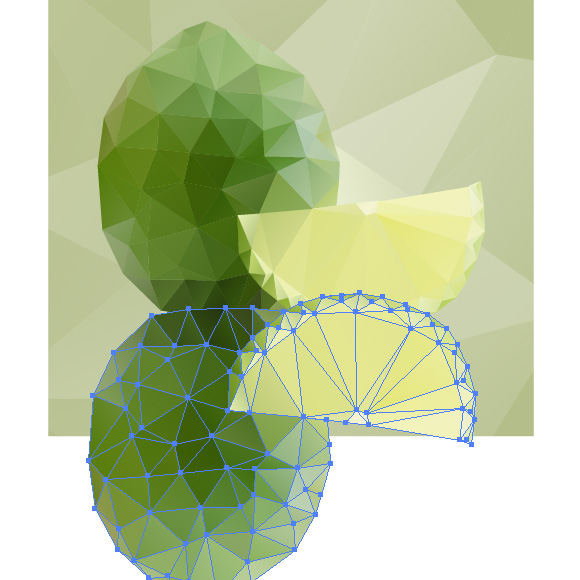
Shift the copy of the lime down as it is indicated on the picture below.
Step 16
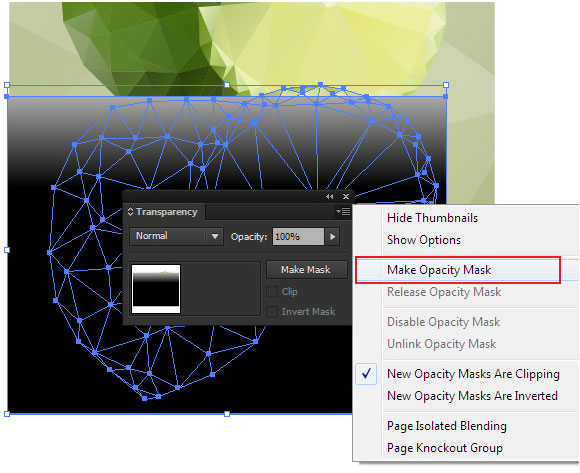
With the help of the Rectangle Tool (M), create a rectangle which will cover all of the lime’s reflection. Fill this rectangle with vertical linear gradient from grey to black.
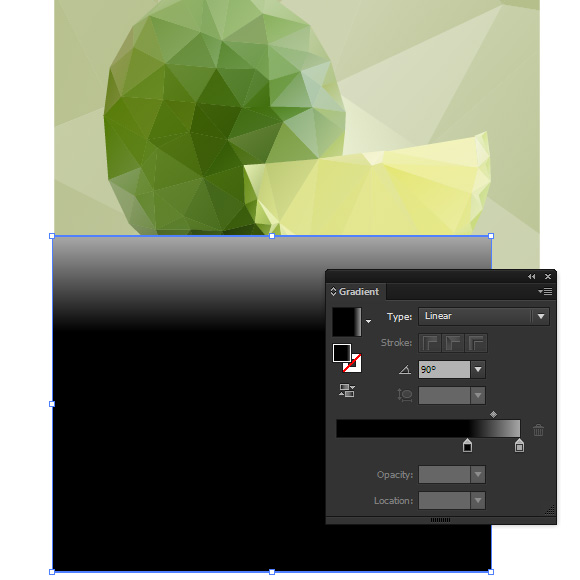
Select the lime’s reflection and the rectangle, then click on the Make Opacity Mask in the fly-out menu of the Transparency panel.
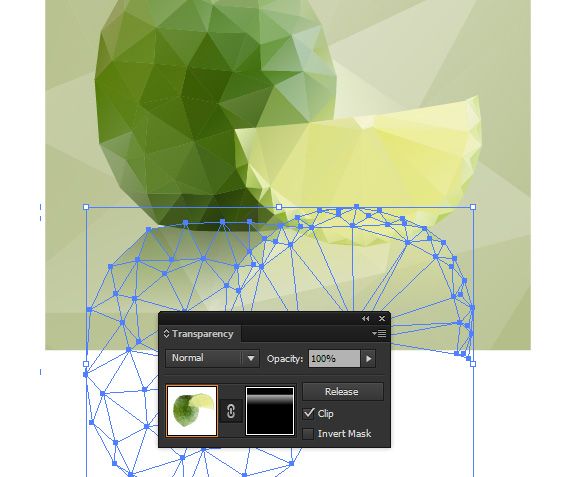
Place the Opacity Mask below the lime’s objects by shifting it down in the Layers panel.
Step 17
Create a drop shadow. Draw a circle with the help of the Ellipse Tool (L), and fill it with radiant gradient from dark-grey to white.
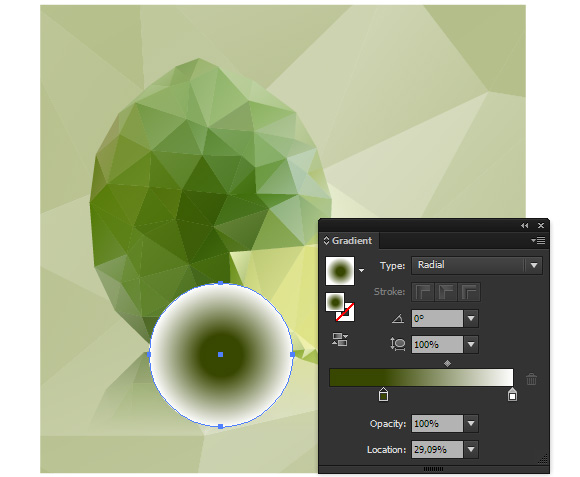
Set the blend mode to Multiply using the Transparency panel.
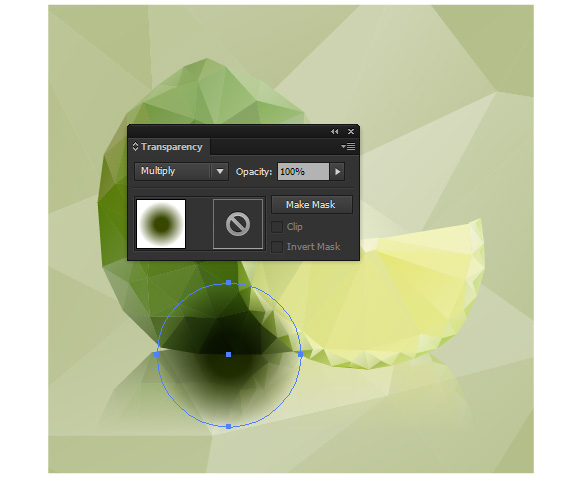
Deform the circle with the help of the Selection Tool (V), turning it into an ellipsis. Place the shadow below the lime’s objects using the Transparency panel.
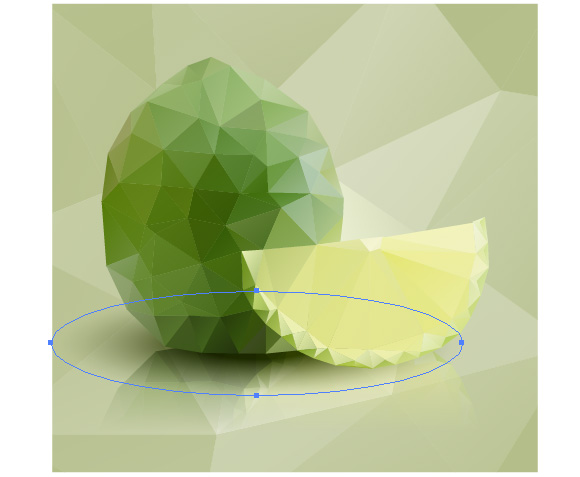
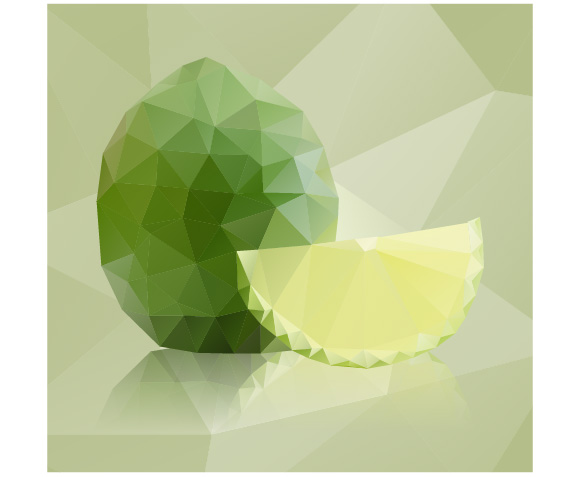
Our still life with the lime in polygonal mosaic style is ready!

![]()
Author: Iaroslav Lazunov
My name is Iaroslav Lazunov, I am a graphic designer from Ukraine. I am glad that I finally found the job in my life that I can share my knowledge and experiments with you in my tutorials. Follow me on Twitter or visit my blog Vectorboom.com.


This excellent website certainly has all the information and facts I wanted concerning this subject and didn at know who to ask.
Terrific post however I was wondering if you could write a litte more on this topic? I’d be very thankful if you could elaborate a little bit more. Thank you!
Hello I just discovered your tool, and it works great so far, but the final product looks like it has white spaces between each shape – I am seeing dashed lines and very thing white lines.
Any idea why?
Hi,
great tutorial!
But I can’t manage to do step 14…
He doesn’t put the anchorpoint to the edges of the decument when I align anchorpoints horizontal left…
Can you help me out?
Thank you in advance!
Felke
This is so much helping. Thanks for your sharing 😀
Nice Tutorial..!
I dropped the file bmp file in and nothing is happening, just downloaded google chrome!! any ideas??
Many ThnX for sharing, cool tutorial 🙂
Great Tutorial! I’ve used Triangulator in the past and the only problem i have is that i get white spaces between individual triangles. I notice I could see some in your tutorial but in your last image there is none. Why is that? Is it the way you save it?
We haven’t had the issue of the white spaces, but if this occurs, you should be able to click around the white spaces in order to fill them with color.
If you are having problems when opening the .svg file after you saved, try following these steps:
– when exporting, add “.svg” to the file name when exporting;
– after saved just try to open with illustrator
It worked for me, hope it helps other people with the same issue
Thanks for the tutorial!
file saving .svg doesn’t work, it can’t read by illustrator and it turn all text.
I’m sorry you’re having trouble opening the SVG file. It’s working on your end, so it may be your version of Illustrator. What version are you running?
Sorry for your troubles with IE. We’ll definitely check into this to see if we can create a fix.
The site link is not working..
Which site link are you referring to? The link to the actual article or to the Triangulator plugin?
great publish, very informative. I ponder why the opposite specialists
of this sector do not realize this. You must proceed your writing.
I am confident, you have a huge readers’
base already!
Hello just wanted to give you a brief heads up and let you know a few of the pictures aren’t loading correctly.
I’m not sure why but I think its a linking issue.
I’ve tried it in two different internet browsers and both show
the same results.
We’ve testing this and the images are loading on our end. Are you still having trouble with the images loading?
that is so brilliant!
The link to plugin dont work
Hi Dann! Sorry for your troubles. I just tested the plugin link and it seems to be working on our end. Here’s the link again just in case: http://somestuff.ru/I. After you click the link, click the link on the word “here”, which should download a Triangulator zip file. Open it and click on the html file inside. From there you should be able to follow the instructions in the tutorial. Let me know if this doesn’t work though and we’ll check into it further.
thx Sands!!!
Works well now…