This tutorial is the second in a series of two lessons on how to use basic shapes to create objects. From hearts to perfect spirals, the fundamentals of shape design outlined in this tutorial are used in everyday design but don’t have obvious methods of creation. If you like productivity, tips, and tricks, this tutorial is a must-read! Did you catch the beginning of the series? Take a look at Lesson 1 first.
Tutorial Details
- Program: Adobe Illustrator CS6
- Difficulty: Intermediate
- Topics Covered: Ellipse Tool, Distort & Transform, Brushes, Strokes
- Estimated Completion Time: 1-1.5 hours
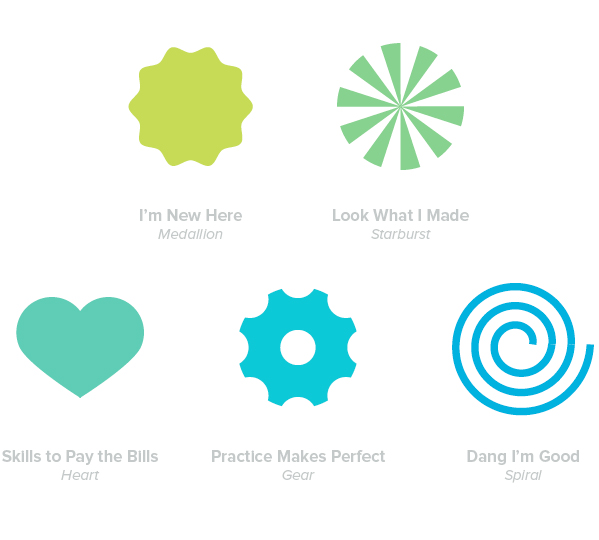
Here are the variety of shapes we’ll create.
I’m New Here—Medallion
Step 1
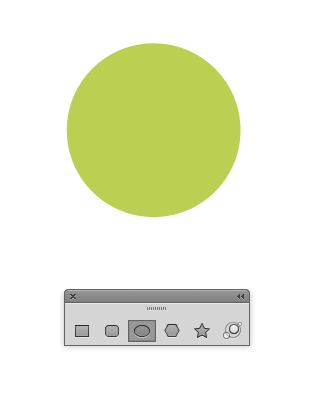
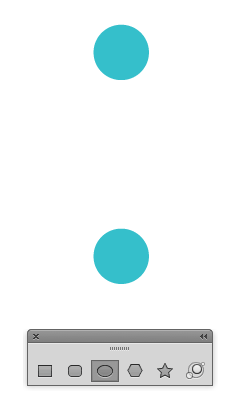
Very simply, start by using the Ellipse Tool (L.) Hold down Shift while you draw to make a perfect circle.
Step 2
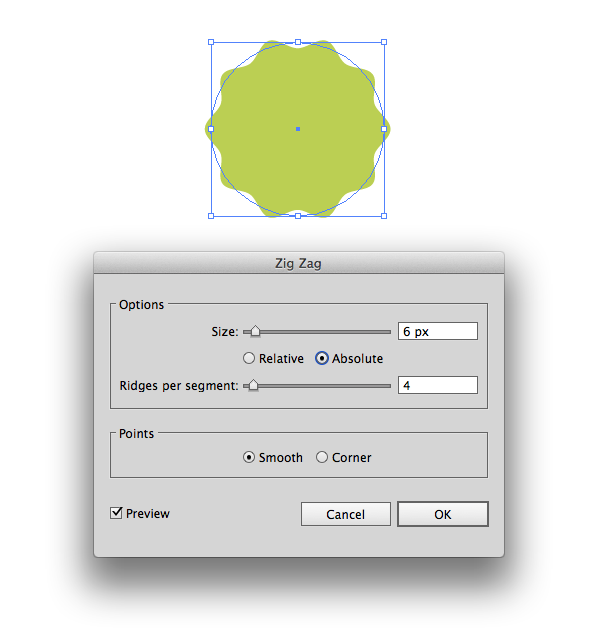
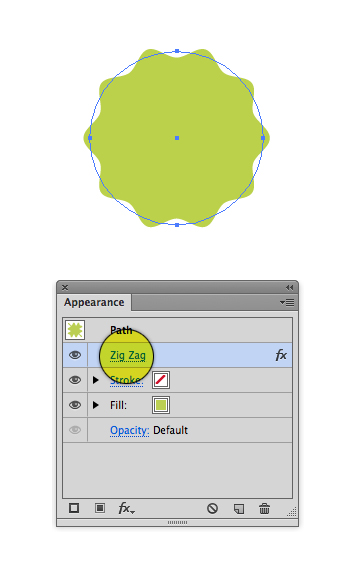
Adding the ridges couldn’t be easier. Go to Effect > Distort & Transform > Zig Zag. Change the Size of the ridges and Ridges Per Segment to suit your needs. Click OK.
Step 3
Done. If you later decide that you want to alter the number of ridges, just open the Appearance Palette and click the effect. Easy right? Lets move on!
Look What I Made—Starburst
Step 1
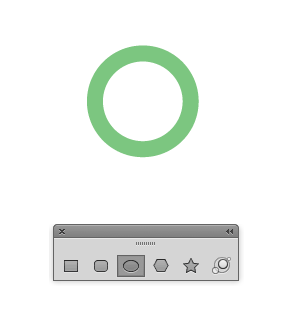
Using the Ellipse tool (L) draw a circle.
Step 2
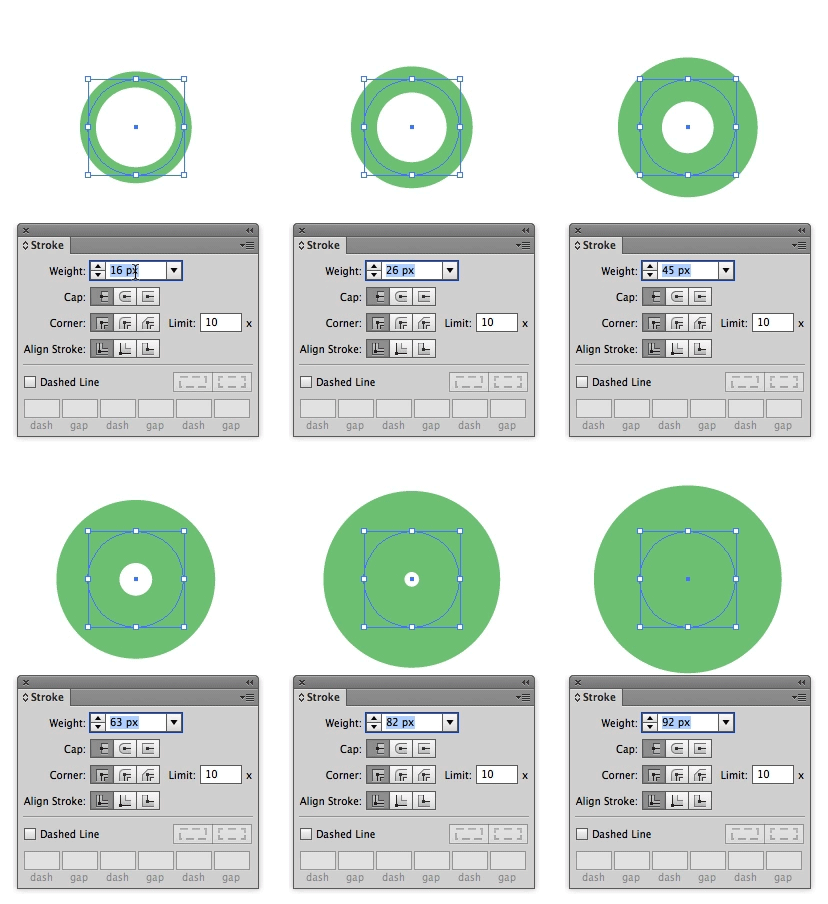
Go to the Stroke Palette, click inside the Weight field then press and hold the up arrow to increase the size of your stroke. Increase the stroke until you can no longer see a gap in the middle.
Step 3
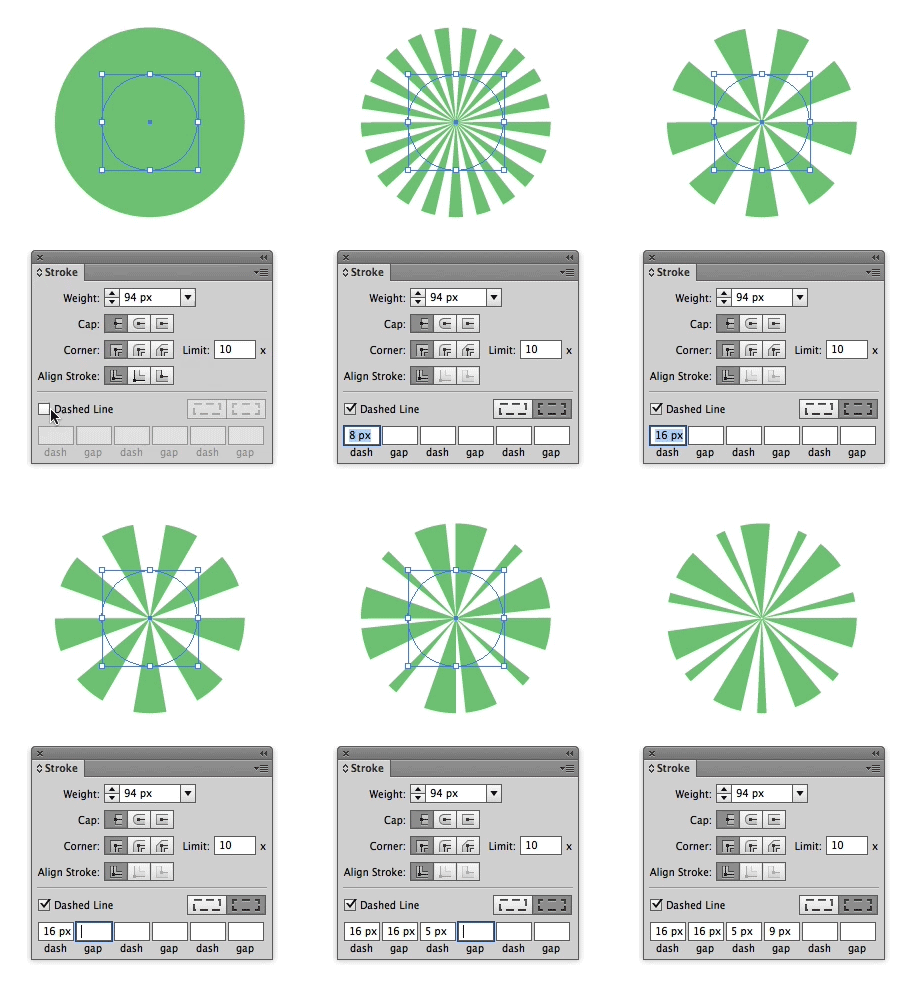
If it’s not already visible, double click the word “Stroke” to reveal the other options inside this palette. Check Dashed Line and begin entering different values into the fields in order to create the look you need. If you want your design to be very simple, only enter a value into the first field.
That’s all there is to it!
Skills to Pay the Bills—Heart
Drawing a free-form heart can be challenging. It’s crazy that Adobe doesn’t hasn’t built a tool for this. Ingenuity to the rescue! The technique I’ve outlined below makes simple work of this common task. Take a look.
Step 1
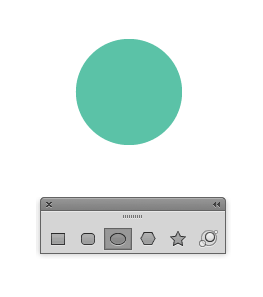
Start by drawing a perfect circle. (Have you noticed a theme yet? A variety of complex shapes can be built using simple shapes.)
Step 2
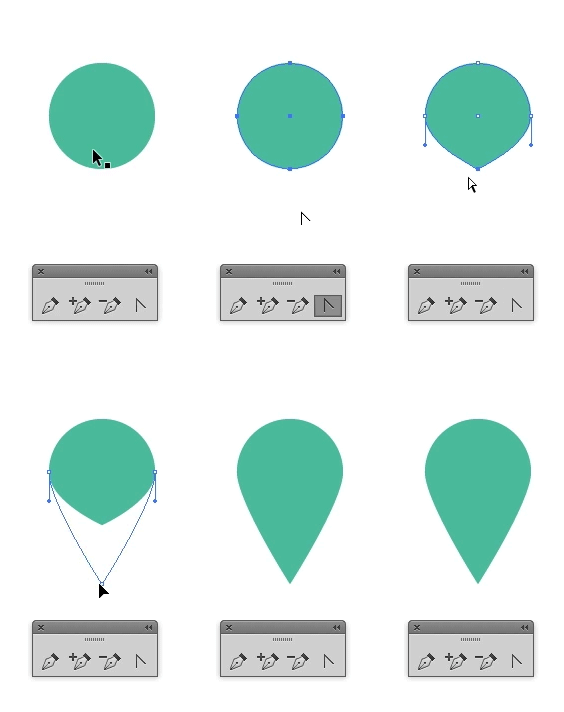
Change the bottom point on the circle to an angle. To do this, grab the Convert Anchor Point Tool (Shift+C), then click once on the point. Using the Direct Selection Tool (A) drag the point downwards.
Step 3
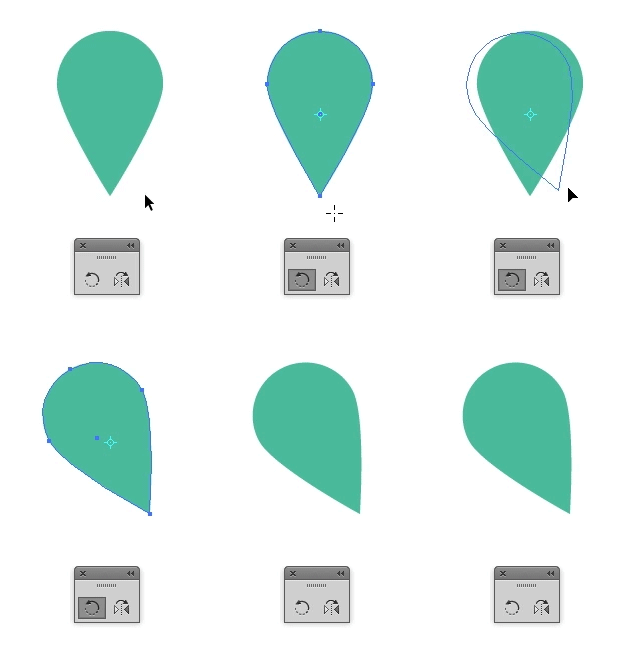
Using the Rotate Tool (R) rotate the shape slightly to the left. With a little bit of foresight, you can imagine what the heart will look like when the other half of it has been drawn. Some hearts can be tall, while others are wide. With this in mind, try to rotate the shape into a position that will create the overall heart shape you’re looking for. Generally, the right edge of the shape will be almost vertical.
Step 4
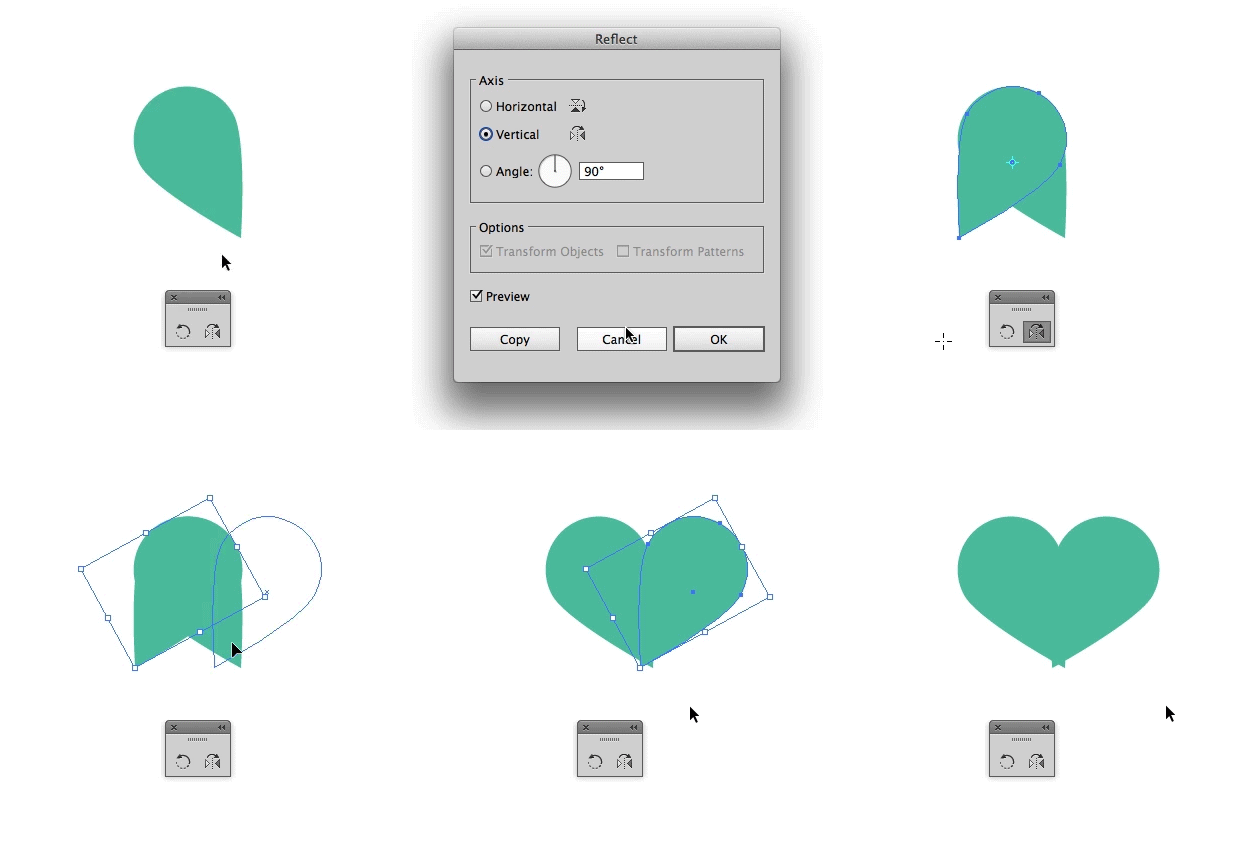
Using the Reflect Tool (O) make a copy of the shape. Now, move it to the right but leave a slight overlap where the bottom two points are. I’ve intentionally overlapped them as trying to line up two points exactly on top of one another produces less than desirable results. We’ll take care of the overlap in the next step.
Step 5
Select both shapes. Now, using the Shape Builder Tool (Shift+M) delete the bottom two triangles.
Practice Makes Perfect—Gear
Step 1
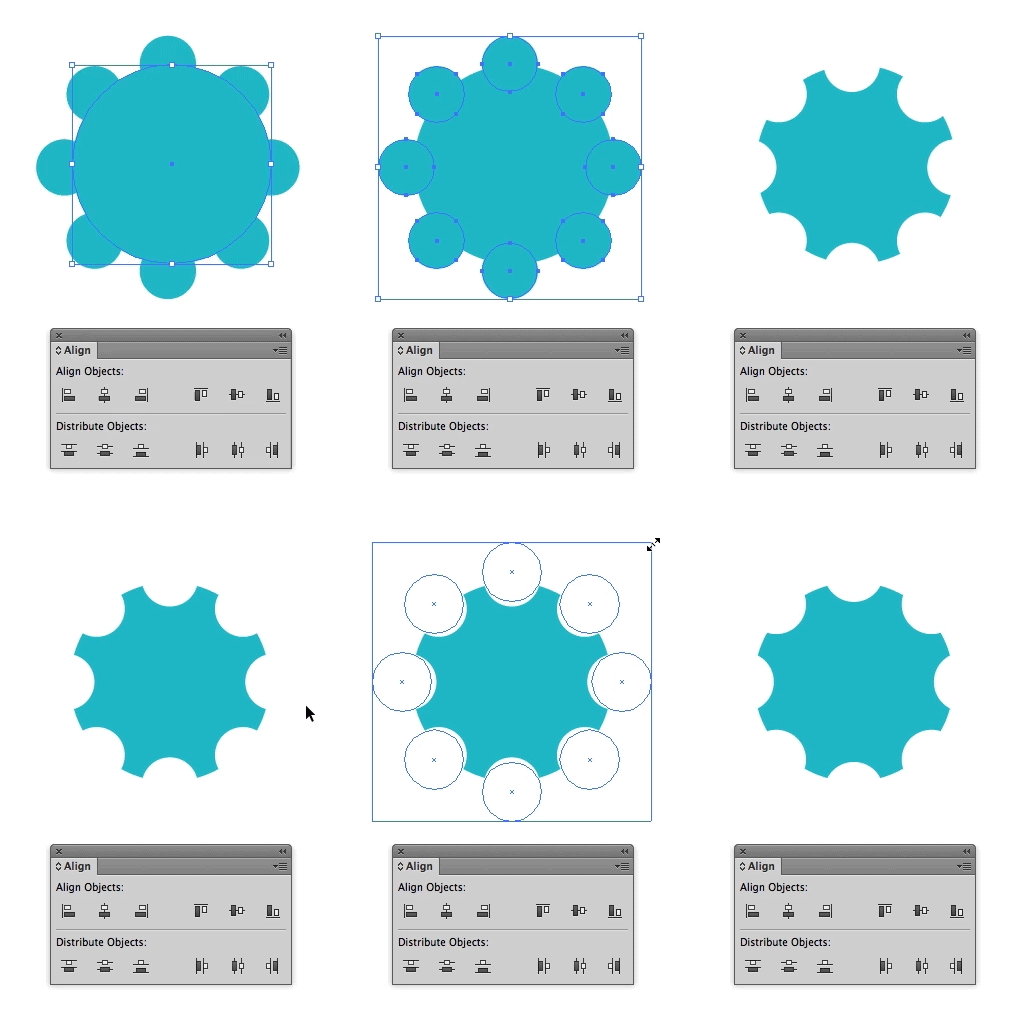
Start by drawing two perfect circles. Make sure they’re vertically aligned. Group the two circles before you continue.
Step 2
Select your newly grouped circles then Copy (Control+C) and Paste in Place (Control+F) the circles on top of each other. Now, you can select the newly pasted grouped circles then rotate them into position. Hold down the Shift key to snap to common angles. Group all of the circles together before proceeding.
Step 3
Draw another perfect circle to create the center of the gear. Give the smaller circles a white fill and bring them to the front of the design (Object > Arrange > Bring to Front.) Next, select everything then vertically and horizontally align the shapes. Continue to fine tune exactly how much of the white circles overlap the center area by scaling them up or down.
Step 4
To create the center-most area, copy the large center circle then Paste In Place. Scale it down, bring it to the front of the design, and change its fill to white. That’s all there is to it!
Dang I’m Good—Spiral
The spiral shown on the left is what we’ll create. Notice, the right spiral has a distinctly different look. That one was created with Adobe Illustrator’s built-in spiral tool. While that may be what you need in some cases, if you want to create a truly perfect spiral follow the technique below!
Step 1
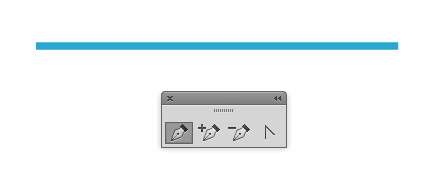
To begin, use the Pen Tool (P) and draw a line.
Step 2
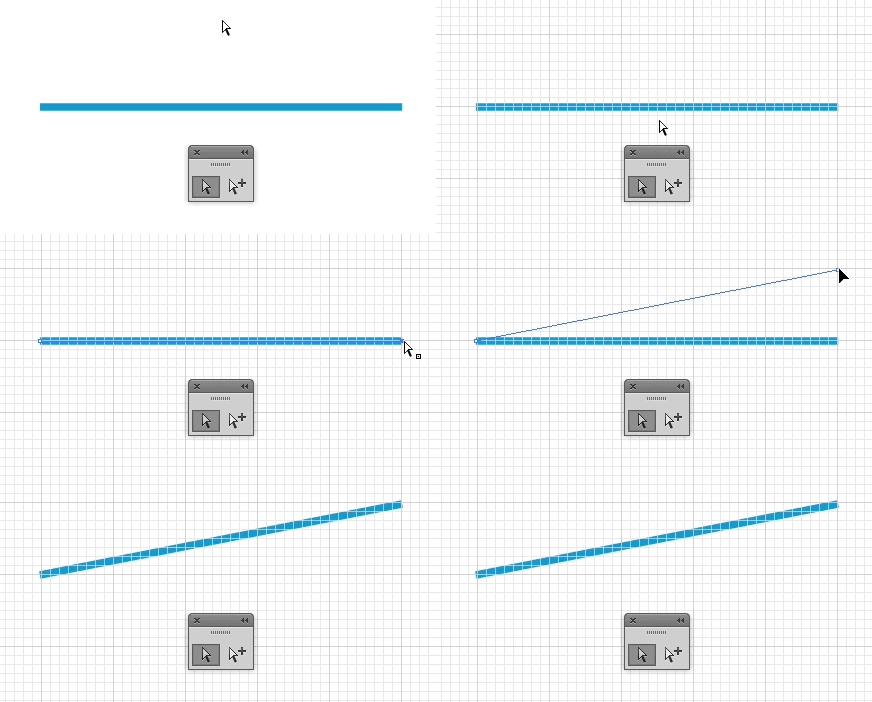
Turn on your grid (Command+apostrophe.) Align your stroke so that first point starts at one of the thick grid lines, and the second is aligned to the next thick grid line.
Step 3
Duplicate the shape, making sure that all the lines are spaced equal distances from one another. The top of one line should be where the bottom of the next line starts.
Step 4
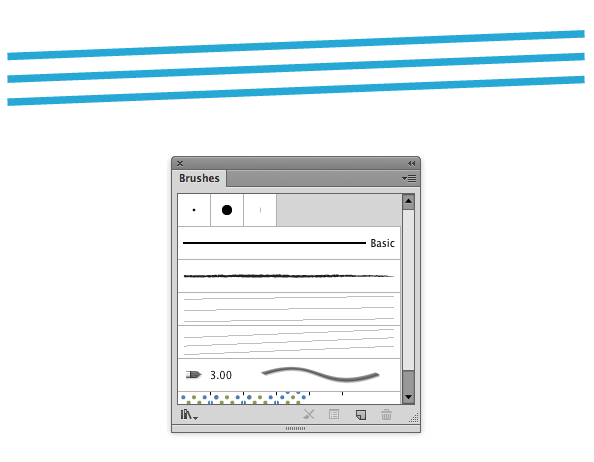
Drag all 3 lines, at the same time, into the Brushes Palette (Window > Brushes.)
Step 5
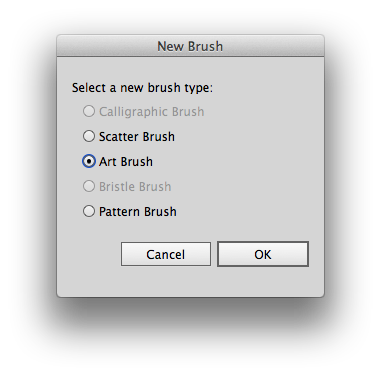
Select Art Brush and click OK.
Step 6
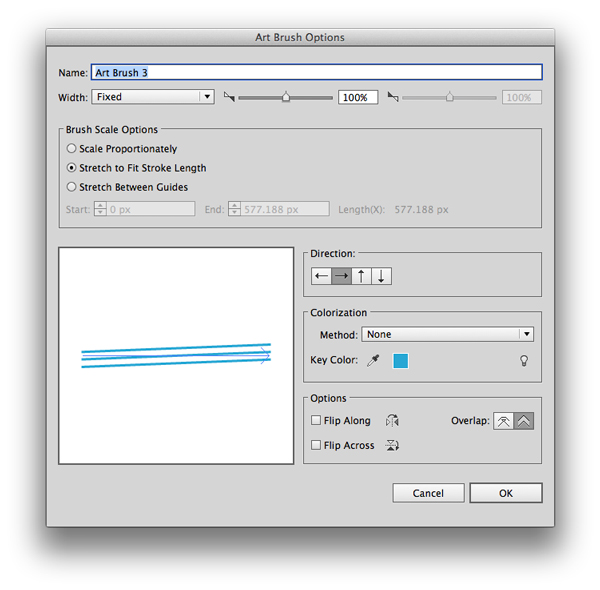
You won’t need to change any options here, just click OK.
Step 7
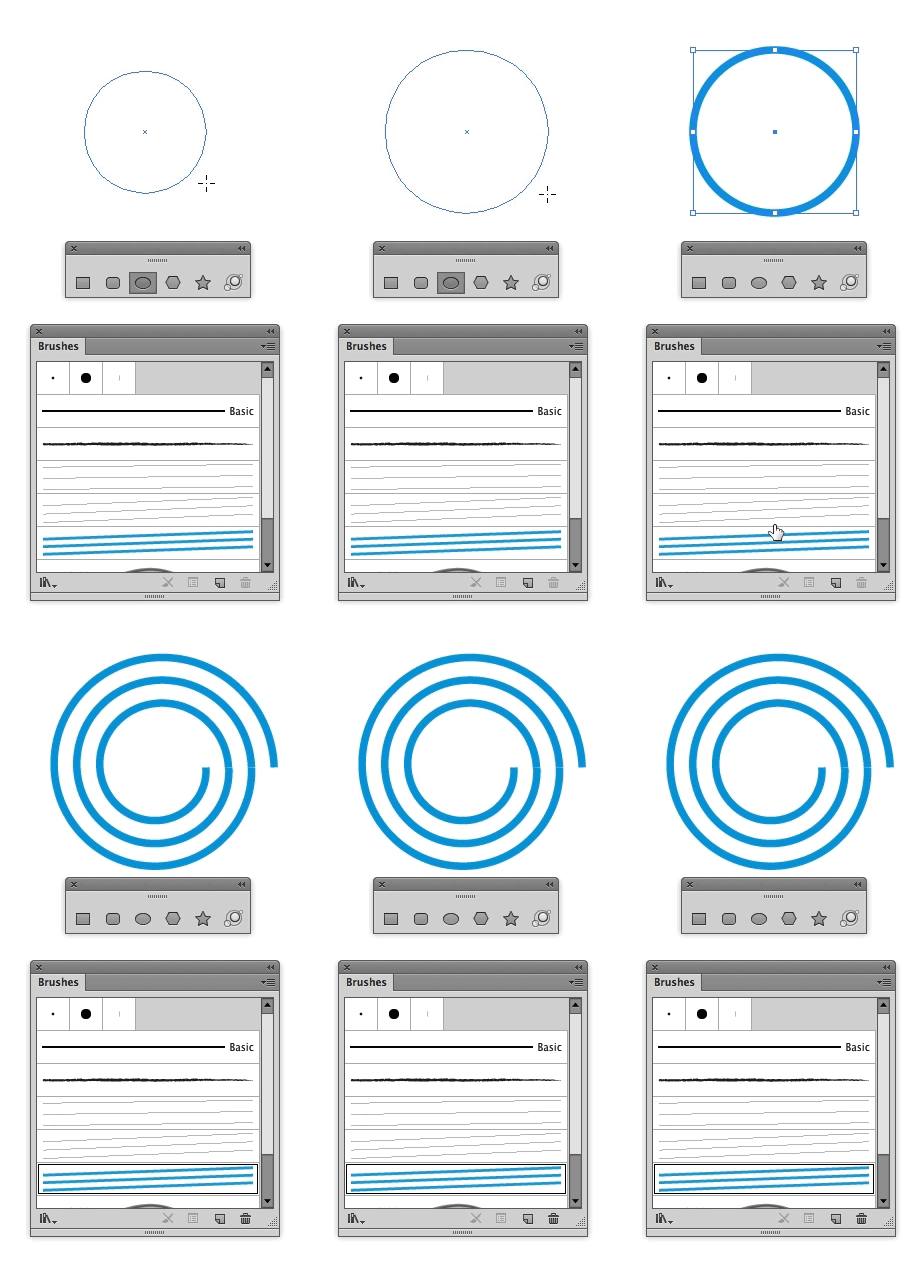
To test out your spiral, draw a perfect circle then click on the brush you just created. You now have a perfect spiral!
That’s all! I hope you picked up some new tips.
Jonathan Patterson’s Social Profiles
![]() Follow him on Twitter: @Jon_Patterson
Follow him on Twitter: @Jon_Patterson
![]() Follow him on Dribbble: dribbble.com/jon_patterson
Follow him on Dribbble: dribbble.com/jon_patterson












wowza. I need tips to do illustrator thank u for the tuts
Great tip…yup..
To do the heart, you need to SHIFT and drag the point or it moves the side anchors too and the circular top becomes rather pointed 🙂
Great tutorials, thanks!
Oh my god… when i found this i was like yeppiiiiii. Thank you so much it’s easy and so easy 🙂
Thank you! Works beautifully.
Bring more tutorials like this! Its awesome!
Thanks 🙂
hahaha, what a tutorial, Brilliant!
I love learning these techniques from a fellow vector artist, thanks a lot for sharing 🙂
Thank you , this has been one of the most valuable, simplest, and yet functional tut for me….thank you
Great tutorial(s)!! Just learning here. Love the animation how-to assists. And your intro is hilarious. I was ace until the spiral. Tried a few times but it is the most un-spiraley thing I’ve ever seen LOL. Maybe because I’m using CS4? Hmmm….
Hey there,
as Typebeast already commented some days ago, this is (part of) a very useful tutorial (series) and I am also wondering how to get rid of the gaps in between the start and the end points of the initial parallels. Is it enough to make the middle line a little longer on both ends than the other two?
The longer you make the lines in Step 1, the less gap you will have when you apply the shape in Step 7. Make your line really, really wide and the gap is virtually undetectable.
Very useful! Thank you very much.
Awesome spiral tip!
love the new mini movies you have in your tutorials now. : )
Even for an advanced Illustrator user, some of these shortcuts were *extremely* useful. Muchos graçias!
Greetings! I know this is somewhat off topic but I was wondering which blog platform are you using for this website?
I’m getting sick and tired of WordPress because I’ve had problems with hackers and
I’m looking at options for another platform. I would be great if you could point me in the direction of a good platform.
We are using WordPress too.
Nice tips. Especially the starburst.
Great tips. Thanks!
Damn..!! I love this Tutorial… its amazing..
One of the greatest tutorial i have ever seen, i am beginner in Illustrator but this is awesome and using GIFs, great ideas
Thanks for stoping by and saying hello 🙂
Thank you! This is super helpful.
Thanks for the tips. I can’t get enough of Illustrator tips.
Best legit use of animated gifs I’ve seen yet. Keep them coming!
Great tut! And most importantly the gif animation really helpful. Thanks!
Very well explained. Thanks so much!
Can you explain how a straight lines become spiral when applied as a stroke brush into a circle shape?
Anyway, Good tutorial, jonathan, thank you.
The straight lines become a spiral by first create the new Brush in the Brushes palette that’s outlined in Steps 1-4. Once this is done, draw your circle and then click on your new brush in the Brushes palette. Your circle should then show a perfect 3-line spiral.
Hi Sands! Very helpful tutorials you got here. We appreciate it 🙂 I think what Reez had in mind was how did the straight lines became a curve. I did look closely on it but it wasn’t a perfect curve. after applying the 3 line brush I made on a circle, I used expand appearance and saw how the anchor points are distributed, and I gaps on the lines on the left side of the spiral, as you can see also on the tutorial. Any tips on how to resolve these areas? Again, Thank you!
Thanks for posting, I hadn’t had a chance to respond yet.
Amazing!
This is the best vector tutorial website on the planet. I just wish that there were new tutorials published more frequently…
Keep up the excellent work.
loved, tks!!!
….I also love the spiral tut….Has quite a different look than the spiral tool in Illustrator, which when used,screams “made in Illustrator.”
Haha, you’re so right. I felt the same way about the heart shape… that’s one you use a lot in design but for some reason Illustrator doesn’t have one built-in.
Glad you liked it!
thanks. Using Illustrator for years, but an overview of the basics is always appreciated. I especially like the heart. Seems like I’m always making hearts…and as always, when in a hurry, can never find the symbol for it, and/or making a heart that takes a dozen steps. LOL
This is a great tutorial! Thanks so much for taking the time to put it together. So helpful!
Great tutorial but the mechanics behind the spiral are making my head hurt! How does three lines like that turn in to a spiral? I’m very confused!!!
In order for the outline of the circle you draw in Step 7 to turn into a spiral, you’ll first need to create a new Brush in the Brushes palette that’s outlined in Steps 1-4. Once this is done, draw your circle and then click on your new brush in the Brushes palette. Your circle should then show a perfect 3-line spiral.
Excellent! Thank You 🙂
wow..this is sooo helpful..thanks for the nice tuts
Really nice tutorial for the simple shapes. It’s also a great foundation for adding your own unique style to them.
Thanks
Great tutorial!!
Awesome with the animated gif tuts. Some cool tips in here too. I’d love to see more tuts with this level of consistency and clarity 🙂
This fantastic animation is in html5?
Its html5.1, called gif
=)
It’s just a screen capture of me performing the action.