 Learn how to take a one-noted icon and transform it into a multi-dimensional piece that will help your designs stand out.
Tutorial Details: How to Transform a Flat Icon into a Dimensional Icon in Minutes!
- Program: Adobe Illustrator CS6
- Difficulty: Intermediate
- Topics Covered: Design Theory, Shape Building, Rendering
- Estimated Completion Time: 15 Minutes
Final Image: Flat Dimensional Icon

Step 1
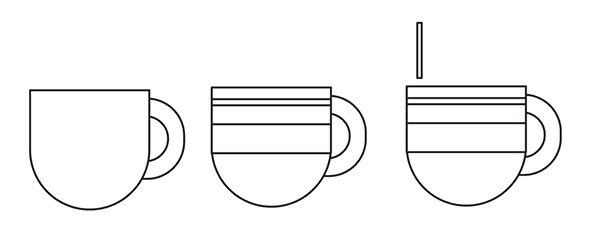
Let’s make a quick flat icon! Draw a square with the Rectangle Tool (M) and round out the bottom of it by pulling in the two lower Live Corners. Repeat two times to create the handle (round out the sides) and hit Minus Front to make the letter “D” seen below.

Step 2
Place the handle behind the cup in the Layers panel. Draw two horizontal rectangles across the cup. These will form stripes later. For the steam lines draw three vertical rectangles above the cup.
Step 3
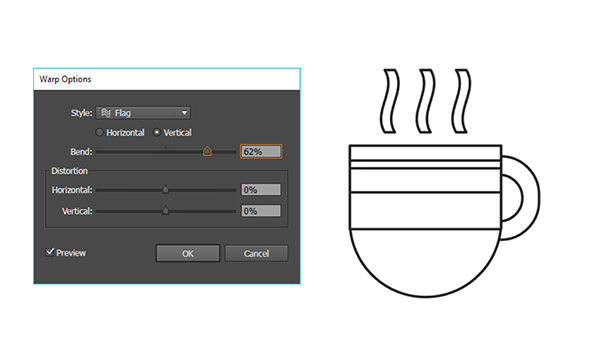
Select the three rectangles and go to Effect > Warp > Flag to apply a Vertical bend of 62% or so. Hit OK and then go to Object > Expand Appearance to expand your paths.
Step 4
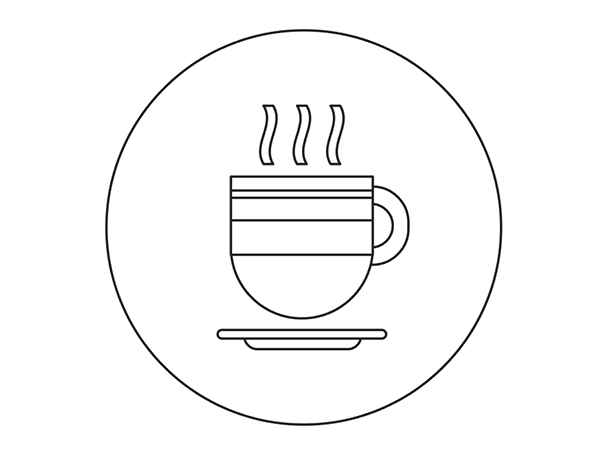
For the cup’s saucer, draw two rectangles and round out their corners (see placement below) and complete the icon with a large circle placed behind the cup design.
Step 5
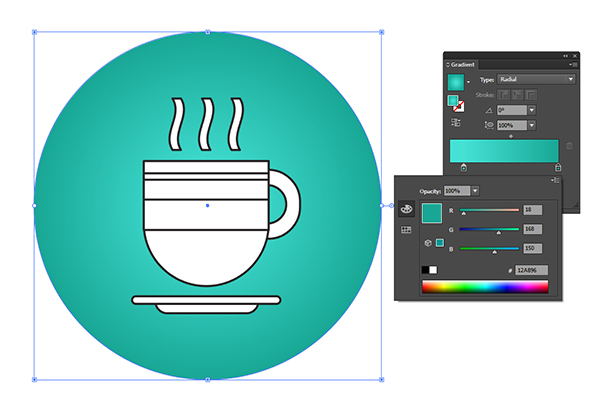
Add a Radial Gradient to the large circle going from light to dark (in this case light teal to dark teal).
Step 6
Set the coffee cup and its components to white with no stroke and the stripes to brown as base colors. The saucer, handle, and cup all have Linear Gradients that go from light brown to white to light brown. The stripes are dark brown to brown to dark brown. Use the Gradient Tool (G) to adjust your gradients.
The steam goes from dark brown to transparent with the Blending Mode set to Multiply in the Transparency panel.

Step 7
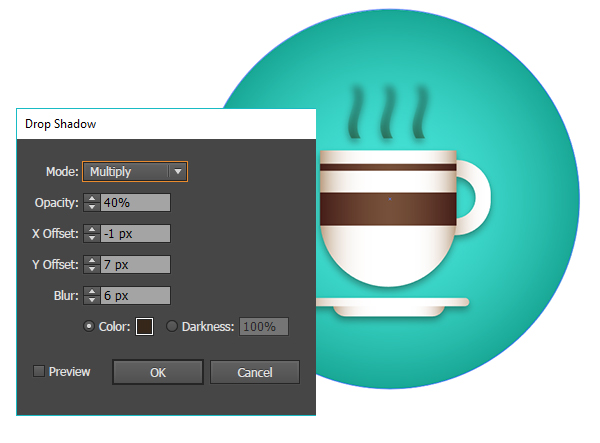
Group your icon components together (except for the circle) and apply a Drop Shadow (Effect > Stylize > Drop Shadow) with the following attributes:
- Mode: Multiply
- Opacity: 40%
- X Offset: -1 px
- Y Offset: 7 px
- Blur: 6 px
- Color: Dark Brown
Conclusion
Great job! Transform any flat icon you have with some quick gradients and soft drop shadows. Go the distance and add some grain textures to those gradients to give them a quick, textured look too!

Author: Mary Winkler
Mary works under the brand Acrylicana® and has illustrated and designed for companies like Disney, Jakks Pacific, Jada Toys, Envato, and more. Check out Acrylicana.com for artwork, tutorials, and more. Follow Acrylicana on Instagram, Facebook, and Twitter!


Hi, thanks for this tip, I tried it, it works!
Thanks!
Very easy and useful. I like the linear result in Step 4
This is awesome! Thank you for sharing.
Goes to show some great tips here, always learning…