
Illustrator is great for creating clean and precise illustrations, but some of the time you don’t want clean and precise. There are many illustrations that call for a sketchy or hand-drawn feel. Creating these effects are relatively easy with Illustrator’s Live Trace, Live Paint, Brushes and the ability to create you own brushes. Check out some of my sketchy illustrations on iStock for more inspiration.
Notes
This tutorial was created with Illustrator CS3.
Keyboard shortcuts are displayed in orange. ⌘ is displayed for the Command key (mac), with the Ctrl key being the Windows equivalent (not displayed).
Scan and Trace
The easiest way to achieve that sketchy-style is to actually sketch and scan an illustration. Illustrator’s Live Trace and Live Paint work great for this technique.
Step 1 – Sketch
I usually start drawing with a pencil, but ink the illustration when I am done. Inking the illustration will bring out the contrast of your illustration, making it easier to get a good trace.
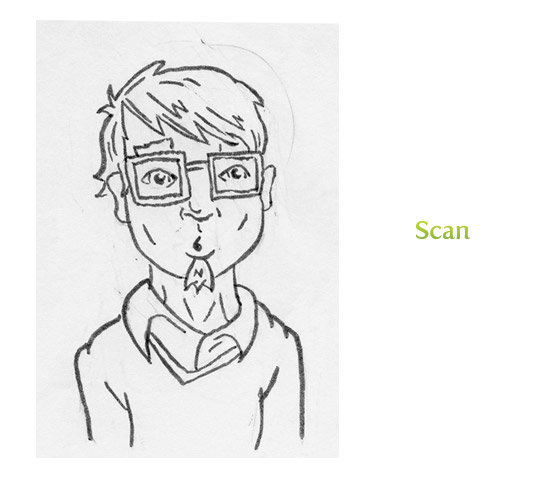
Step 2 – Scan
Scan the artwork as a 300 dpi grayscale image. The 300 dpi image quality will help to get all the fine details of the sketchy line when the illustration is traced.
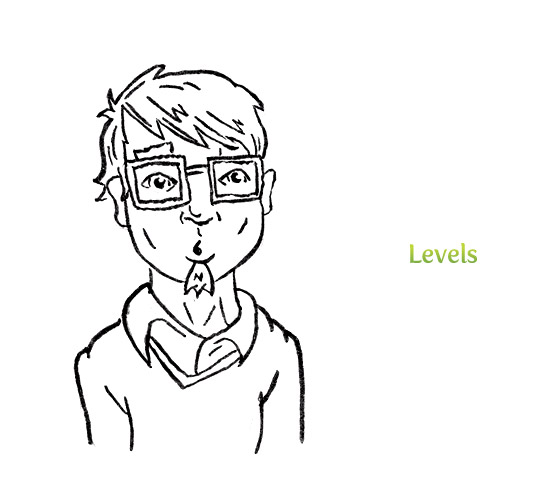
Step 3 – Adjust Levels In Photoshop
In Photoshop, or any photo editing program, adjust the levels so the illustration has a high level of contrast.
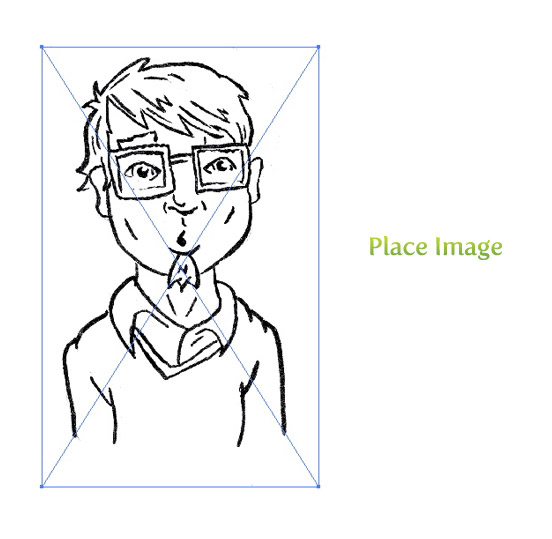
Step 4 – Place Into Illustrator
Import the scan into your Illustrator document by going File > Place and find your scan on your computer.
Step 5 – Live Trace
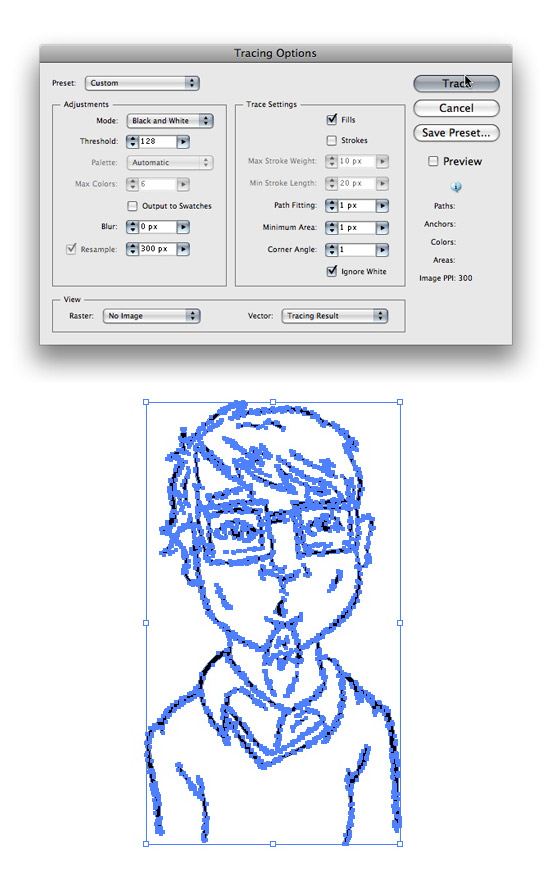
When the scanned image is selected the Control Panel defaults to the Live Trace Options. Click the arrow beside the Live Trace Button and select Tracing Options. Or you can go Object > Live Trace > Tracing Options. Below are the options that I usually change when tracing scanned images.
- Mode: Black and White
- Path Fitting: 1px
- Minimum Area: 1px
- Corner Angle: 1
- Ignore White: Check this box
You might recognize these settings from some of my previous tutorials. Even though I use these setting most of the time, I like to change them up to get a different type of line quality. After I trace the image, expand the trace with the Expand button on the control panel.
Step 6 – Live Paint Option
Now comes the point when I start to fill in the sketch with color. One way to do this is to use the Live Paint feature of Illustrator CS3. With the expanded illustration selected, go Object > Live Paint > Make. You will see that the bounding box has changed slightly. Now, the anchor points on the bounding box have little sprites in them. Select the Live Paint Bucket (k) from the Tools Panel to fill in the Live Paint. When you move over the illustration with the Live Paint Bucket (k) you will see areas highlighted. When you click it will fill the area with the selected color. Use the arrow keys to cycle through your swatches.
Depending on you illustration, sometimes the Live Paint spills the outside of your illustration. You can fix this by changing the Live Paint Gap Options. Go Object > Live Paint > Gap Options to bring up the Gap Options dialog. In the dialog you can change Gap Detection to be larger or smaller depending on your illustration
When you have finished painting the illustration, go Object > Live Paint > Expand, to bring the illustration back to the normal editing mode.
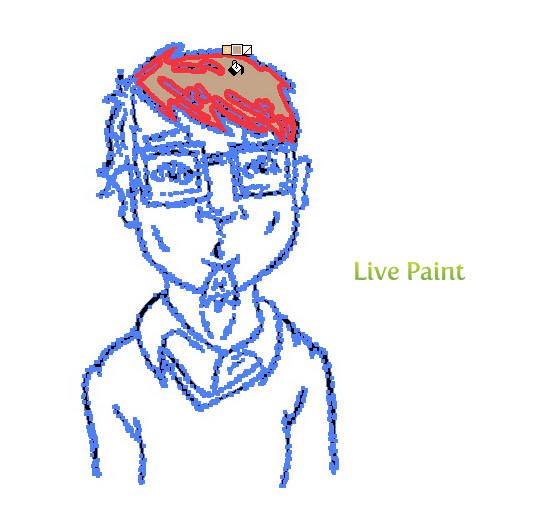
Step 7 – Free-Hand Paint
The Live Paint feature is great, but you might not have CS3 or what a different effect. I like to use the Pencil Tool (n) and draw shapes that don’t stay in illustration’s outline, creating a different sketchy feel.
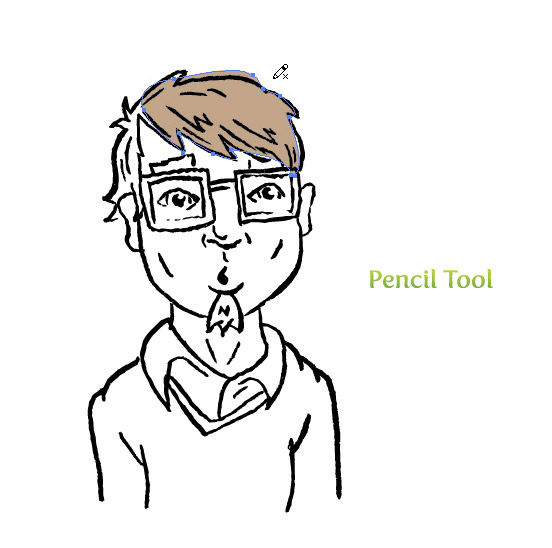
Results
Below is a final image using these techniques.

Brushes Libraries
You can also add a sketchy style with Illustrator’s Brush Libraries. There are numerous brushes available to create this effect.
Open up Illustrator’s Brush Libraries by clicking on the bottom left pop-up menu in the Brushes Panel. When the menu pops up, explore some of the Artistic Sets of brushes. Simply select the object you want to apply the brush to and select a brush.
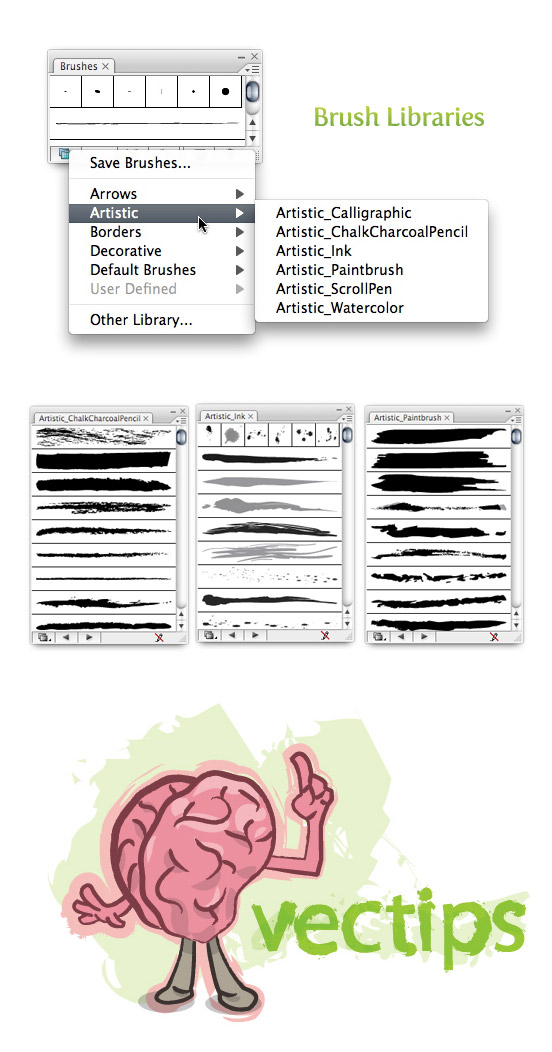
Create You Own Brushes
If you don’t like any of Illustrator’s brush sets, you can make your own from scanned brush strokes.
Step 1 – Make a Mark
First start out by making some marks on a paper with anything you like. Try using paint brushes, ink, crayons, markers, sponges, hand prints, stamps, or whatever you think will make an interesting mark.
Step 2 – Scan, Adjust, and Trace
Follow the previous steps for scanning, adjusting, and tracing the artwork.
Step 3 – Create Brush
Once the scan is traced, drag it into the brush panel. Select the New Art Brush option and in the Art Brush Options, change the Method to Tints. Now you can apply the brush to any object!
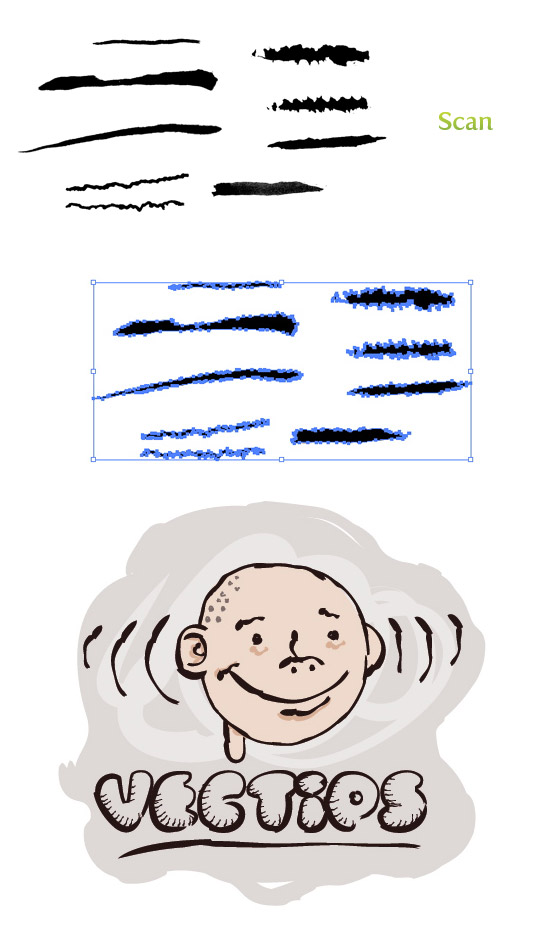
Optional Creation Method
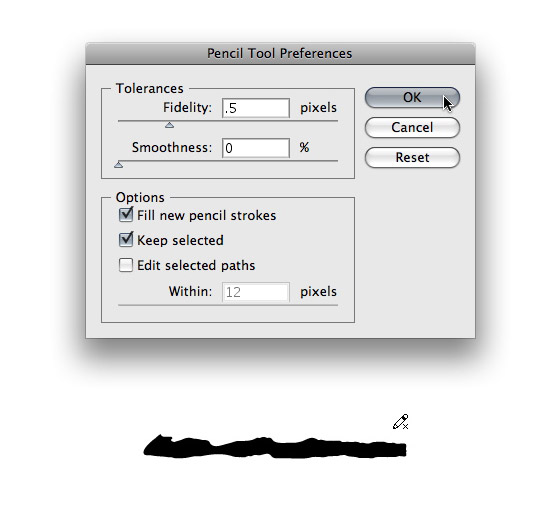
If you don’t have a scanner or don’t want to deal with Photoshop, you can create a brush just in Illustrator with the Pencil Tool (n). First, double-click on the Pencil Tool (n) in the Tools Panel to bring up the Pencil Tool Options. Change the Fidelity to .5 to get some really gritty edges. Draw a brush shape, fill it with black, and follow the previous steps for creating a Art Brush. Another option would be to check out the options over on FreeVector.com.


I truly wanted to write a small comment in order to say thanks to you for those awesome steps you are sharing on this site. My particularly long internet research has now been honored with wonderful facts and strategies to talk about with my friends and family. I ‘d suppose that we visitors are definitely endowed to dwell in a fine site with so many special professionals with insightful hints. I feel very lucky to have discovered your entire site and look forward to plenty of more fabulous minutes reading here. Thank you again for all the details.
The tip about creating a brush for the pencil tool was very helpful, thank you!
Just did this for the first time and I absolutely love it! Thank you so much for posting this!
Thank you very much!
Your tutorials are very good and I learn a lot from them.
Hello there. I love your blog. I would like to ask one thing: do you have a wacom or something like that?
I ask this because the method used obviously depends on the person, but even with a wacom would you prefer to do your sketches in paper first?
I have a wacom and I really feel it helps me a lot in some details. It’s faster and functional, but it’s a little (a lot?) unnatural to start my sketchs using it.
So I would love to know if the problem is… me, or if it happens to others too 🙂
I always faced some problems in creating sketches but your blog was a real help. Thank you so much for explaining all the steps so well.
Thanks for your tutorial. It´s very useful for me.
i’m a designer and i need help..i’m from lebanon and i wish to be a professinel in design please need a help 🙂
Great tutorial thanks
Very nice and easy to understand tutorial!
Great Post! I will try it
Ah ha! Exactly what I was looking for. Thanks so much.
Oh, my God! I’ve found it! 😀 Sorry.
Thank you for your tutorials!
But I have a little trouble here… I can’t use any color in the file 🙁
Maybe it’s because the picture file was in a grayscale mode (or because I collapse all lineart objects in one?).
Is there any way to bring colours back to file?
I’ve tried to copy-paste traced outline to a new file – doesn’t work.
Great tutorial! Tx a million!
great!!
great!
you do help me a lot
Thanks!
love it!its fast and easy! thanks! 🙂
Very nice and easy to understand tutorial!
its awesome……..kewl……
I am just now getting more comfortable with vectoring [the Pen Tool’s my biatch now, lol] so I greatly appreciate this tut. Also, I agree with the first poster, this site is pretty awesome for go-to vector tips and tuts.
Excellent work here.
Could you do a vector tutorial with a photo?
Discovering this tutorial was quite timely for me. I’ve been struggling for a week with the sketch to vector problem, and this lesson has helped me a lot! Thank you!
Fabulous!!!!! I am going to read more on this
so useful for me at this time , thankz a lot!
very good
very good illustrator
Exactly what I was looking for, thanks so much!
Fabulous! I am going to read more on this…
Sophie,
You should be able to if you expand the Live Paint, send all the Live Paint to the back, start painting over it and make sure the Line is brought to the front (or you can just put the line on another layer above the painting elements). Let me know if that helps.
Great tutorial, thank you. Although, is there any way I can use free-hand paint over my already live paint parts, under the line?
noize trick and really useful for me… thanks anyway
hall0oooo thanks for ur tutorial for vector…..
good work….
Great tutorial, great site…
Thanks for sharing that,
Its a nice well written guide and I look forward to giving it ago!
Cheers again!
Great post!
i, too, have never messed with live paint, but i wanna try it after seeing this tutorial. 🙂 fantastic as ever. thanks so much!
Great tips!
I need to experiment more with the Live Paint feature, it’s something I’ve never used but looks like a nice and quick method.
Excellent tutorial. Thanks!
Very cool! I have got to try this out.
this is great 🙂
this blog is seiriously the finest vector blog out there.
you just learn to make cool things, but ryan has a way of teaching new ways to think about vects.
keep on rockin in the vect world!!