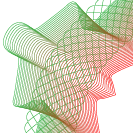
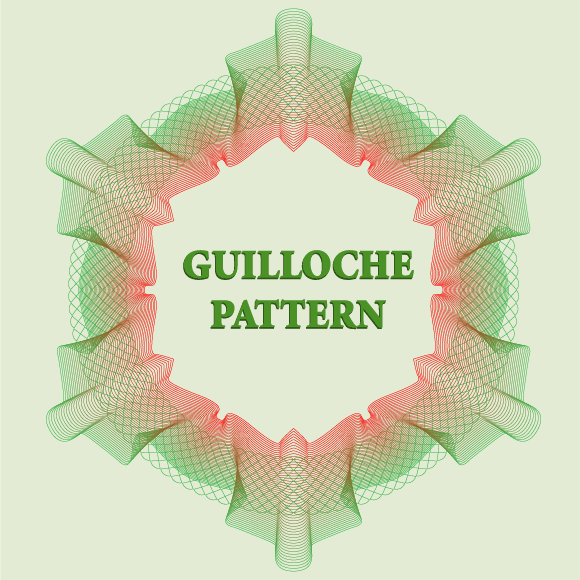
Today we will talk about the technique of creating guilloche pattern vectors using the Envelope Distort, Blend Tool and Pattern Brush. Guilloche pattern vectors are commonly used to protect the securities and banknotes from counterfeiting. Usually, to generate a guilloche pattern vector, designers use special expensive software. You might not have known that Adobe Illustrator helps to create guilloche pattern vectors, using only native features. Let’s see how it’s done!
Tutorial Details: Guilloche Pattern Vector
- Program: Adobe Illustrator CS2 – CC2014
- Difficulty: Beginner
- Topics Covered: Envelope Distort, Blend Tool and Pattern Brush
- Estimated Completion Time: 20 minutes
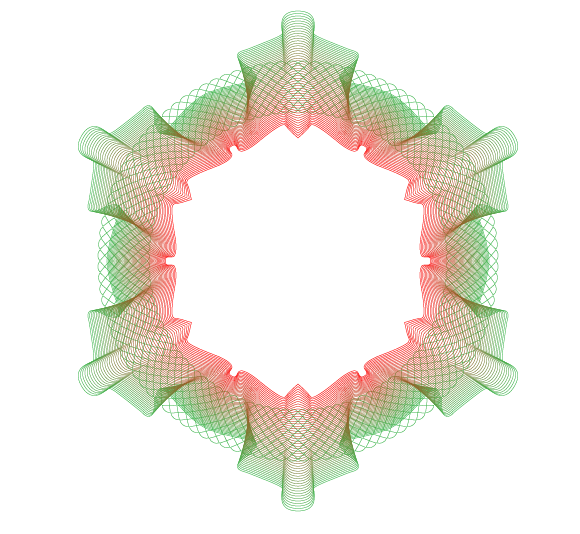
Final Image: Guilloche Pattern Vector
Step 1
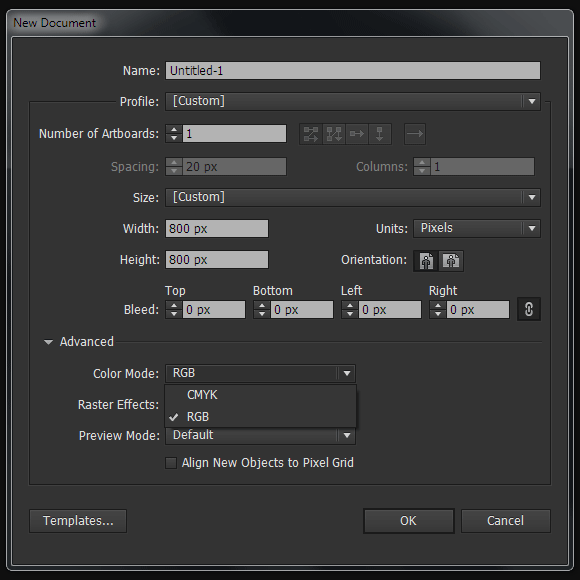
To begin this guilloche pattern vector tutorial, open Adobe Illustrator and create a new document (Cmd / Ctrl + N). Your artboard can be any size. The guilloche pattern vector we’ll create will work equally well in the RGB and in the CMYK color modes.
Step 2
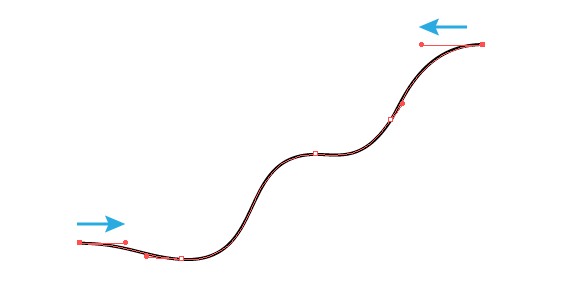
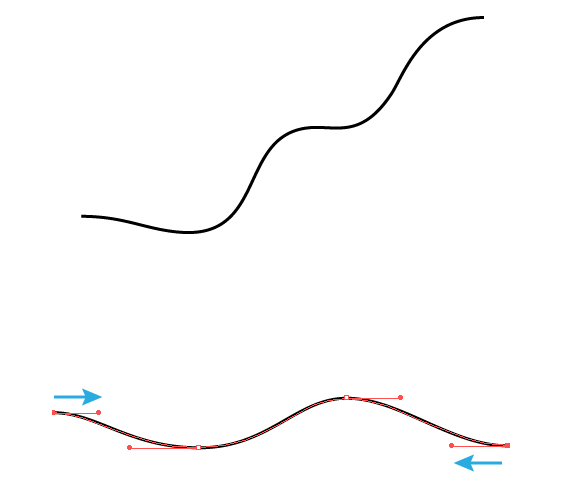
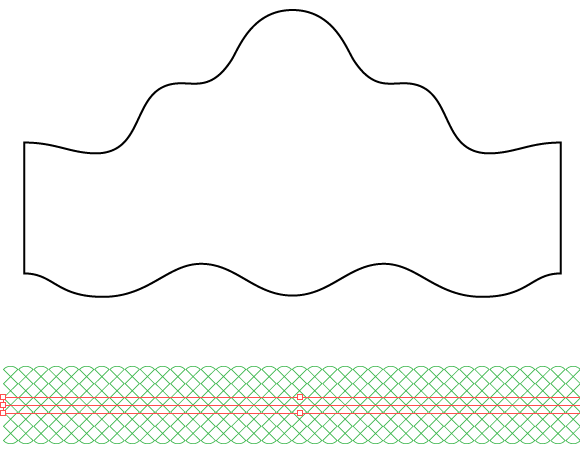
Take the Pen Tool (P) and draw a wavy line with no fill like shown in the picture below. You do not need to repeat the exact shape of the curve – just place the handles of the start point and end point of the path horizontally. To do this, hold down the Shift key while manipulating it.
Create another curve below the first one. The start and end point of the curve also has handles placed horizontally.
Step 3
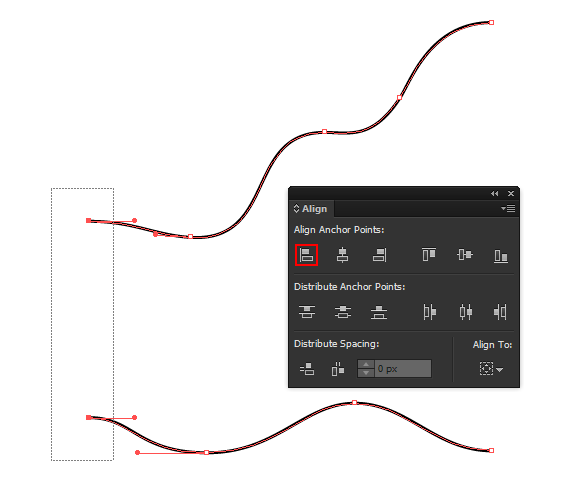
Select the start points of the two paths using the Direct Selection Tool (A), then align them horizontally by clicking on the Horizontal Align Left in the Align panel.
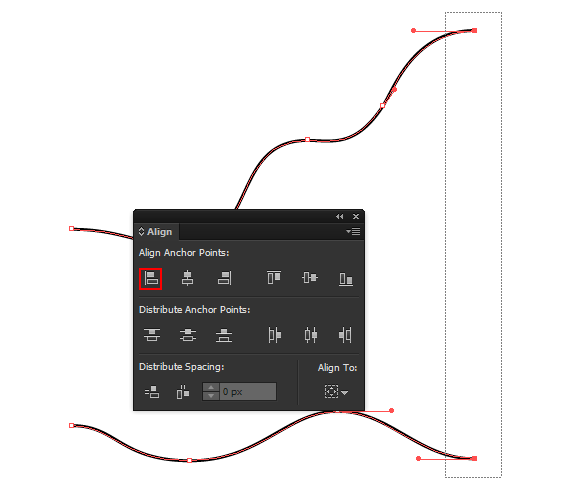
The same way align end points of paths.
Step 4
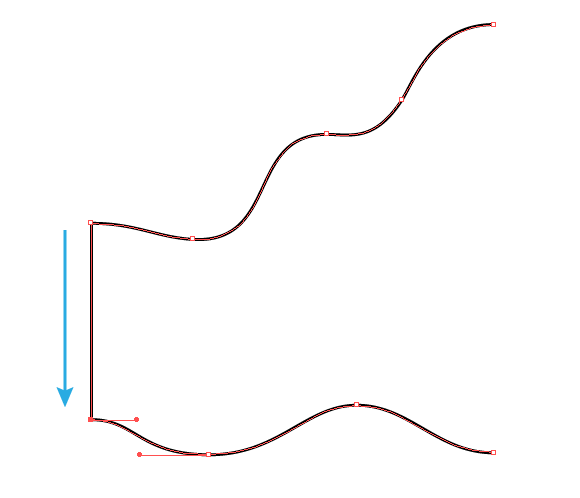
Connect the start points of the paths using the Pen Tool (P).
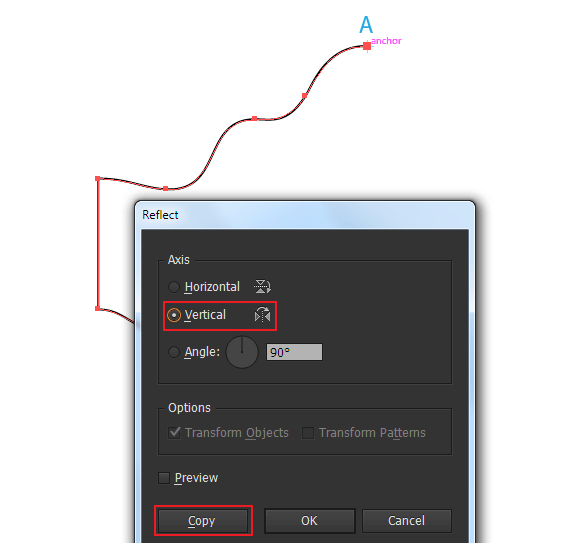
Select the achieved path, take the Reflect Tool (O) and click at the point A, holding Option / Alt. In the dialog box, choose Vertical axis and hit Copy button.
Step 5
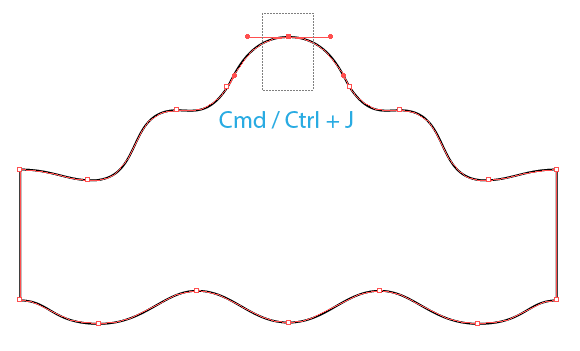
For the next step of this guilloche pattern vector tutorial, select the upper points at which both paths intersect using the Direct Selection Tool (A), then go to Object > Path > Join (Cmd / Ctrl + J).
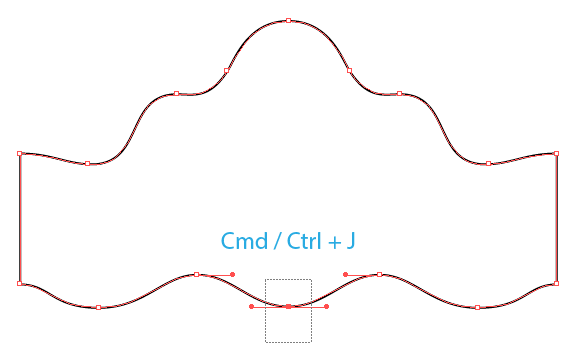
In the same way we’ll connect the lower points of the path.
Step 6
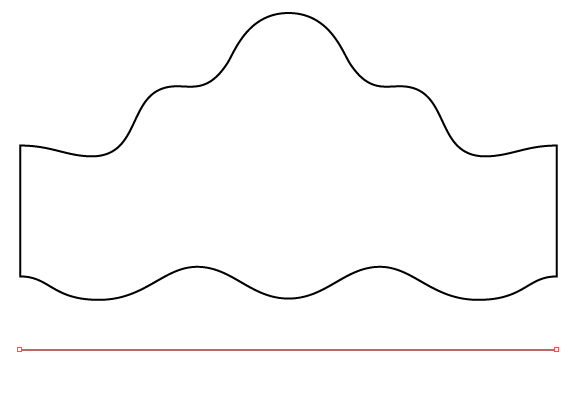
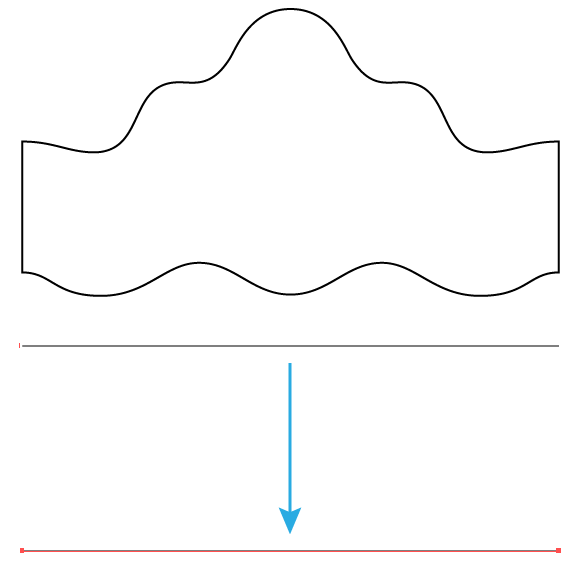
Create a horizontal path with no fill using the Pen Tool (P) or the Line Tool (\).
The path length is not significant. Move the path at some distance down, holding Shift and Option / Alt, which should result in its duplication.
Step 7
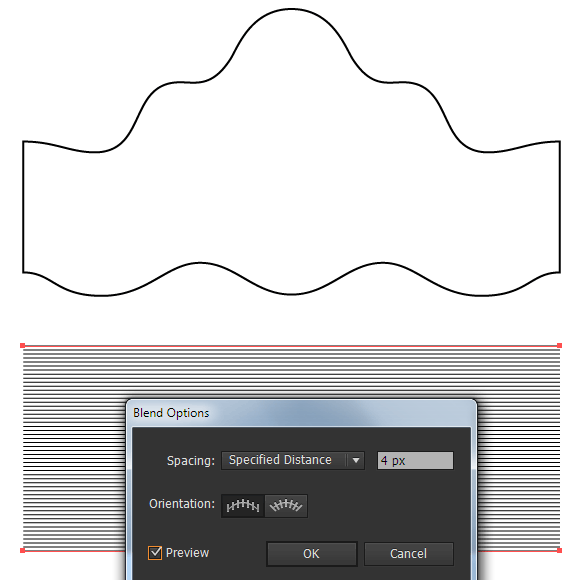
Select both straight-line segments, then use Cmd / Ctrl + Option / Alt + B shortcut to create a blend of the object. Now double click on the Blend Tool (W) icon in the Tools panel. In the opened dialog box, choose the Specified Distance and set 4px in a numeric field.
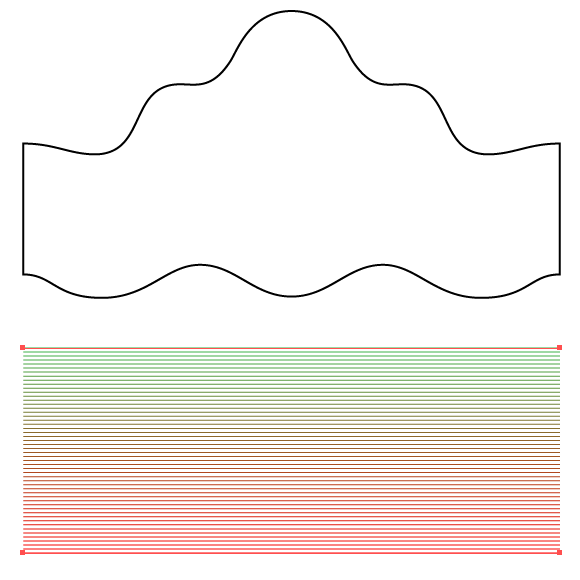
If you want to create a colored guilloche pattern, you can recolor strokes of the paths in different colors, such as red and green.
Step 8
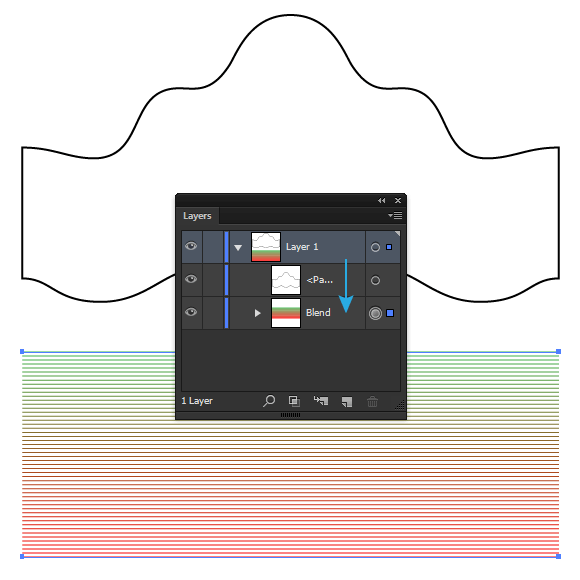
Place blends object below the object of wavy paths, to do this move it down in the Layers panel.
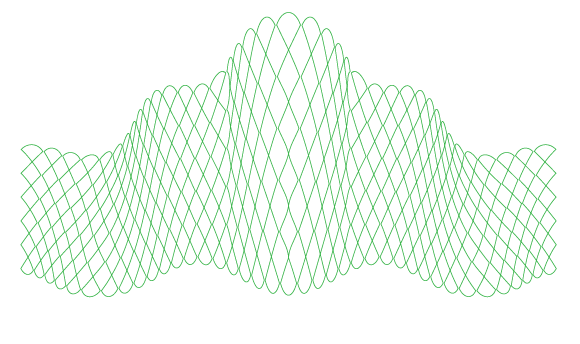
Select all the created objects, then go to Object > Envelope Distort > Make with Top Object.
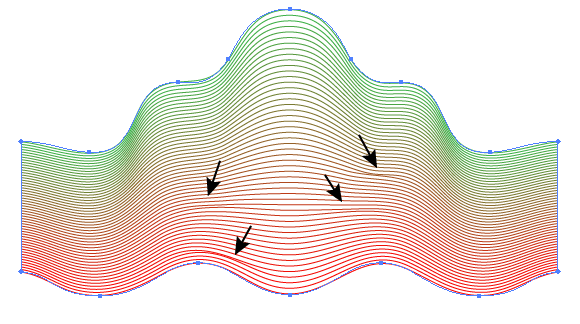
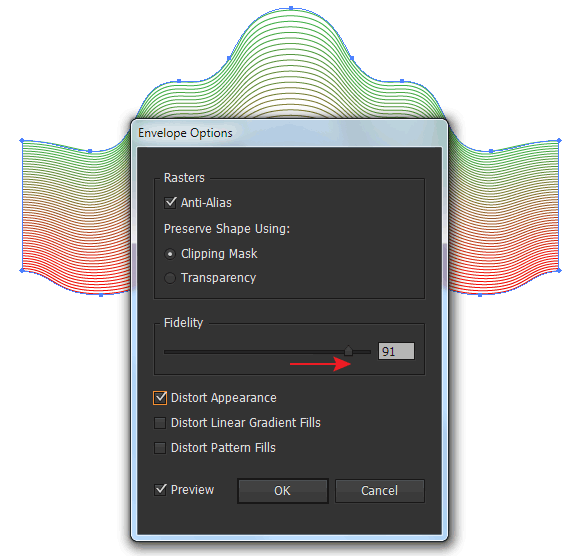
As you can see, we got a few defects in the beginning of this guilloche pattern vector, which are indicated by arrows in the picture above. To correct them go to Object > Envelope Distort > Envelope Options … and increase the Fidelity up to the value of 90-100.
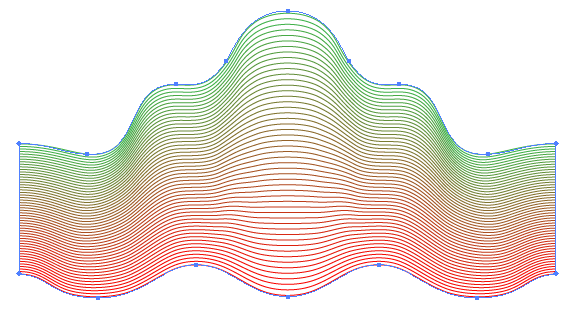
Now all the defects are eliminated.
Step 9
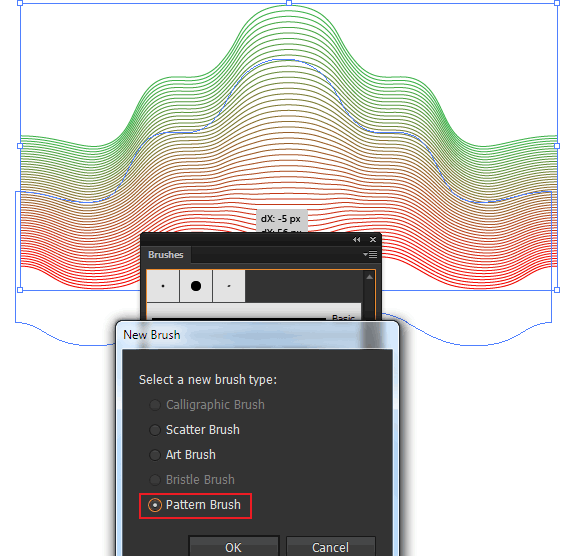
Drag the resulting object in the Brushes panel, and in the dialog box, choose the Pattern Brush option.
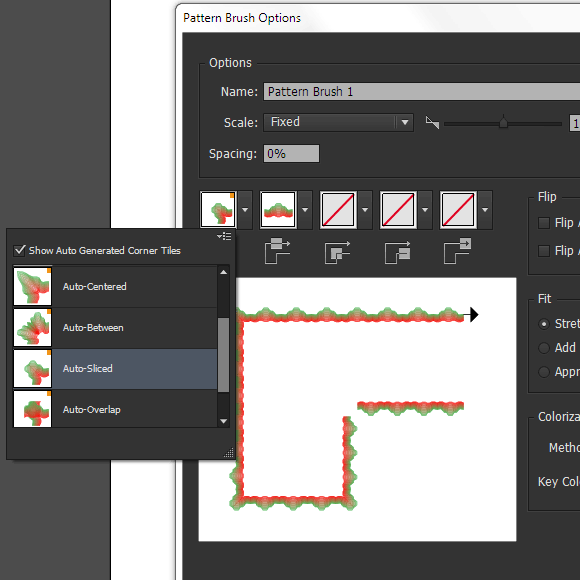
Without changing the settings in the next dialog box, click on OK. If you are using Adobe Illustrator CC-CC2014, then you have the ability to automatically generate a corner tile. To do this, you have four options to choose from. This will give us an opportunity to apply the brush to the shapes that have angles.
Step 10
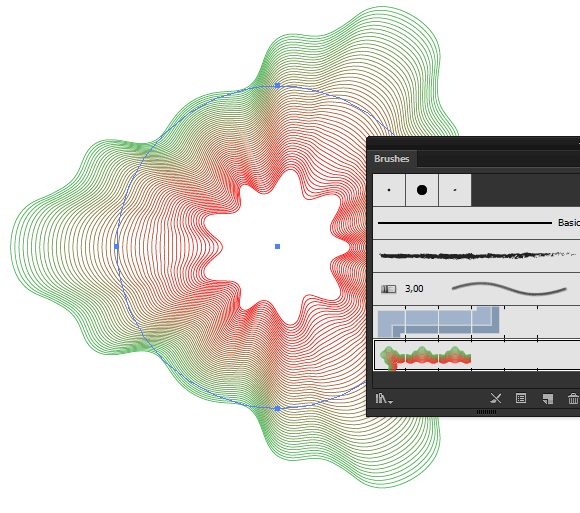
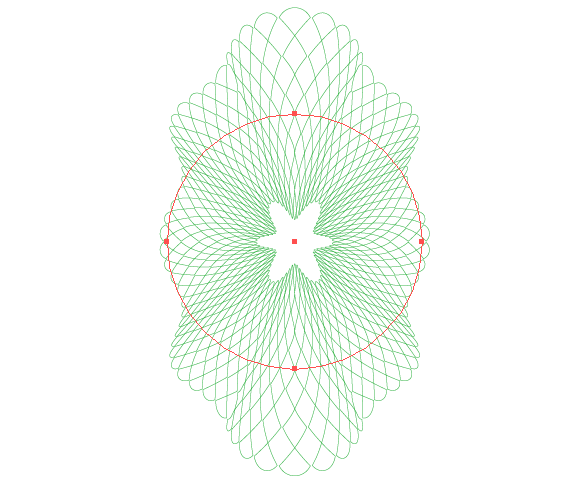
Create a circle with stroke and no fill using the Ellipse Tool (L), then apply the created brush to it.
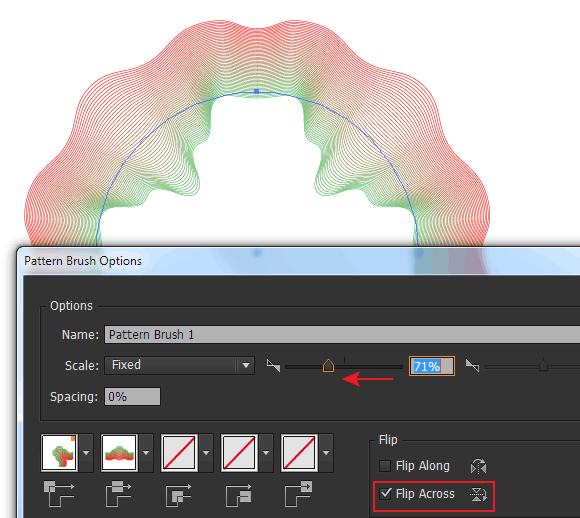
As you can see, we got a fairly complex shape, which is our new guilloche pattern vector! This object is dynamic. Double click on a thumbnail of the brush in the Brushes panel to open the dialog box. Now let’s play with the parameters observing the occurring changes.
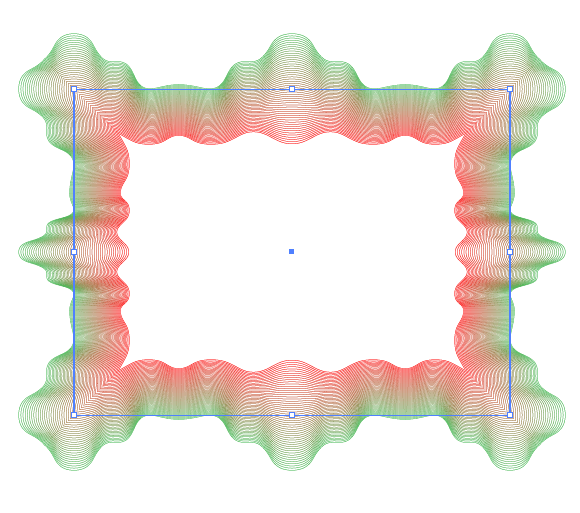
Now let’s see how our guilloche pattern vector will look like, if you apply the brush to a rectangular shape.
Conclusion: Your Own Guilloche Pattern Vector!
We have reviewed the basic technique of creating our guilloche pattern vector in Adobe Illustrator. Now I would like to point you the direction for your own experiments.
a. As you know, the object created in steps 2-5, can be of a completely random shape. The more objects you create, the more kinds of the guilloche pattern vector you’ll get.
b. You can change the color of the blend object and the value of its step.
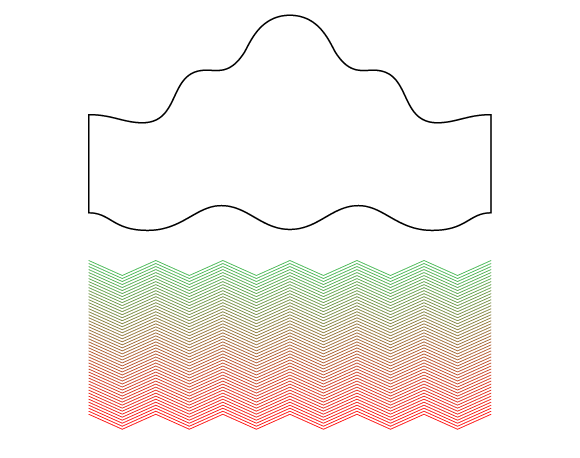
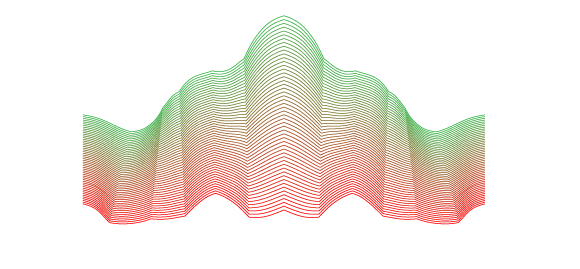
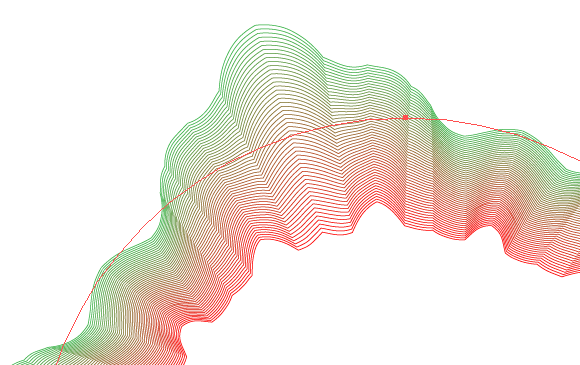
c. Blend object may consist of paths of different shapes (not only of straight line segments). For example, we can use the path in the shape of a zigzag. The pictures below show the intermediate steps and the final result of the created guilloche pattern.
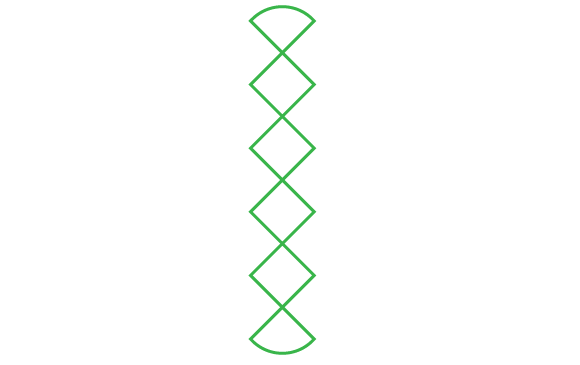
d. Instead of a blend object, you can use the path to which the pattern brush is applied. I created a brush element of several squares (angles of the lower square and upper one are rounded).
Let’s keep this place as a pattern brush in the Brushes panel, then apply the brush to the straight-line segment.
Now, following the instructions that you are familiar with, you can make a new guilloche pattern vector!
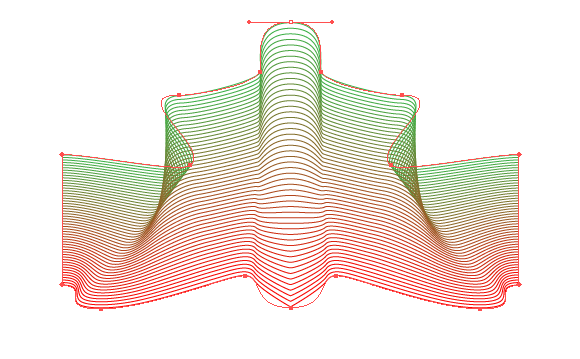
e. After creating the Envelope Distort object, you can continue manipulating with the points and handles of its outline that will lead to the creation of an infinite number of patterns types.
I hope you’ll find lots of other uses for this guilloche pattern vector technique. Enjoy your experiments!
![]()
Author: Iaroslav Lazunov
My name is Iaroslav Lazunov, I am a graphic designer from Ukraine. I am glad that I finally found a job in my life that I can share my knowledge and experiments with you in my tutorials. Follow me on Twitter or visit my blog Vectorboom.com



Thank you very much for this easy-to-understand guilloche tutorial. I’m trying to make all the open areas of a guilloche transparent (the guilloche was made from a pattern brush of diamonds, as in your “d” example, following the tutorial), so I can overlap two guilloches. Is this possible? Thank you very much.
Fantastic, thank you very much
This tutorial is 10/10, Just amazing! Thank you for sharing this information! 🙂
Thanks for all your hard work creating this!
So Nice
How did you get the gradient to go north and south? I can only make it go east and west.
Very inspirational!! Thank you for inspiring me with this feature of Illustrator.
Great tutorial! I can’t create corner only!
Fantastic and thank you Iaroslav !!
On Step nine—I am getting “the selected artwork contains an element that cannot be used in a pattern bush”
expand it
It doesnt work even if I expand it.
Any other suggestuions?
expand what?
great job thanks for sharing
Simply great!! Greatings from Kenya. Thanks for the simplicity
Perfect! Well explained and really useful tut! Jah Bless! Thank u!
Thank you so much for this, it was useful
Very interesting tutorial. I discovered a technique and tools I didn’t know at all.
Thanks Iaroslav.
o_o …..this is incredible and my mind is blown forever. Thank you.
Great tutorial!