
Give dimensional text this fun twist by rendering outlined text into a 3D see through text effect. Perfect for poster designs, greeting cards, and more! Add gradients to really make your design pop out from the page in under 30 minutes flat.
Tutorial Details: 3D See Through Text Effect
- Program: Adobe Illustrator CS4
- Difficulty: Intermediate
- Topics Covered: Text Effect, 3D Effect, Gradients
- Estimated Completion Time: 30 Minutes
Final Image: 3D See Through Text Effect

Step 1: See Through Dimensional Text Effect
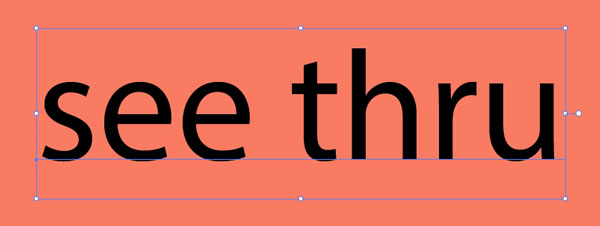
To start this see through text effect tutorial, we’ll open a New Document in Adobe Illustrator. Write out a couple simple words like “see thru” with the Type Tool (T).
Step 2
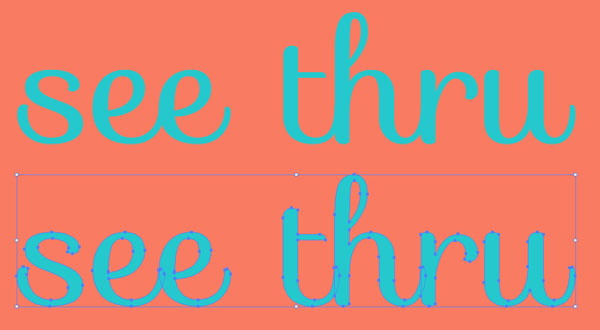
Change the text to the script font of your choosing. Expand your text and Unite the shapes in the Pathfinder panel. Set the fill color to null and the stroke to 2-3pts in width. Expand your text again.
Step 3
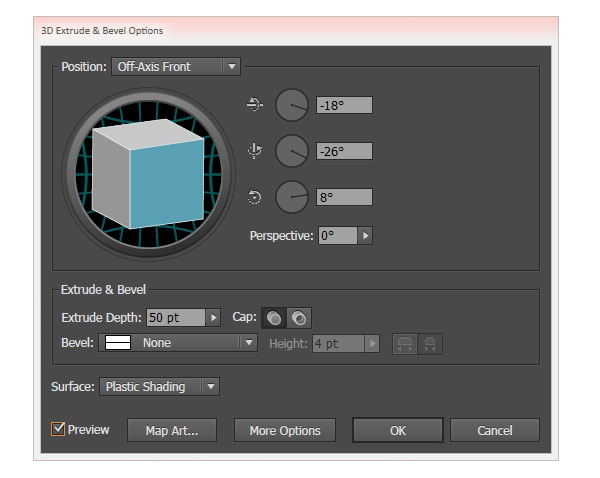
Select your text object and go to Effect > 3D > Extrude & Bevel and apply the following attributes:
X-Axis: -18°
Y-Axis: -26°
Z-Axis: 8°
Extrude Depth: 50 pts
Surface: Plastic Shading
Step 4
Hit OK and Expand your 3D text object.

Step 5
Ungroup your text object and use the Selection Tool (V) to select each plane in turn andUnite their pieces in the Pathfinder panel.

Step 6
Select the front face of the type object and set it to a light, bright color.

Step 7
Continue selecting each place of the 3D text and unite them in the Pathfinder panel. for instance, the “s” pictured below has 10 planes total (not including the front face). Make sure each side of the letters are their own object and a flat color at this point.

Step 8
Here’s the beginning of the see through text effect “s” with all of its planes united as separate objects (10 total without including the face).

Step 9
Continue with uniting the planes of your text until you’ve gone through your entire word or phrase.

Step 10
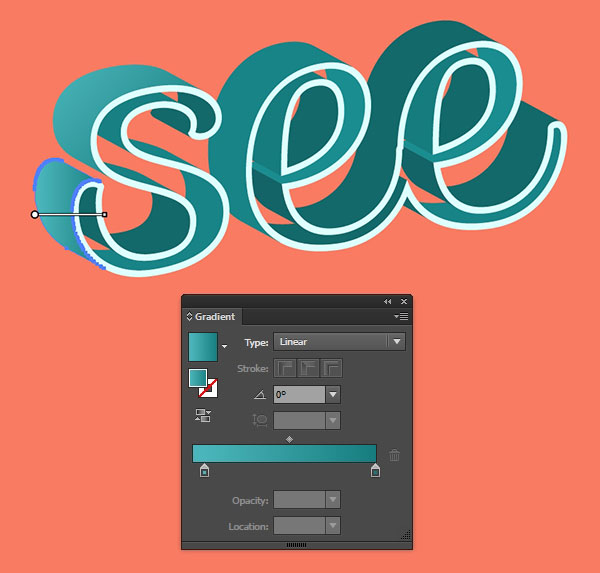
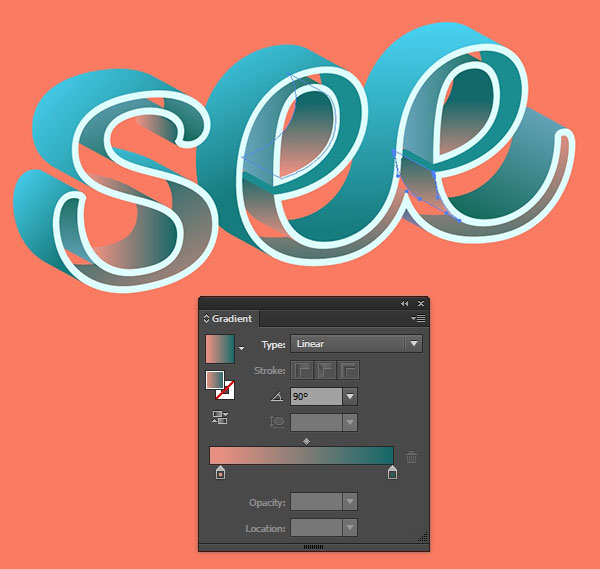
Starting with your first letter again, select one of the planes facing the upper left of the picture plane and apply a linear gradient going from a light hue to a dark hue. I’ve chosen light teal to medium teal. Use the Gradient Tool (G) to adjust the gradient’s angle.
Step 11
For the inner planes, I’ve chosen a bright color going to a darker teal for the gradient.

Step 12
Continue adding gradients to each of the planes of the see through text effect letters. Any plane inside will either be coral to teal or blue to teal while outer, upper planes will be light teal to medium teal.
Step 13
Continue working through the entirety of your text.

Step 14
Once completed, Group (Control-G) your see through text effect word or phrase together.

Step 15
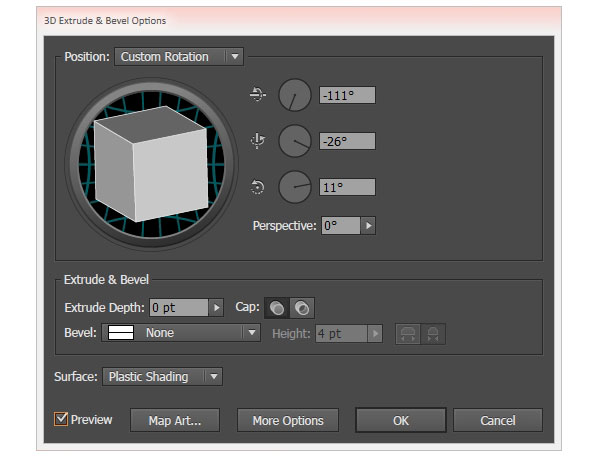
Once again, write out your word or phrase in the script font you chose earlier in this tutorial. Apply the Extrude & Bevel effect with the following attributes:
X-Axis: -111°
Y-Axis: -26°
Z-Axis: 11°
Extrude Depth: 0 pts
Surface: Plastic Shading
Step 16
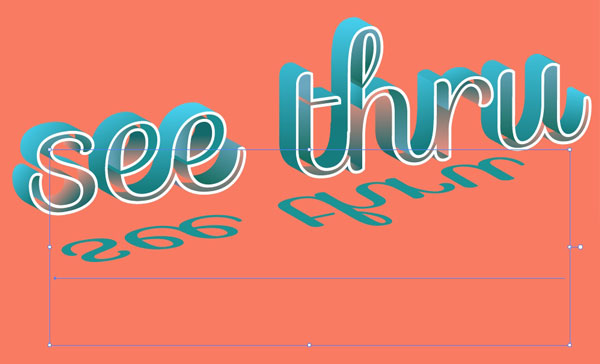
This will form the text’s shadow. Expand the text and 3D effect under Object.
Step 17
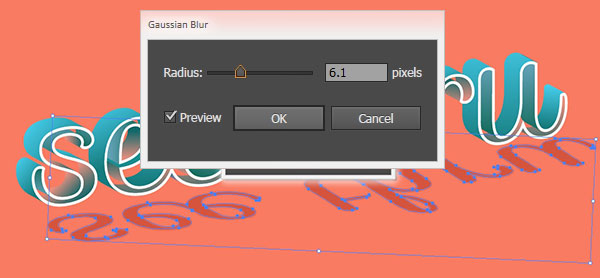
Adjust the scale, rotation, and placement of your text shadow and add a Gaussian Blur effect with a radius of 6.1 pixels.
Step 18
Set the fill color of the shadow shape to a hue a bit darker than the background and place it beneath the main text group in the Layers panel.

Conclusion: 3D See Through Text Effect
Give your background a gradient, gradient shape, or pattern to complete your design. Share your results with us in the comment section below!

Author: Mary Winkler
Mary works under the brand Acrylicana® designing apparel, jewelry, and illustrating for companies like Disney, Jakks Pacific, Envato, and more. Check out Acrylicana.com for more artwork, tutorials, and more.


ii like this effect.
thanks for tips