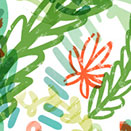
 Get in on the hand-drawn vector illustration trend without leaving the digital realm with this fun and tropical pattern tutorial.
Tutorial Details: 7 Steps for Easy Flat Work Hand-Drawn Vector Design
- Program: Adobe Illustrator CS6 – CC
- Difficulty: Intermediate
- Topics Covered: Design Theory, Drawing Skills, Tracing Panel
- Estimated Completion Time: 15 Minutes
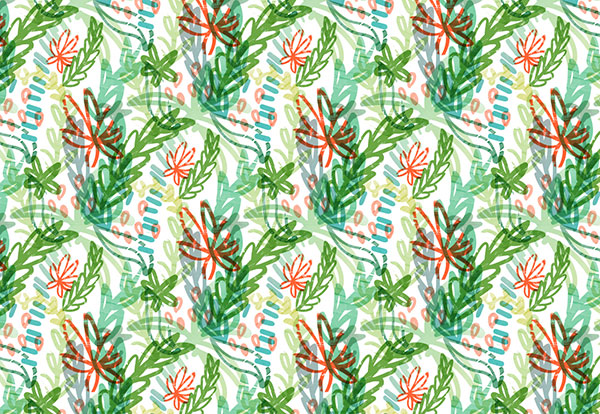
Final Image: Hand-drawn Vector Pattern
Step 1
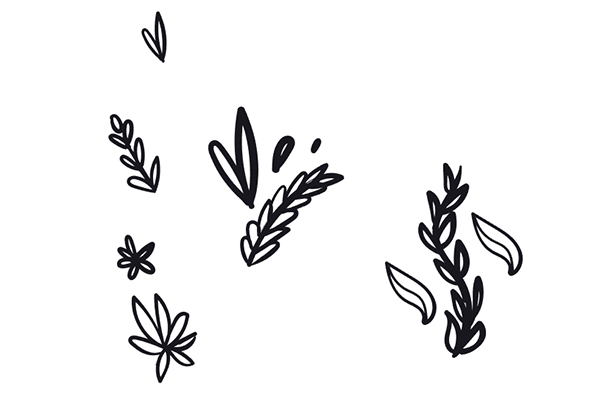
We’ll begin with the Shape Builder Tool in drawing simple plant shapes. You can also use the Pen Tool or Pencil Tool if you’d rather; just make sure you’ve converted any stroked paths to objects when done. Draw stems, leaves, flowers, palms, and more. Vary their size and shape. They’ll be layered over each other later. Unite each design element (each plant) in the Pathfinder panel with its respective components.

Step 2
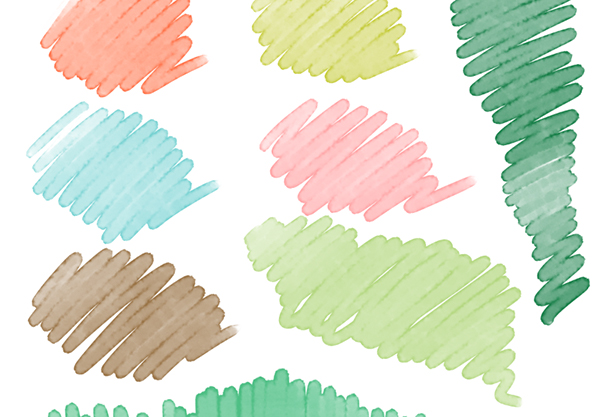
Next we’ll need some watercolor, gouache, or marker-like textures. You can open up Adobe Photoshop (if you have it) or a similar drawing program and scribble out some textures with textured brushes.
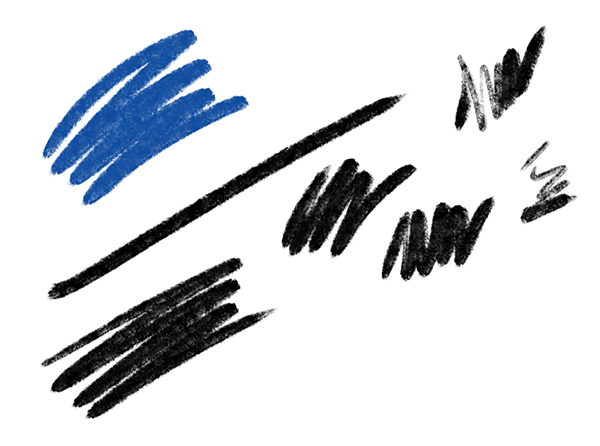 You’ll find plenty of them over on Brusheezy that work well for this use. Use whatever colors you want to appear in your final drawing. It’s also an option for you to use pre-made watercolor and grunge textures, which you can find on Vecteezy and other digital asset resource sites.
Step 3
Import any raster-based textures into Adobe Illustrator (I simple Copied and Pasted my textures from Photoshop into my Illustrator document). Select your raster image and open the Image Trace panel. Select Color for Mode and hit Preview to see your image tracing result. Make adjustments as you see fit to these settings.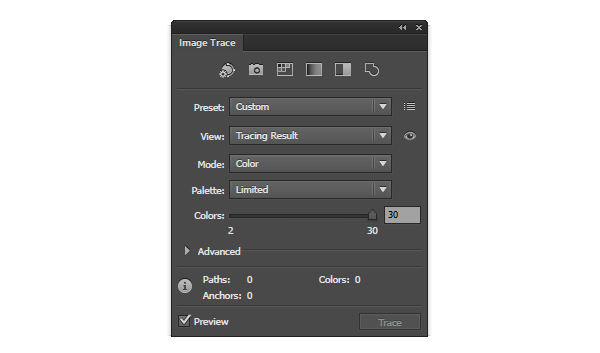
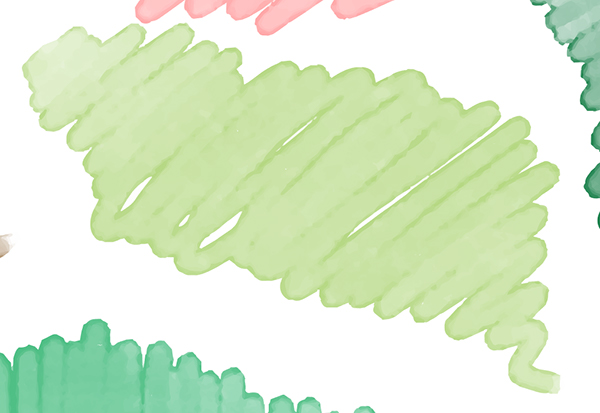
Below you’ll see a zoomed-in version of one of my watercolor textures. The variations in color and texture are difficult to create without the help from the Image Trace panel, but it can be done by layering multiple colors and hues on top of each other. Expand traced images under Object and Delete any large white spaces or unwanted components of the tracing result. Make sure you Group together sections you want to save and use within your design. If you’re using pre-made vector textures or patterns, you won’t need to follow this step.
Step 4
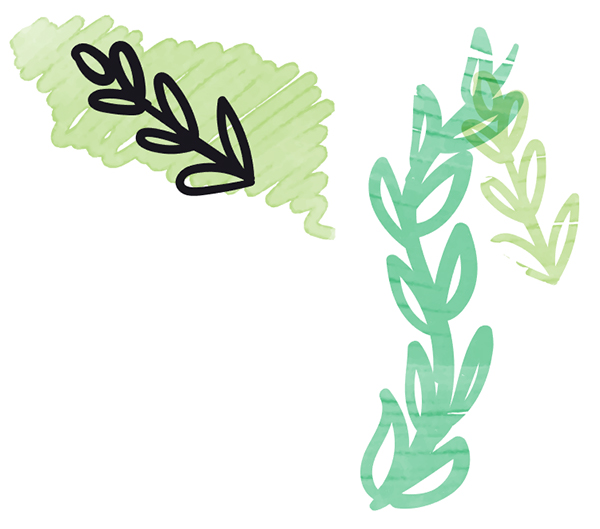
Place one of your plant objects over one of your textures and Make a Clipping Mask (Control – 7). Repeat this action for each one of your plant objects and set the clip groups’ Blending Mode to Multiply. Begin to layer your objects on top of one another to form the pattern.
Step 5
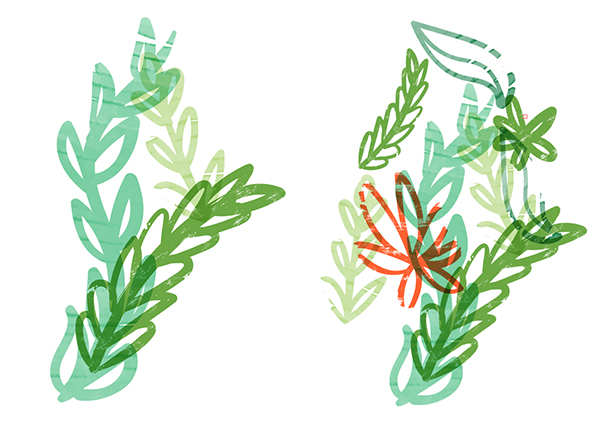
Layer different and like objects over one another to form your hand-drawn vector pattern. Consider what colors and object types are next to each other as you create your basic pattern design. Group together your hand-drawn vector pattern and open the Pattern Options panel.
Step 6
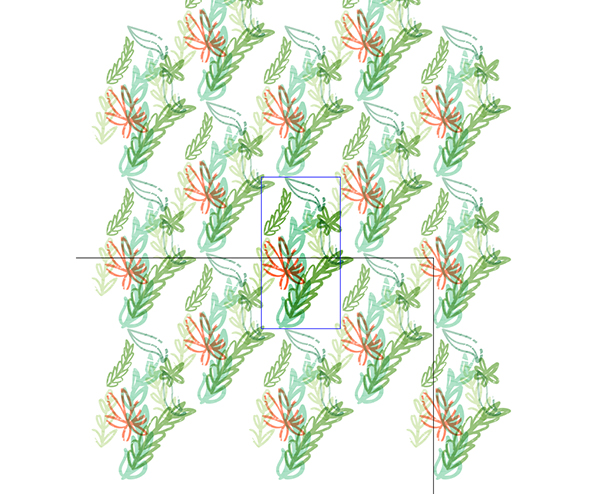
In the Pattern Options panel, select your Tile Type and adjust the pattern boundaries. My Tile Type is set to Column.
Step 7
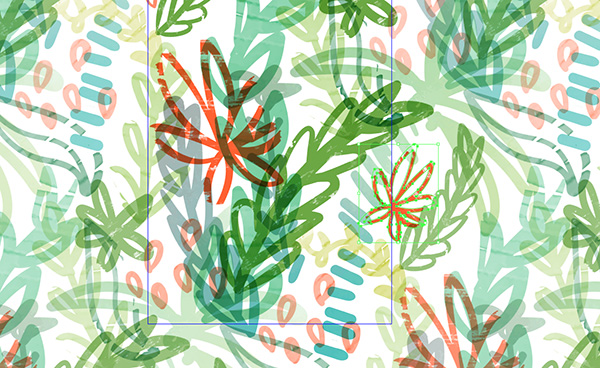
Paste in other components within your pattern. You can do this easily by hitting Done on your working hand-drawn vector pattern, creating or copying additional objects from your document, and opening your pattern again from the Swatches panel. Make sure objects are set to Multiply and create a vibrant, dense pattern by overlapping objects and the pattern boundaries.
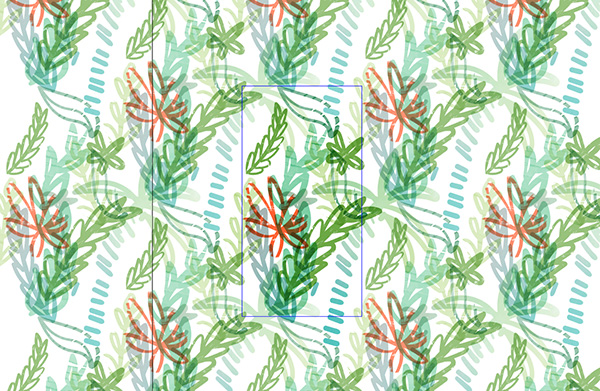
Make sure objects are set to Multiply and create a vibrant, dense pattern by overlapping objects and the pattern boundaries.
Hand-Drawn Vector: Conclusion
When satisfied with your final design, apply it to a new object, such as a rectangle, or prepare it for print if you wish. These types of patterns, being vector, work wonderfully as stationery and textile designs. Share your final projects in the comment section below and don’t forget to check out our other hand-drawn vector pattern tutorials here on Vectips!

Author: Mary Winkler
Mary works under the brand Acrylicana® and has illustrated and designed for companies like Disney, Jakks Pacific, Jada Toys, Envato, and more. Check out Acrylicana.com for artwork, tutorials, and more. Follow Acrylicana on Instagram, Facebook, and Twitter!


Great hand drawn design art.